
How to AI Face Swap Video Clips Responsibly (2026 Guide)
Here is how to AI face swap video clips with consent: the character swap tool, a GIF route, checked tool prices, artifact fixes and the label rules.
 Noah Berger 11 min read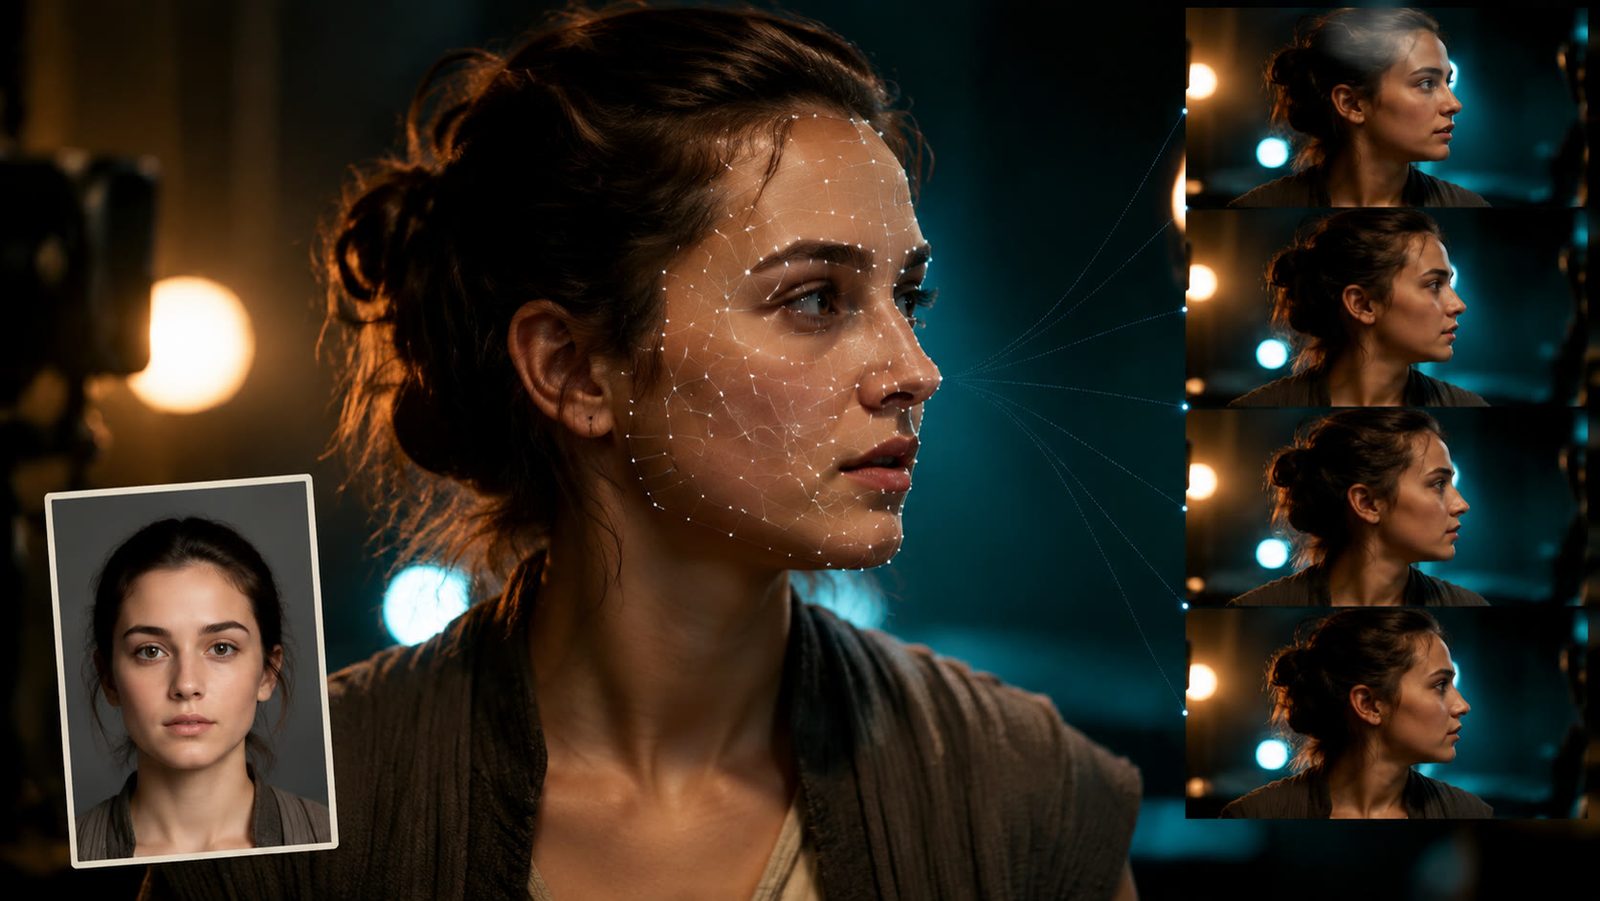
If you want to know how to AI face swap video footage without ending up with a flickering jaw or a takedown notice, the process has three parts: permission from the person whose likeness you use, a clean source clip plus a matching reference image, and a frame-by-frame review before you label and post. This guide walks through the LazyKiwi character swap tool, which replaces the whole person rather than the face alone, then covers the GIF route, tools we checked on their own sites this week, the usual artifacts, and the disclosure rules in the EU, the UK and the US.
What is an AI face swap video and how does it work?
A face swap video, or AI video face swap, replaces the identity of the person on screen while the performance, camera move and timing stay as filmed. Classic tools detect the face in each frame, compute an identity embedding from your reference photo and paste a re-rendered face back over the original, which is why they struggle on profile angles and fast head turns. Open-source projects such as FaceFusion (2026) and the InsightFace toolbox (2026) document this detect-embed-blend pipeline in their guides.
Face swap or character swap: which one are you actually doing?
The LazyKiwi AI character swap takes a different approach. Its tool page describes a full body swap that changes face, hair, build and outfit together, tracked across every frame, with the original motion and audio kept. You upload the clip plus one or two reference images, and the second image can carry the outfit while the first carries the face. For a creator, this means fewer seams at the hairline and neck, because there is no boundary between a new face and an old body.
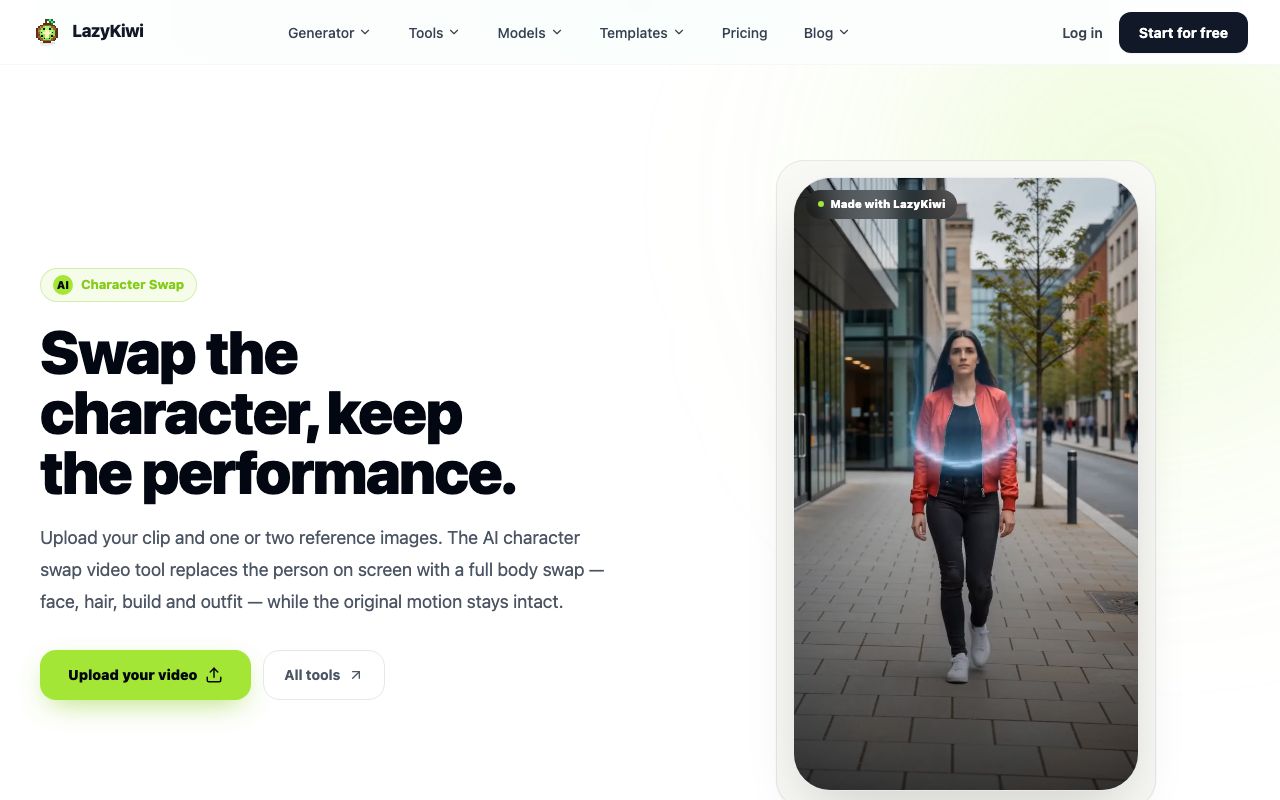
The rest of this article uses that tool for the video route. Where a step applies equally to a face-only swapper, it says so. Everything here assumes you own the footage and have written permission from anyone whose likeness appears in the reference.
How to do an AI face swap video step by step
Readers who search how to do AI face swap video edits usually have the clip already and the reference half-chosen. Slow down at both, because how to AI face swap video footage well is mostly a question of what you feed the tool. A swap is only as good as the visibility of the face in the source and the angle match of the reference, so the first three steps are preparation and only the fourth touches the AI video generator workbench.
- 1
Get consent in writing
Record who agreed, to what use, on which platforms and for how long. A photo permission is not a video-swap permission. If the reference is a licensed character or your own face, keep the licence file with the project.
- 2
Trim one shot with a visible face
Cut a clip of a few seconds with one person, front or three-quarter view, steady framing and even light. The tool page itself says steady framing and good light give the cleanest result; hands over the face and motion blur are the two things it cannot recover.
- 3
Prepare the reference image
One clear, front-facing photo of the target character, hairline to chin visible, no sunglasses, similar lighting direction to the clip. Add a second image only if the outfit should come from a different source than the face.
- 4
Load the tool and check the row
Open the Tools tab, pick Character Swap, drop the clip into Video and the photo into Reference. The panel asks for a video and a reference photo, offers an optional third image, and a prompt field with the example 'Replace the foreground person with the reference character'. Our test panel showed 9:16 and 5 s with a 410-credit price on the button; pricing is per model, duration, resolution and output, as the pricing page explains.
- 5
Generate, then scrub every frame
Play at normal speed for believability, then step through the frames around head turns and blinks. Look for a jaw that slides, a hairline that jumps, or a hand that passes through the face. Mark the first bad frame; that tells you whether to re-trim or re-reference.
- 6
Export at the source resolution
The tool page states the swapped clip downloads at the resolution you uploaded, so upscale the source first if you need a bigger output. Keep the original file next to the export.
- 7
Label it before you post
Tick the AI disclosure field on YouTube, the AI-generated label on TikTok and add a caption line on Instagram or Facebook. The legal section below lists what each platform and law expects.
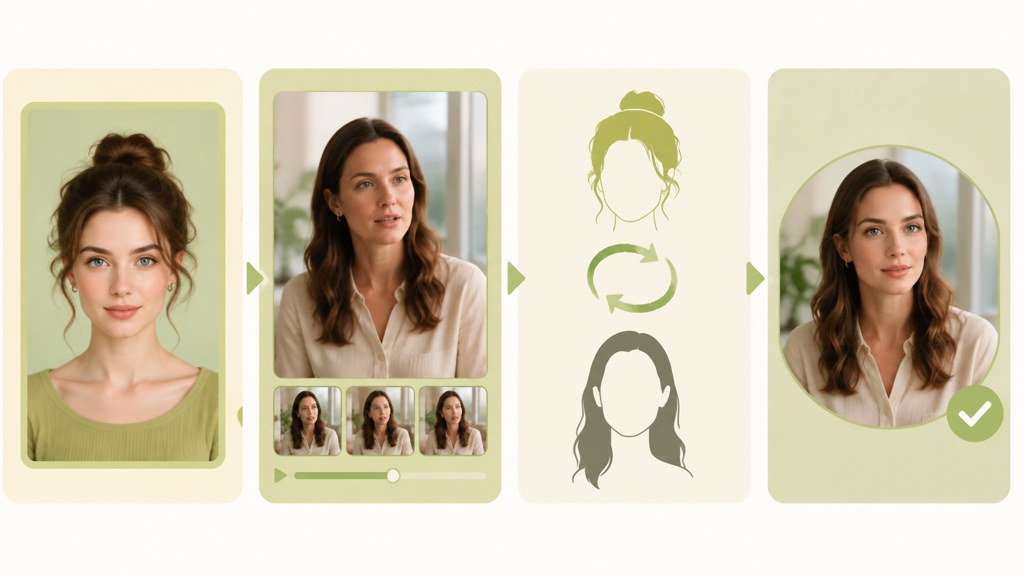
Write the prompt as a continuity instruction, not a wish list: 'Replace the foreground person with the reference character, keep the walk, the camera pan and the lighting'. The model already preserves motion; the prompt tells it what not to touch.
How to make an AI GIF face swap
An AI GIF face swap is the same job on a shorter clip with a loop at the end, so everything above about how to AI face swap video clips still applies. Because GIFs have no audio and loop forever, the two things that matter are a first and last frame that match and a file small enough for the chat app you are posting to. Do the swap on video first, then convert; swapping an already-compressed GIF gives the model 256 colours and dithering to work with, and the result shows it.
- Source: a 2 to 4 second reaction clip with the face centred and no camera move.
- Swap: run it through Character Swap exactly as above, at 1:1 or 9:16 depending on where the GIF will live; LazyKiwi's own workbench numbers for August 2026 show 9:16 on 22 of 39 external video jobs, so vertical is the default unless the GIF is for a chat window.
- Loop: trim so the head position in the last frame is within a few pixels of the first; a nod or a blink is the easiest natural loop point.
- Convert: export MP4, then turn it into a GIF in your editor or with the workflow in the AI GIF generator guide, keeping the frame rate low enough for the platform's size cap.
- Check: play the GIF twice in a row and watch the loop seam, not the swap.
What if the GIF is for a sticker rather than a reaction?
A single-frame sticker does not need video at all. Run the reference through an image tool, export a PNG and animate it in your editor. That costs a fraction of a video swap in credits and skips the flicker problem entirely, which is why the free-tier section below leans on image tools for tests.
Which face swap video AI tools are worth comparing?
We opened each vendor's own site on 2026-09-06 and wrote down only what the page says. Two of the five are open source and run on your hardware; two are consumer apps; one is a video-editing platform where face replacement is a by-product of a broader edit model. Adult-oriented swap tools are deliberately excluded.
| Tool | What the official page says (2026-09-06) | Swap scope | Pricing note |
|---|---|---|---|
| LazyKiwi Character Swap | Video plus one or two reference images; face, hair, build and outfit replaced; motion and audio kept | Full body, video | Credits per render; Free plan 40 credits a month |
| Reface | Mobile apps; 'Be anyone with face-swap and AI Avatars'; the site says its products were downloaded more than 300M times | Face, photo and video | Plans set in-app; no pricing page on the site |
| FaceFusion | Open-source face swapper and enhancer with installation and usage docs | Face, image and video | Free software; you supply the machine |
| InsightFace | Open-source 2D and 3D face analysis toolbox; code under MIT; swap models need a licence per the repo | Face (developer library) | Free code; model licensing on request |
| Runway | Act-Two performance transfer and Aleph 2.0 with Edit Studio ('edit a frame, apply it to the rest of the video') | Performance and frame edits | 'Try free, cancel anytime'; plan prices not quoted here |
| Kling AI | Home page presents video and image generation; no face-swap feature text found on the public page | Generation, not swapping | Not verified |
Sources for the table: Reface (2026), FaceFusion docs (2026), InsightFace on GitHub (2026), Runway (2026) and Kling AI (2026). In LazyKiwi the same clip can also go through video to video AI, which restyles every frame while keeping the motion; when the goal is a stylised character rather than a realistic person, that route avoids the likeness question altogether.
If you would rather generate the character from scratch than swap it into footage, Kling v3 Omni in the workbench takes a text prompt, one image or a start-and-end frame pair, renders at 720p or 1080p in 16:9, 9:16 or 1:1, and runs 3 to 60 seconds per clip according to its model page. That is the path for an original character; character swap is the path for a performance you already filmed.
Is there a free face swap video AI?
Searches for face swap video AI free split into two groups: people who want zero cost forever, and people who want to test before paying. The open-source route serves the first group. FaceFusion and InsightFace cost nothing to download, but you install them yourself, supply a machine that can run them and accept the model licences in their docs; the InsightFace repo notes that its swap models are licensed separately from the MIT code.
For the second group, the LazyKiwi Free plan lists 40 credits a month that refresh monthly, with no credit card required, on the pricing page. A 5-second character swap showed 410 credits on the button during our test, so the free allowance is enough to explore the workbench and run image-side experiments, not enough for a video swap; a paid pack is needed for the render itself.
That price gap is the practical answer. Test your reference photo, lighting match and prompt wording on an image tool such as the AI gender swap, where a render costs a small fraction of a video pass, and spend video credits only once the still looks right. Reface and Runway both advertise free entry points on their sites; neither publishes the limits in a form we could quote, so read their in-app plan screens on the day.
- Free with no cap: open-source swappers on your own hardware, with your own time as the cost.
- Free to test: 40 monthly credits in LazyKiwi, spent on image tools first.
- Paid: any hosted video swap without a watermark, including the LazyKiwi render at the credit price on the button.
How to fix flicker, bad edges and identity drift
Most questions about how to AI face swap video without flicker have the same answer: nearly every failed swap traces back to the source or the reference, not to the generator settings. Find the first bad frame, match it to one of the causes below and fix the input rather than regenerating blind.
| Artifact | Usual cause | Fix |
|---|---|---|
| Flicker between frames | Face partly hidden or motion-blurred in some frames | Shorten the shot to the frames where the face is fully visible; re-run |
| Soft or doubled edge at the jaw | Reference angle does not match the clip | Swap the reference for one shot at the same angle and light |
| Identity drifts mid-clip | Long take with several head turns | Split at the turn, process each part, join on a cut |
| Grey or mismatched skin | Lighting direction differs between reference and clip | Choose a reference lit from the same side; avoid heavy filters |
| Teeth or lips smear on speech | Compressed source or exaggerated mouth shapes | Use the original camera file; pick a calmer line of dialogue |
| Outfit ghosting | Second reference image conflicts with the first | Drop to one reference or make both the same person |
When should you re-shoot instead of re-render?
Re-shoot when the face is covered for more than a beat, when the subject spins through a dark area, or when the framing is so wide that the face is under a tenth of the frame height. No reference image fixes missing pixels. A ten-second re-take with the camera locked and a window to one side will outperform an hour of regenerations on a bad clip.
Review muted and at half speed. Sound hides tracking errors and full speed hides one-frame jumps; both show up when the clip is slow and silent.
Is AI face swapping legal and how should you disclose it?
Swapping a consenting adult, your own face or a licensed character into footage you own is legal in most places, provided you do not present the result as real. The law bites on two things: sexual or intimate content of a real person without consent, and deceptive use such as impersonation or fraud. Everything below quotes the primary source; none of it is legal advice, and commercial or political projects need a lawyer who knows your jurisdiction.
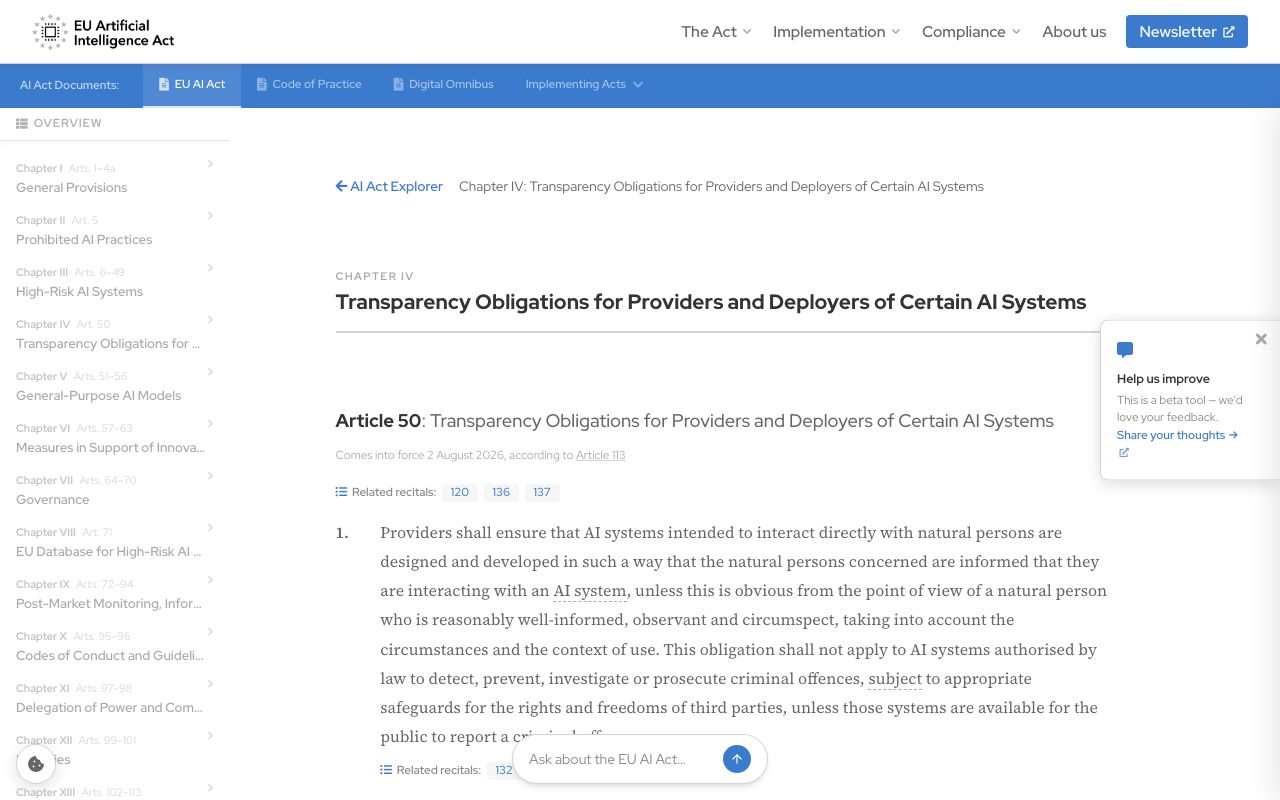
In the EU, Article 50 of the AI Act says deployers of a system that generates or manipulates image, audio or video content constituting a deep fake shall disclose that the content has been artificially generated or manipulated, and the explorer page notes the article comes into force on 2 August 2026, per EU AI Act Article 50 (2026). The Act's definition of a deep fake covers content that resembles existing persons and would falsely appear authentic, which is exactly what a realistic swap of a real person is.
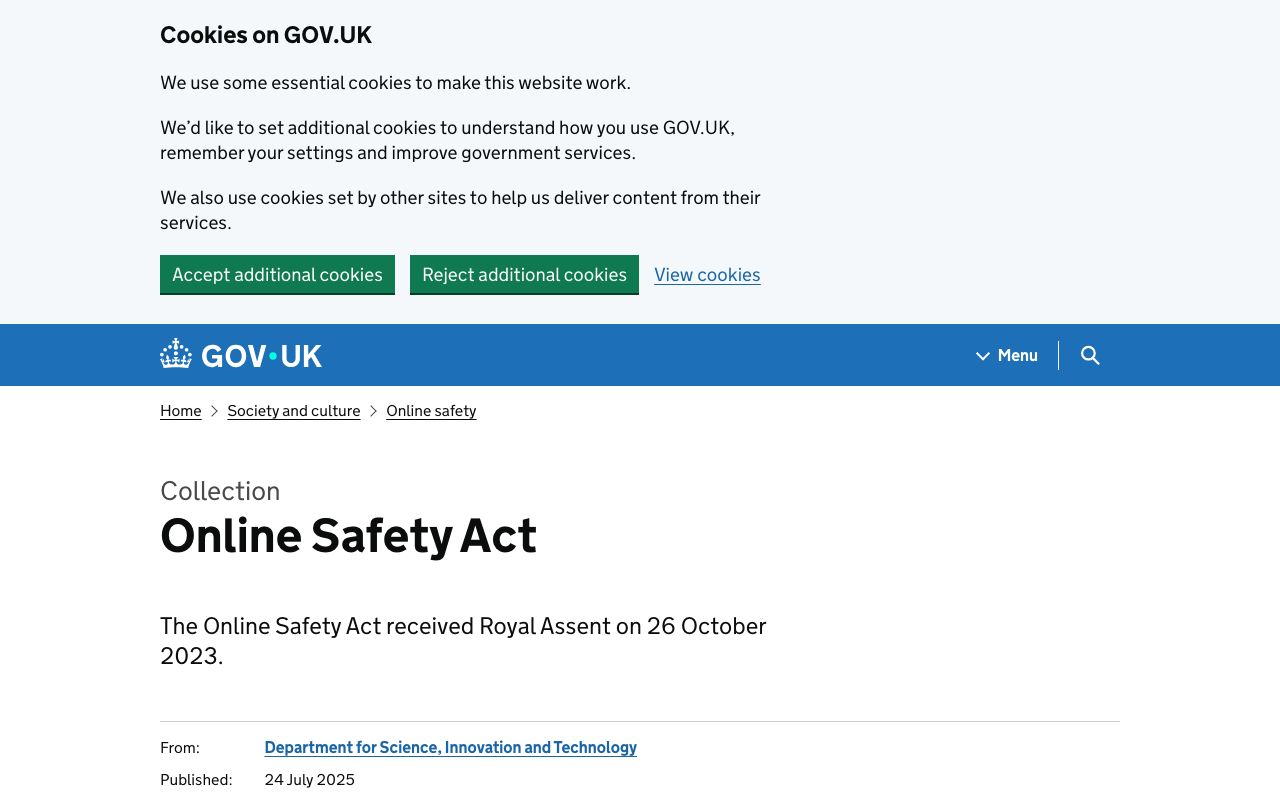
In the UK, the Online Safety Act received Royal Assent on 26 October 2023, and the government's collection page for the Act lists its later press release on a new law covering sexually explicit deepfakes, per GOV.UK (2026). In the US, the FTC finalised a rule against government and business impersonation and proposed extending it to individuals, citing AI-generated deepfakes as a driver, per FTC (2024); the agency now runs a reporting site for platform violations under the Take It Down Act at TakeItDown.ftc.gov (2026). Human-rights organisation WITNESS (2026) publishes practitioner guidance on synthetic media for anyone working in journalism or advocacy.
What does each platform require you to label?
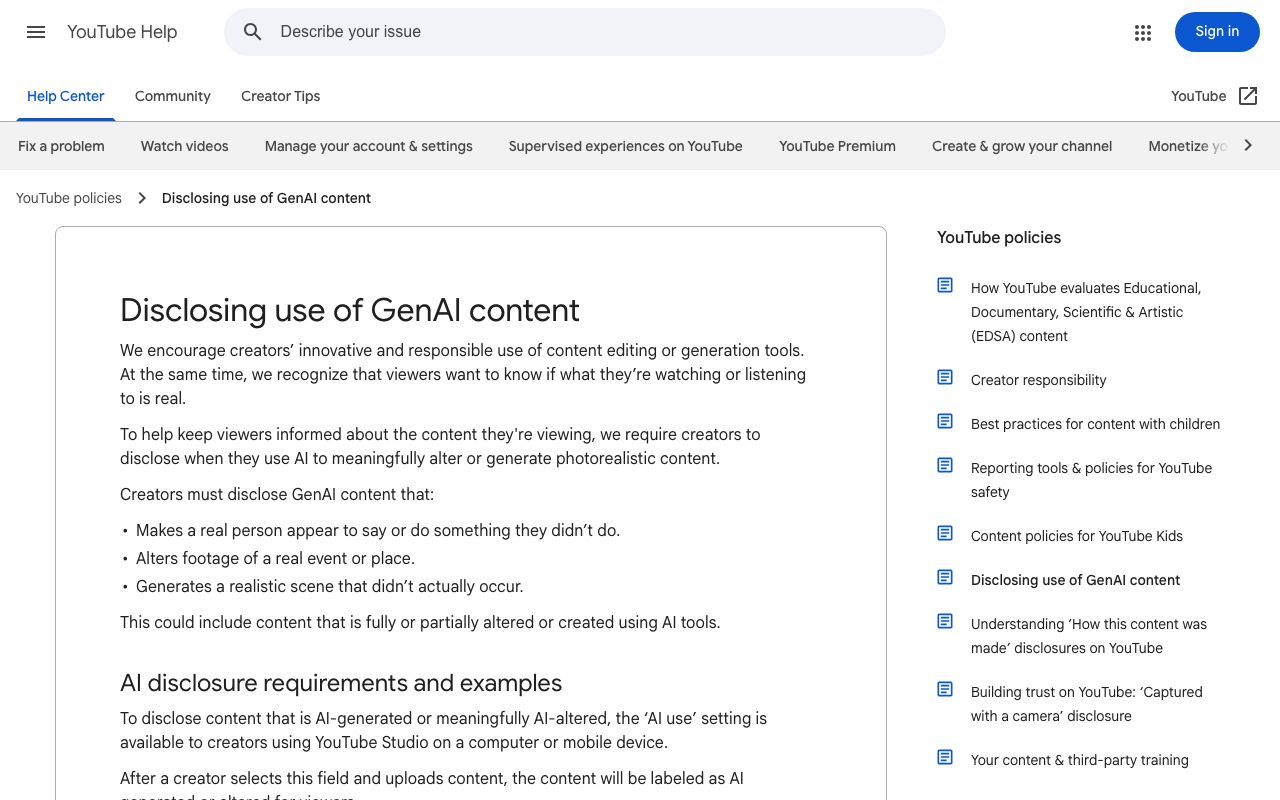
- YouTube: creators must disclose GenAI content that makes a real person appear to say or do something they did not do; the 'AI use' setting in YouTube Studio applies the label, per YouTube Help (2026).
- TikTok: the policy requires a label on AI-generated content with realistic images, audio or video, per TikTok Newsroom (2023).
- Facebook and Instagram: Meta adds 'AI info' labels when it detects industry-standard indicators or when people disclose at upload, per Meta Newsroom (2024).
- Everywhere: put a plain caption line ('AI character swap, made with consent') in the post text as well, since labels do not travel with downloads.

One more guardrail sits inside the tool. In the same August 2026 workbench data, the content-safety filter was the most common failure reason for external image jobs, with 49 blocks in 30 days, so an explicit prompt fails before a single frame is rendered. Consent checklist before any swap: the person is an adult, agreed in writing to this specific use, knows which platforms it goes on and for how long, and can withdraw. If any line fails, use a licensed character or your own face. Knowing how to make AI face swap video edits is the easy part; keeping the paperwork is what lets you publish them.
Key takeaways
- How to AI face swap video clips in one line: consent, a visible face, a matched reference, then LazyKiwi Character Swap, which replaces face, hair, build and outfit while keeping the filmed motion and audio; a 5-second 9:16 render showed 410 credits on the button in our test.
- The clip and the reference decide the result: one visible face, steady framing, matched lighting and a front-facing reference fix most flicker and edge problems before you render.
- For a GIF, swap a 2 to 4 second clip on video first, loop on a nod or blink, then convert; the free 40 monthly credits are best spent on image-side tests such as the 13-credit gender swap.
- Open-source FaceFusion and InsightFace are free to run on your own machine; Reface sets plans in-app, Runway advertises a free trial, and Kling AI shows no face-swap feature on its public page.
- EU AI Act Article 50 requires deep-fake disclosure from 2 August 2026, the UK Online Safety Act has applied since October 2023, and YouTube, TikTok and Meta each require a label on realistic swaps of real people.
Research & Trust Editor
Noah Berger
I track how detection, labelling and platform policy keep moving, and I cite the source and the date so you can check the claim yourself.
FAQ
Common questions
Can AI swap faces in a video for free?
Yes, with trade-offs. Open-source projects such as FaceFusion and InsightFace are free to download but run on your own hardware and carry their own model licences. Hosted tools charge per render: LazyKiwi's Free plan gives 40 credits a month, which covers image-side tests but not the 410-credit video swap we saw on the button, and Reface and Runway set their limits inside the app.
Is face swapping illegal?
Not in itself. Swapping your own face, a consenting adult or a licensed character into footage you own is generally lawful when it is not passed off as real. Intimate deepfakes of real people without consent are a criminal matter in the UK under the Online Safety Act framework, impersonation is an FTC issue in the US, and EU AI Act Article 50 requires deep-fake disclosure from 2 August 2026.
How do I face swap a GIF?
Do the swap on a short video clip, not on the GIF file. Trim 2 to 4 seconds with a centred face, run it through a swap tool such as LazyKiwi Character Swap, cut so the first and last frames match on a nod or blink, export MP4 and convert to GIF in your editor at a frame rate that fits the platform cap. Swapping an existing GIF gives the model a 256-colour source and the seams show.
Why does my face swap flicker?
Flicker almost always means the face was partly hidden, blurred or turned away in some frames, so the model had to guess and guessed differently each time. Find the first bad frame, trim the shot to the range where the face is fully visible, and use a reference photographed at the same angle and lighting direction. Long takes with several head turns should be split at the turn and joined on a cut.
Do I need to label a face swap video?
Yes on every major platform if the result looks real. YouTube requires disclosure of GenAI content that makes a real person appear to say or do something they did not, TikTok requires a label on realistic AI-generated video, and Meta applies 'AI info' labels when you disclose or detects AI indicators. Add a caption line too, because labels do not follow a downloaded and reposted file.
Try a character swap on your own footage
Upload a short clip and one reference image of a character you have the rights to. Check the credit price on the button before you generate.
Keep reading
How to Tell If a Video Is AI Generated
Learn how to tell if a video is ai generated by checking motion, speech, provenance, context, and detector results as a combined body of evidence.
8 min read
AI Lip Sync: How to Make a Talking Video Look Natural
AI lip sync from phonemes to export: the portrait and audio that work, a step-by-step LazyKiwi walkthrough, tool prices checked in 2026 and artifact fixes.
9 min read
AI Video Generation Trends 2026: Four-Month Demand Signal
LazyKiwi's four-month demand data on AI video generation in 2026: where interest rose, where it peaked and what the signal means for creators.
8 min read