
AI Sticker Generator: WhatsApp, Telegram and iMessage Packs
Build a matching sticker pack with an AI sticker generator, then hit the real WhatsApp, Telegram and iMessage specs: 512 px, WebP or PNG, tight file limits.
 Maya Chen 10 min read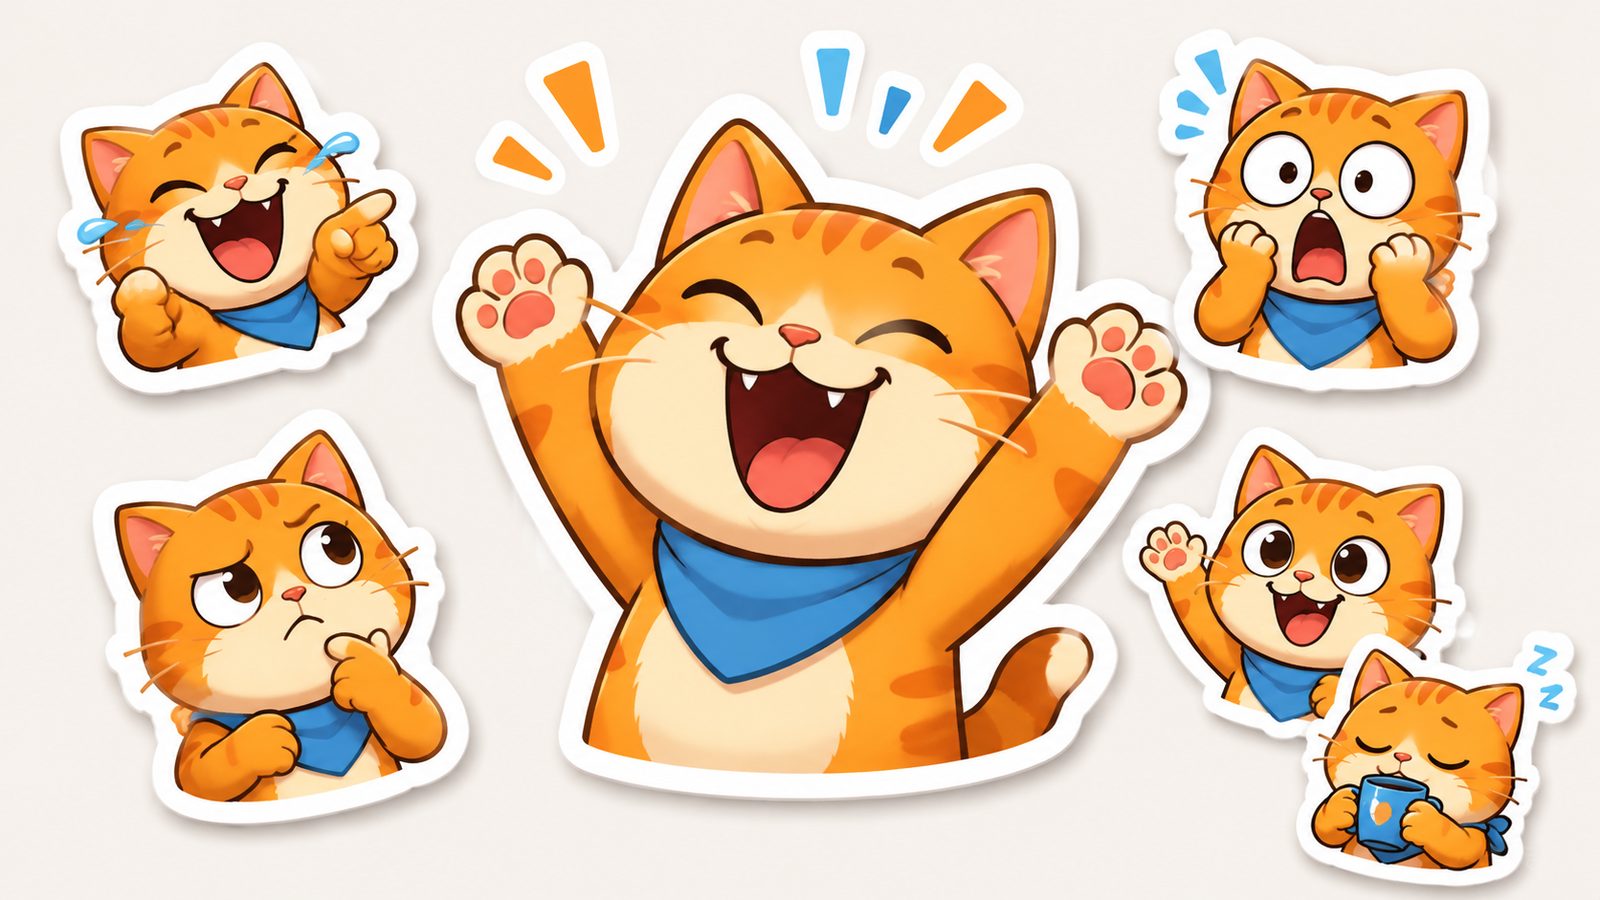
An AI sticker generator turns a character description or a photo into a set of flat, outlined images you can cut out and load into WhatsApp, Telegram or iMessage. The generation is the easy half. What decides whether a pack looks professional is the part after: a clean cutout, a visible border, and files that meet each platform's size rules, which I pulled from WhatsApp's developer repository, Telegram's sticker docs and Apple's guidelines on 5 September 2026. This guide walks through a pack built in LazyKiwi with Nano Banana, including the step where LazyKiwi hands off, because it does not export transparency.
What is an AI sticker generator and what makes a sticker work?
In practice an AI sticker generator is any image model plus a prompt that forces sticker conventions: a single subject, a flat or solid background, a thick outline and no small detail. Some products wrap that in a sticker-shaped interface; Recraft and Canva do, and Sticker.ly does the photo route without generation. LazyKiwi gives you the model and the prompt box, so the conventions are yours to enforce.

A sticker has to survive being shown at roughly thumbnail size on a busy chat background. Three things carry it: a silhouette you can read without colour, a border that separates it from any bubble colour, and an expression or gesture that says one thing. Everything else, shading, texture, tiny props, gets lost at chat size.
What the platforms agree on
All three targets want a square or near-square canvas around 512 px, a transparent background, and a small file. WhatsApp asks for exactly 512 x 512 WebP under 100 KB for static stickers, per the WhatsApp stickers repository (2026); Telegram wants one side exactly 512 px in PNG or WEBP, per Telegram sticker docs (2026). Design at 1024 or 2048 and downscale, never the other way round.
- One subject per sticker, centred, filling most of the square.
- A solid contrasting outline, white by default; WhatsApp's own guidance suggests an 8 px white stroke.
- Flat colour blocks, not gradients; they compress smaller and read faster.
- No generated lettering unless you will retype it; models still misspell.
- The same character sheet, palette and line weight across the whole set.
How to make an AI sticker pack step by step
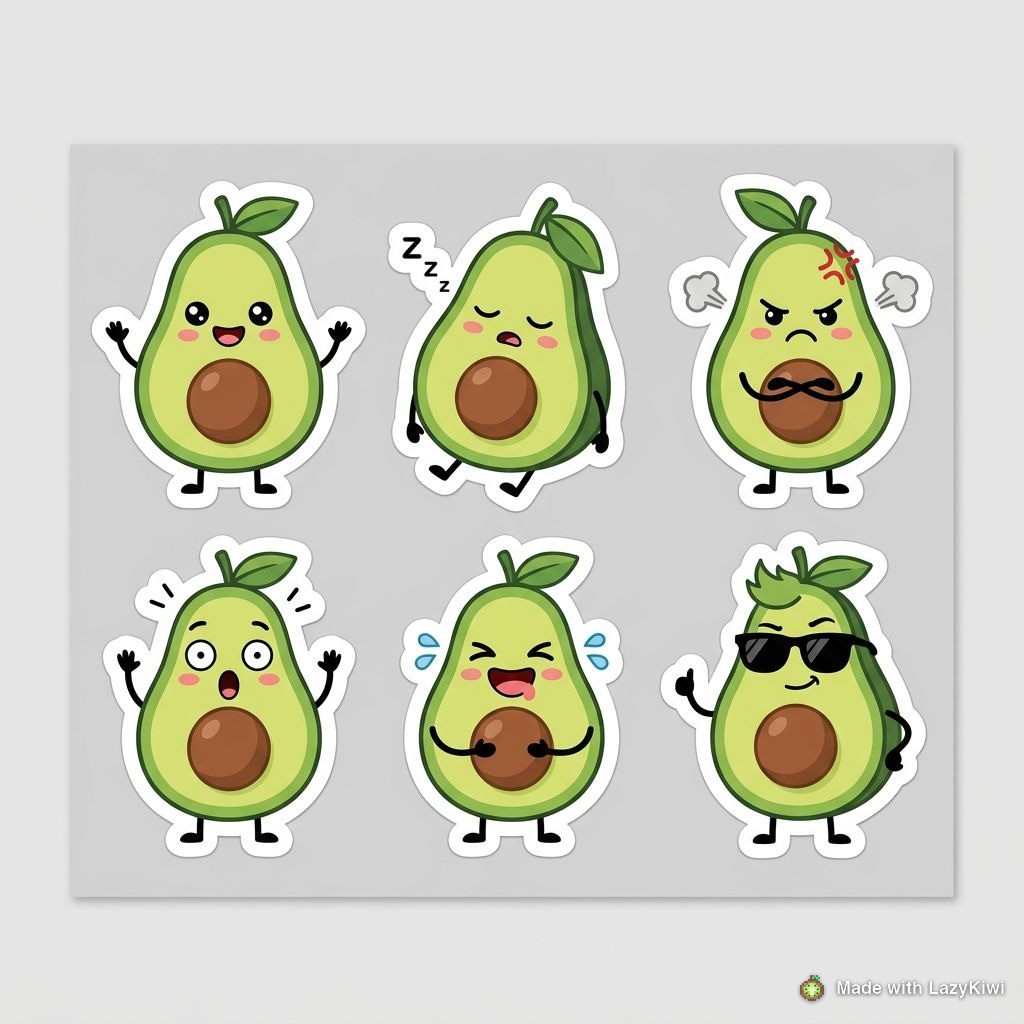
This is the pack I built for a pottery studio's group chat: one clay-covered mascot, eight reactions. Model was Nano Banana, chosen because its model page lists ten aspect ratios including 1:1 and output up to 4K, and because it renders flat vector-style shapes cleanly.
- 1
Fix the character and the style first
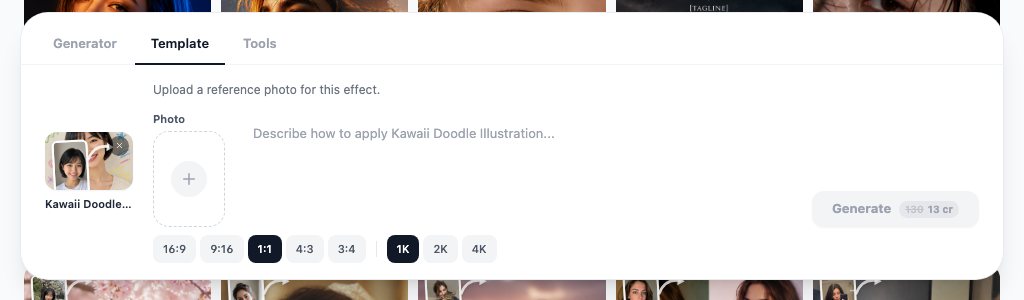
Write one paragraph describing the mascot: body shape, colours, clothing, line weight. If you are starting from a photo rather than a description, run it through a style template such as the kawaii doodle illustration or the perler bead filter so every sticker inherits the same look.
- 2
Write a base prompt with sticker rules baked in
The prompt box in the promptbox below is the one I reused eight times, changing only the emotion. The important words are 'flat solid white background', 'thick white outline' and 'no text'; the model obeys them most of the time and a re-roll fixes the rest.
- 3
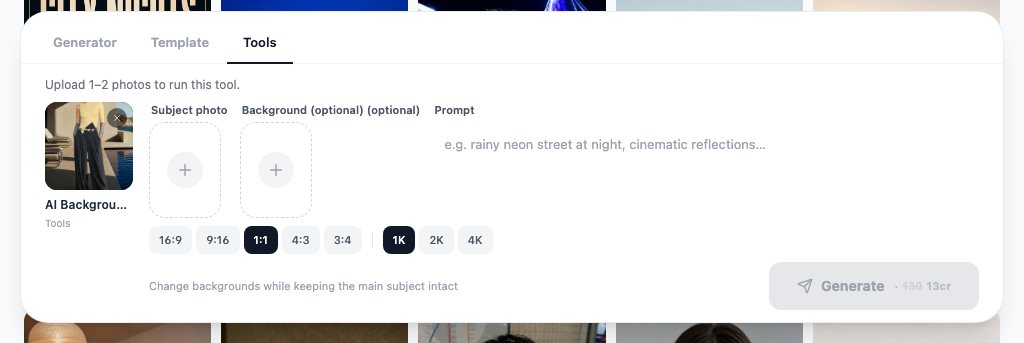
Generate the set at 1:1
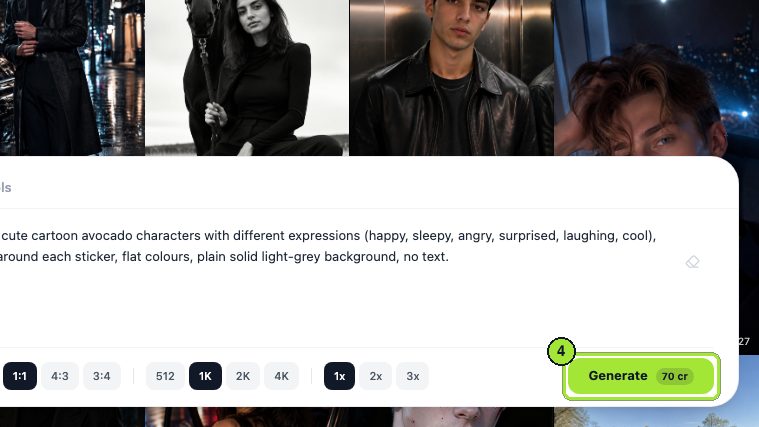
Open the AI image generator, pick Nano Banana, set 1:1 and 1K, and run each reaction. The workbench shows the credit cost on the Generate button before you commit, so you can see how far the free allowance goes. Generate two variants per reaction and keep the cleaner silhouette.
- 4
Repair strays with the photo editor
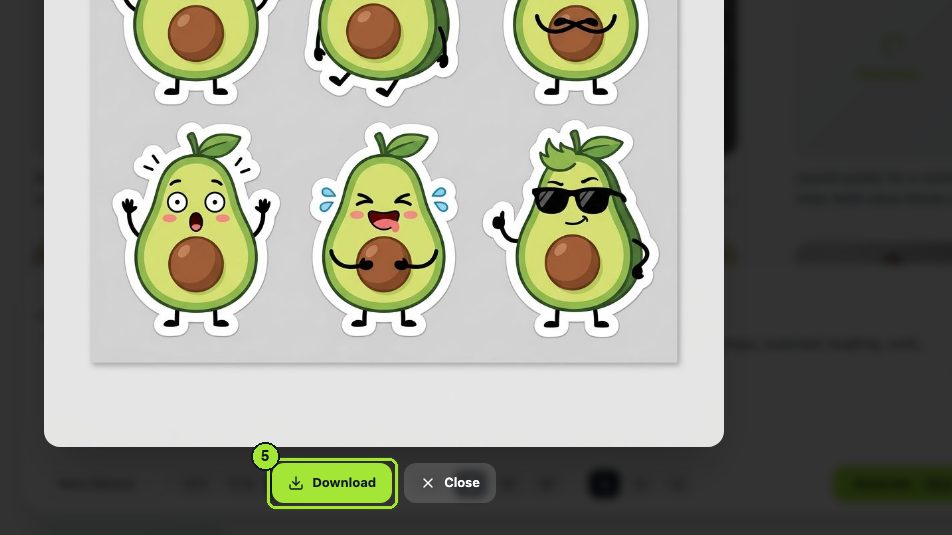
A stray shadow, a second limb or a background smudge is a one-line fix in the AI photo editor: 'remove the grey shadow under the figure' or 'clear everything behind the character'. It keeps the edges and the line weight intact.
- 5
Cut out the background
LazyKiwi's AI background changer replaces a background rather than exporting transparency; its own page says to choose a solid colour when you need a clean base. So render on flat white, then do the cutout where transparency is native: the iPhone subject lift in Photos, Telegram's in-app sticker editor, or Sticker.ly's free editor on Android and iOS.
- 6
Add the border and the padding
Apply a white stroke after the cutout, not before, so it follows the final edge. Leave a margin of transparent pixels around the stroke; a sticker that touches the canvas edge looks cropped in the tray.
- 7
Export per platform
512 x 512 WebP under 100 KB for WhatsApp, 512 px PNG or WEBP for Telegram, and PNG under 500 KB for iMessage, per the spec table in the next section. Keep the 1K masters; you will resize again when a platform changes its limits.
- 8
Assemble the pack
WhatsApp packs need between 3 and 30 stickers plus a 96 x 96 tray icon, per the WhatsApp stickers repository (2026). Telegram packs are created through the @Stickers mini app or the in-app editor, per Telegram (2026). iMessage stickers made from Photos need no pack at all.
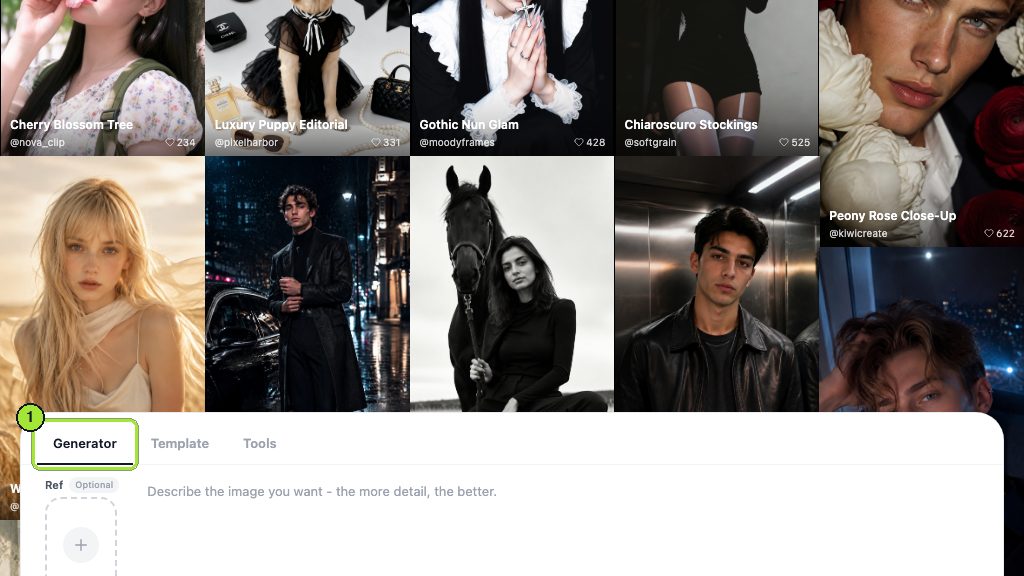
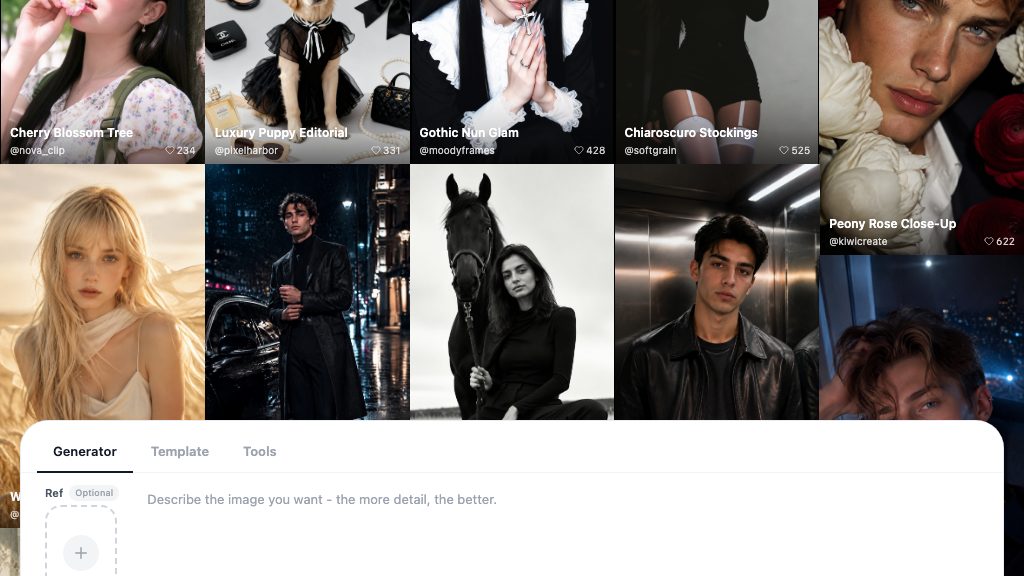
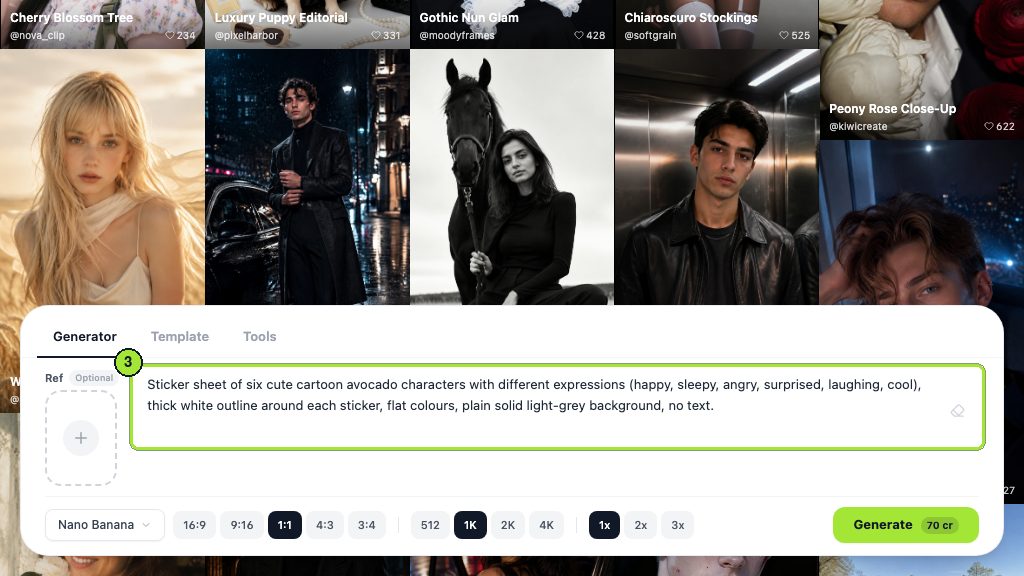
Chibi pottery mascot, round clay-coloured body, green apron, big eyes, [EMOTION], flat vector sticker style, thick white outline, flat solid white background, centred, no text, no shadow
Name files by reaction
Save each master as mascot-happy-1k.png, mascot-tired-1k.png and so on. The platform packs need consistent naming, and you will regenerate individual reactions later.
What are the sticker specs for WhatsApp, Telegram and iMessage?
These are the current published limits, read on 5 September 2026 from each platform's own documentation. The rows are for static stickers; animated limits follow the table.
| Platform (source) | Static size | Format | File limit | Pack rules |
|---|---|---|---|---|
| WhatsApp (developer repo) | Exactly 512 x 512 px | WebP | 100 KB static, 500 KB animated | 3 to 30 stickers; 96 x 96 PNG tray icon under 50 KB |
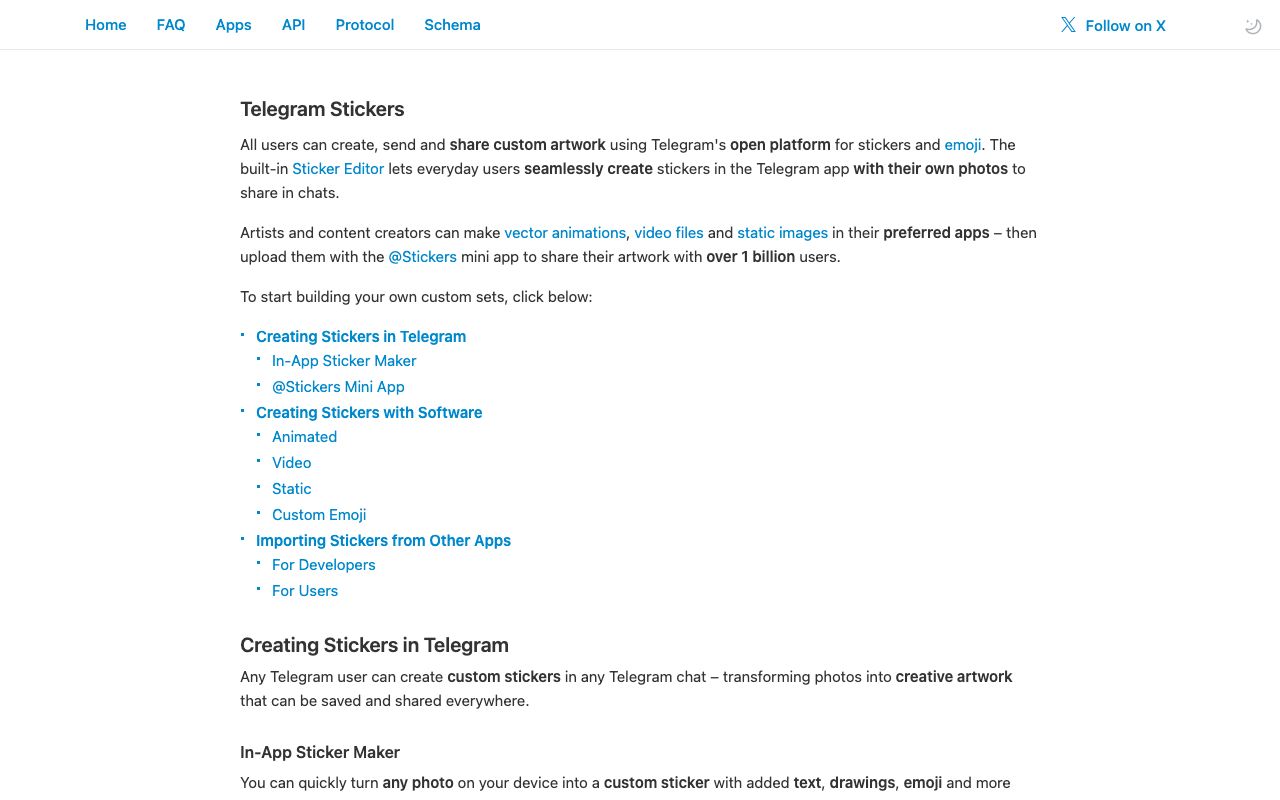
| Telegram (core docs) | One side exactly 512 px, other 512 or less | PNG or WEBP | Not stated for static | Made in-app or via the @Stickers mini app |
| iMessage (Apple HIG) | Small 300, Regular 408, Large 618 px at 3x | PNG, APNG, GIF, JPEG | 500 KB | Photos-made stickers need no pack |
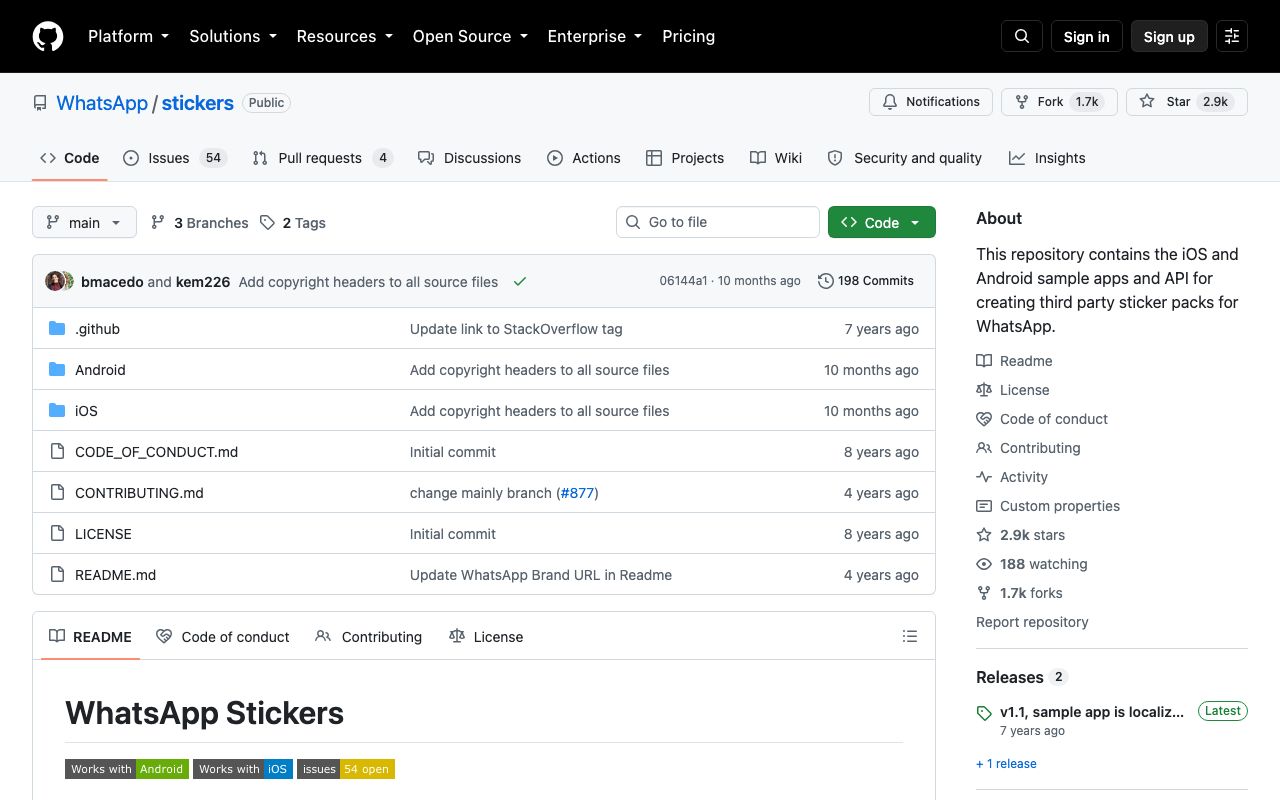
WhatsApp's animated stickers may run up to 10 seconds with frames no shorter than 8 ms and a 500 KB cap, per the WhatsApp Android README (2026). Telegram's animated TGS stickers are capped at 3 seconds, 60 frames per second and 64 KB, and video stickers at 3 seconds, 30 FPS, VP9 WEBM under 256 KB with no audio track, per Telegram sticker docs (2026).
Apple's iMessage sticker guidance sets three sizes at 3x, 300, 408 and 618 pixels square, and a 500 KB ceiling per file, per the Apple Human Interface Guidelines (2026). Regular, 408 px, is the sensible default; it downscales to the smaller sizes without a visible line-weight change.
How to make a sticker on iPhone from a photo
The iPhone route needs no third-party app and it is the cleanest cutout available, so I use it even for AI renders: generate in LazyKiwi, save to Photos, lift the subject. Apple's own steps, from the iPhone User Guide (2026), are short.
- 1
Open the photo in Photos
Tap it to full screen. For an AI render, save the 1K PNG from LazyKiwi to Photos first; the white background lifts as cleanly as a real backdrop.
- 2
Touch and hold the subject, then release
The subject separates from the background. If the lift grabs a shadow or a prop, go back to the render and remove it with the photo editor before trying again.
- 3
Tap Add Sticker
The sticker lands in the stickers menu, reachable from the keyboard and from Markup, and it syncs across your Apple devices.
- 4
Tap Add Effect for a border
Outline gives the white sticker border; Comic and Puffy are the other listed effects. Outline is the one that matches the WhatsApp and Telegram versions of the same pack.
- 5
Use a Live Photo for motion
The guide notes that a Live Photo subject becomes an animated sticker, which is the quickest animated sticker you can make without an animation tool.
Two limits. Stickers made this way live inside Apple's ecosystem; to reuse them on WhatsApp you still need the 512 px WebP export. And the lift works on the main subject only, so a sticker with two characters needs two lifts and a composite.
Which AI sticker maker tools compare best?
Five routes, checked on 5 September 2026. An AI sticker maker that generates but cannot cut out still needs one of the cutout tools, so the table scores both halves.
| Tool | Generates from a prompt | Cutout / transparency | Free tier (verified 2026-09-05) | Best for |
|---|---|---|---|---|
| LazyKiwi (Nano Banana, GPT Image 2) | Yes, any model, 1:1 up to 4K | No; render on flat white and cut out elsewhere | 40 credits a month | Consistent character sets |
| Recraft | Yes, vector and raster | Yes | Free plan; images owned by Recraft, public, non-commercial | Vector stickers for print |
| Canva sticker maker | Yes, inside the template editor | Yes | Page blocked my check (403) | People already paying for Canva |
| Sticker.ly | No; photo-based | Yes, with text tools | Free app, iOS and Android | Photo stickers straight to WhatsApp |
| Sticker Mule | No; printing service | Die-cut to your artwork | From 10 stickers; 50 for $60 | Physical stickers from the same art |
Recraft AI sticker generator
Recraft's strength is vector output, which means a sticker you can scale to a T-shirt without redrawing. Its pricing page states that images made on the Free plan are owned by Recraft, shown publicly in the community gallery and not licensed for commercial use, per Recraft pricing (2026), so a shop needs a paid plan from the first sticker.
Canva AI sticker generator
Canva's sticker maker page answered every request today with a 403, so I cannot confirm its current AI limits or free allowance. Treat it as the template route: convenient if your brand kit already lives there, and worth checking the plan page yourself before a commercial pack.
Sticker.ly and Sticker Mule
Sticker.ly describes itself as a photo editor that turns photos into stickers with background removal and text, publishes packs with no fees, and exports to WhatsApp, per Sticker.ly (2026). Sticker Mule prints die-cut vinyl from your artwork, from 10 stickers per order and 50 for $60 with free shipping in 4 days, per Sticker Mule (2026); the same 1K masters work there.
Is there a free AI sticker generator?
Yes, with conditions attached to every free tier. Searching for an AI sticker generator free of watermarks and licence traps narrows the field fast, so here is what each free option actually permits.
- LazyKiwi: 40 credits a month on the Free plan, refreshed monthly, per LazyKiwi pricing (2026). That prototypes a small set; a full 30-sticker WhatsApp pack with variants needs Starter.
- Recraft Free: usable, but the output is owned by Recraft, public and non-commercial per its pricing page. Fine for a family chat pack, not for a shop.
- Sticker.ly: free and built for WhatsApp, with no generation; pair it with LazyKiwi renders.
- iPhone Photos: free with the phone, and the best cutout of the lot. Not a generator either.
- Canva Free: unverified today; the page blocked automated checks.
On rights, two things are worth reading before you sell a pack. The U.S. Copyright Office keeps its registration guidance for works containing AI-generated material and its report on the copyrightability of generative AI output on one page, copyright.gov/ai (2026); register the human-authored parts, the character design and edits, not the raw render. And if you post the art on Instagram or Facebook, Meta applies an 'AI info' label when it detects industry-standard AI signals or when you disclose, per Meta Newsroom (2024).
What mistakes make AI stickers look bad in chats?
Every bad AI sticker I have seen in a group chat fails on one of six things, and all six are fixable before export.
- Thin or missing outline. On a dark-mode bubble a sticker without a border dissolves; add the stroke after the cutout.
- Busy background left in. A lift that keeps a corner of the original backdrop looks like a photo, not a sticker.
- Tiny text. Words the model painted at 1K vanish at 512 px and are usually misspelt anyway.
- Inconsistent style. Eight stickers from eight prompts read as eight characters; reuse one base prompt and one model.
- Wrong canvas. A 4:3 render squeezed into 512 x 512 either crops the subject or leaves dead space on two sides.
- Oversized files. A 1K PNG dropped straight into a WhatsApp pack fails the 100 KB rule; export WebP at 512 px.
The fastest check is to send the pack to yourself and view it on a phone in both light and dark mode. If a sticker needs a second look to understand, cut it or redraw it; a pack of six clear stickers beats a pack of thirty muddy ones.
Key takeaways
- WhatsApp wants exactly 512 x 512 WebP under 100 KB and packs of 3 to 30 stickers with a 96 x 96 tray icon; Telegram wants one side exactly 512 px in PNG or WEBP.
- Apple's iMessage guidance sets 300, 408 and 618 px sticker sizes at 3x with a 500 KB ceiling; the iPhone Photos subject lift is the cleanest free cutout.
- Generate on a flat white background with a thick white outline and no text; LazyKiwi's Nano Banana handles the set, but the transparent cutout happens outside LazyKiwi.
- Recraft's free plan output is owned by Recraft and non-commercial; check rights before selling any pack, and register only the human-authored parts.
- Reuse one base prompt and one model for the whole set, then test the pack on a phone in dark mode before publishing.
Image & Design Editor
Maya Chen
I spend my days inside image tools, testing prompts and settings on real photos so the steps here match what you actually see on screen.
FAQ
Common questions
How do I make AI stickers for WhatsApp?
Generate each sticker on a flat white background at 1:1, cut out the subject (iPhone Photos, Telegram's editor or Sticker.ly), add a white outline, then export exactly 512 x 512 WebP under 100 KB. A pack needs 3 to 30 stickers and a 96 x 96 PNG tray icon under 50 KB; WhatsApp's developer repository has the sample apps and the full rules.
Can I sell AI-generated stickers?
It depends on the tool's licence and on what you added. Recraft's free plan output is non-commercial and owned by Recraft. The U.S. Copyright Office treats purely machine-made material differently from your own character design and edits, so sell packs built on your own design, keep prompts and edit history as evidence, and use a printer such as Sticker Mule for physical versions.
What size should Telegram stickers be?
One side must be exactly 512 pixels and the other 512 or less, in PNG or WEBP for static stickers. Animated TGS stickers use a 512 x 512 canvas, run up to 3 seconds at 60 FPS and stay under 64 KB; video stickers are VP9 WEBM up to 3 seconds and 30 FPS under 256 KB with no audio. Custom emoji are 100 x 100 pixels.
How do I remove the background from an AI sticker?
Render on a flat solid colour first so the edge is clean, then use a tool that exports transparency: the iPhone Photos subject lift (touch and hold, Add Sticker), Telegram's in-app sticker editor, or Sticker.ly. LazyKiwi's background changer swaps backgrounds rather than exporting a transparent PNG, so use it for a clean white base, not for the final cutout.
Does Canva have an AI sticker generator?
Canva offers a sticker maker inside its template editor with AI generation built in, but its page returned a 403 to my checks on 5 September 2026, so I could not confirm the current free allowance or AI limits. If you already pay for Canva, open the sticker maker and check the plan page yourself; otherwise LazyKiwi plus a free cutout tool covers the same job.
Generate the set, then cut it out
Open the LazyKiwi generator with Nano Banana selected, paste the base prompt above with your own character, and render the first reaction at 1:1 on the free plan.
Keep reading
9 Canva Alternatives for Templates, Editing, and AI
Compare nine Canva alternatives with clear best-use cases, strengths, limitations, and free-option guidance for templates, editing, collaboration, and AI visuals.
8 min read
AI GIF Generator: Turn Short Videos Into Reaction Memes
Use an AI GIF generator to convert short clips or simple prompts into polished reaction GIFs, memes, social replies, and looping animations.
8 min read
How to Use an AI Coloring Page Generator for Better Printables
Create original coloring sheets for children, classrooms, gifts, and seasonal activities with a practical AI workflow that starts with a clear prompt.
8 min read
How to Use an AI Wallpaper Generator for Desktop and Mobile
Learn how to use an ai wallpaper generator with reliable prompt formulas, device-specific layouts, refinement tips, and ready-to-try creative ideas.
8 min read