
Photo to Anime AI: Turn a Portrait Into Anime Art and Video
A photo to anime AI pipeline that keeps your likeness: fusion filter or anime avatar, upscale, then a breathing anime video. Free routes checked today.
 Maya Chen 11 min read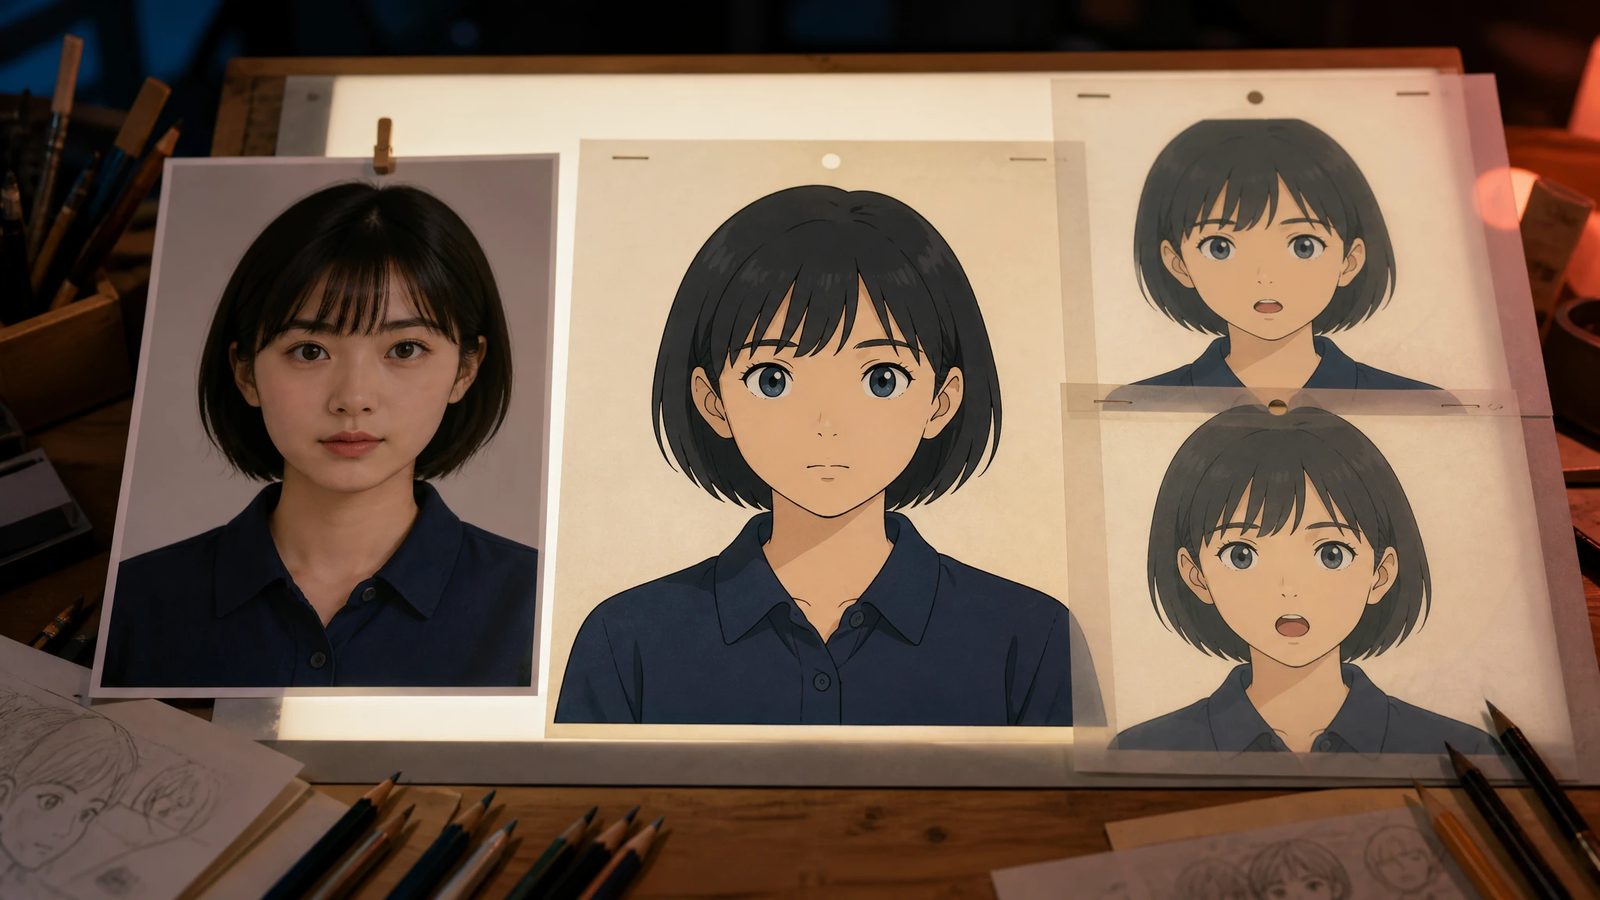
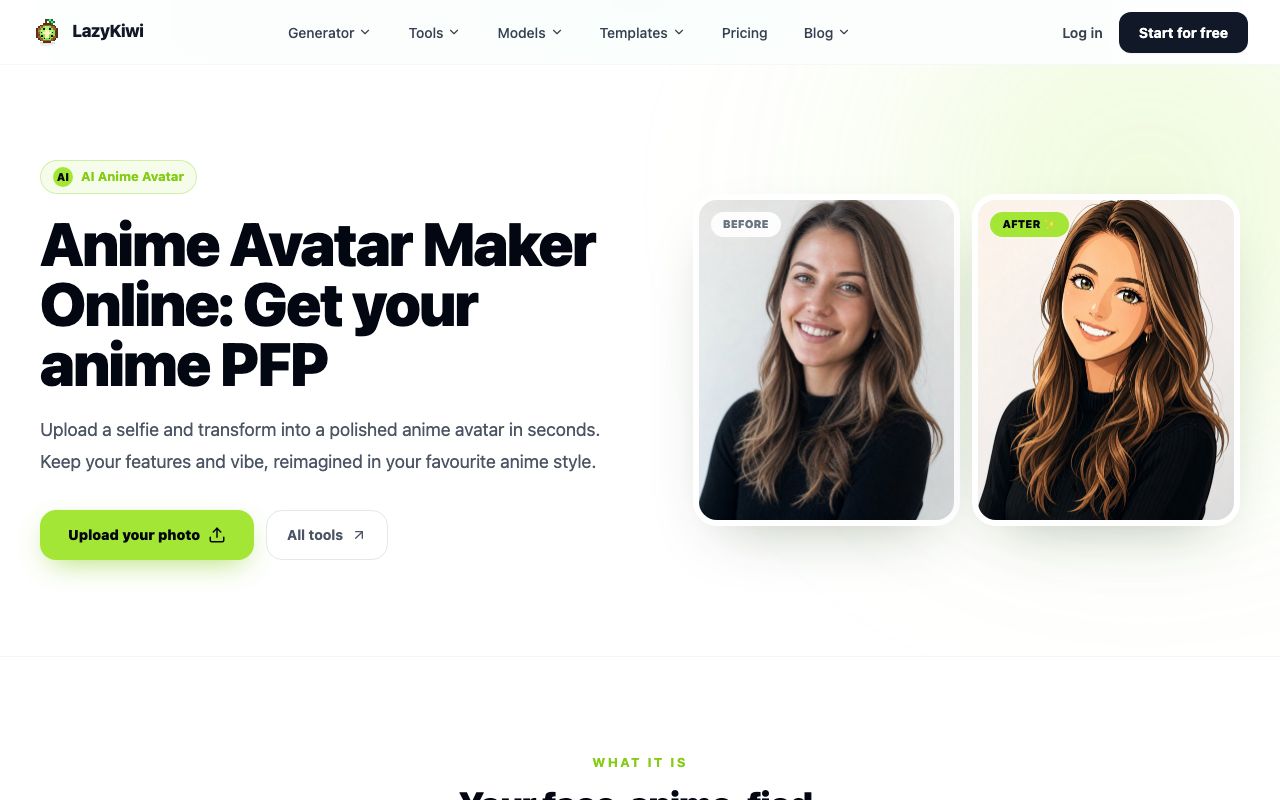
Photo to anime AI takes a real portrait and redraws it as anime while keeping the face structure that makes it you: eye spacing, jaw, hairline, glasses. Done well it is a two-part job. First the still, in the LazyKiwi AI image generator with the anime fusion filter or the anime avatar tool; then the motion, with a template that adds breathing and blinks to the finished portrait. This guide runs the whole pipeline on one selfie, lists which photos convert cleanly, checks which free and no-sign-up options are real as of today, and gives style prompts for shonen, shojo, 90s cel and chibi.
What does photo to anime AI actually do?
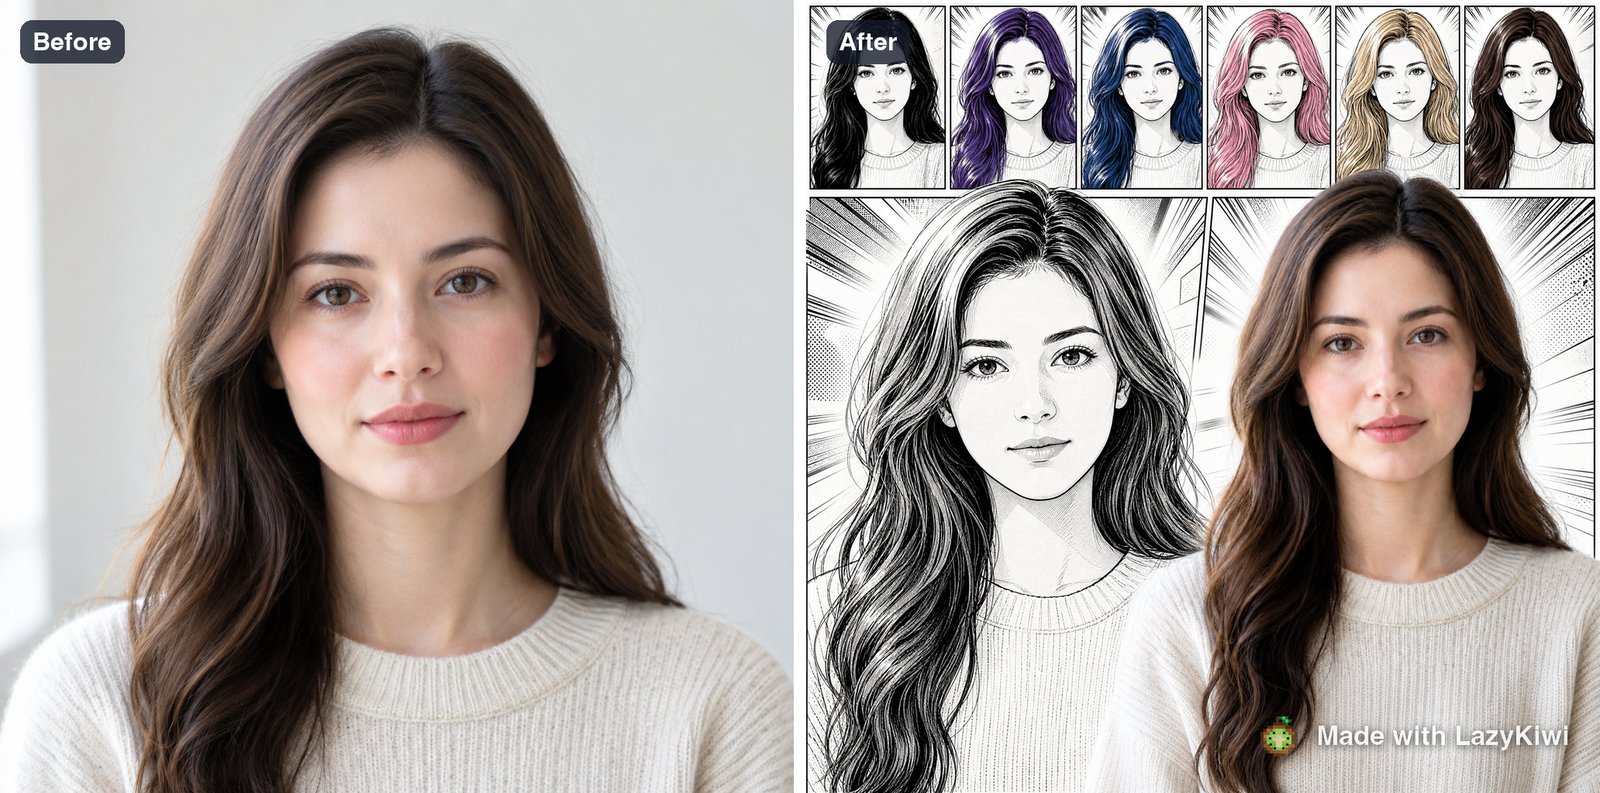
Two mechanisms hide behind the same label. Style transfer keeps your pixels as the skeleton and repaints the surface: lighting, expression and pose survive, and the result looks like you traced in ink. Regeneration reads your photo as a reference and draws a new image in the target style: cleaner anime proportions, bigger eyes, but a higher chance the person drifts. The anime fusion filter in LazyKiwi sits on the transfer side; the anime avatar tool and text-plus-reference models such as Seedream 5.0 sit on the regeneration side.
What survives and what changes?
| Feature | Style transfer (fusion filter) | Regeneration (avatar tool, reference models) |
|---|---|---|
| Face structure | Kept almost entirely | Kept if named in the prompt |
| Lighting and expression | Kept from the photo | Re-lit to match the style |
| Eyes and proportions | Slightly stylised | Anime proportions, larger eyes |
| Background | Simplified, same layout | Replaced by whatever the prompt says |
| Likeness risk | Low | Medium; needs a trait list |
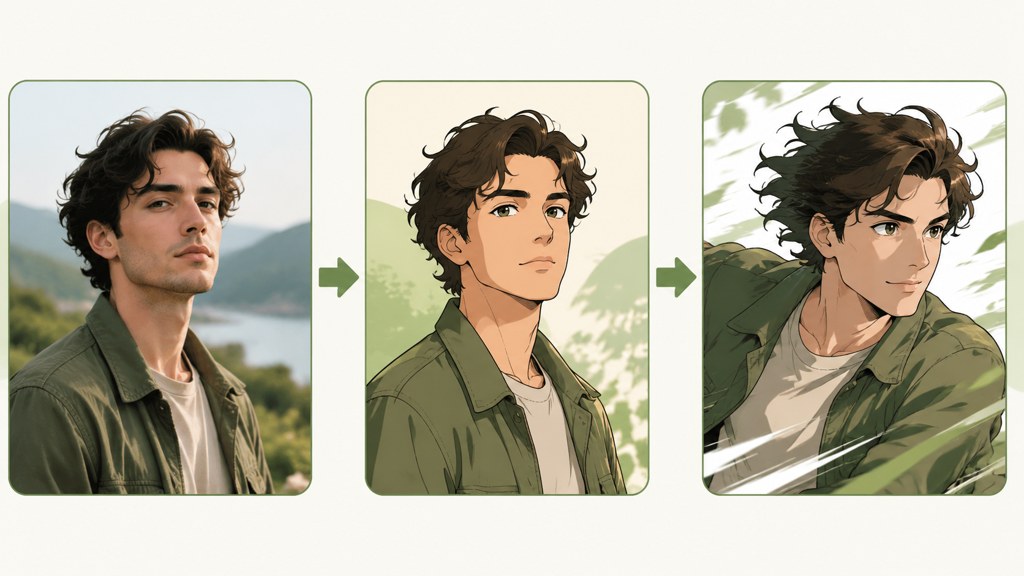
Pick by the job. Any ai photo to anime converter you try will lean one way or the other, so ask which mechanism it uses before judging its output. A profile picture that should still be recognisable at thumbnail size wants transfer. A character card, a visual novel sprite or a channel mascot wants regeneration, because it can change the outfit and the framing. Many people run both: transfer for the avatar, regeneration for the poster.
How to turn a photo into anime step by step
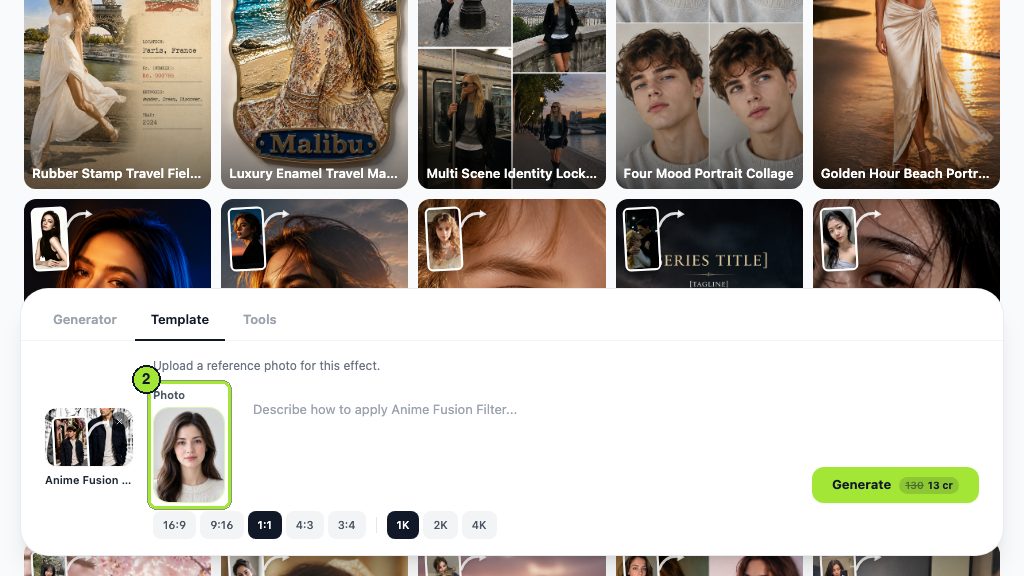
The whole still-image pass, from raw selfie to upscaled art, costs a few credits and about five minutes. To turn photo into anime with the least drift, the steps use the template route first, then the tool route for people who want more say in the style.
- 1
Crop before you upload
Square for avatars, 4:5 or 9:16 for posts. Keep the full hairstyle and a little shoulder in frame; the converter uses the hair outline as much as the face to hold identity.
- 2
Run the anime fusion filter
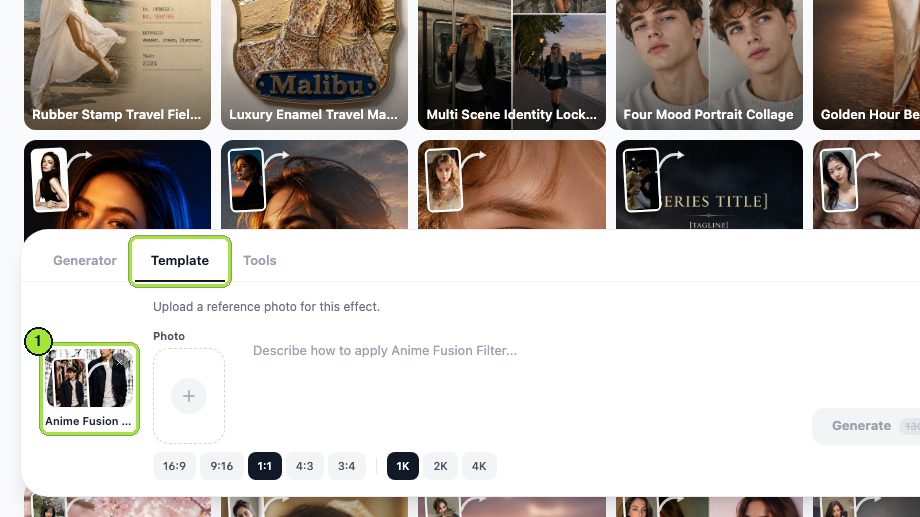
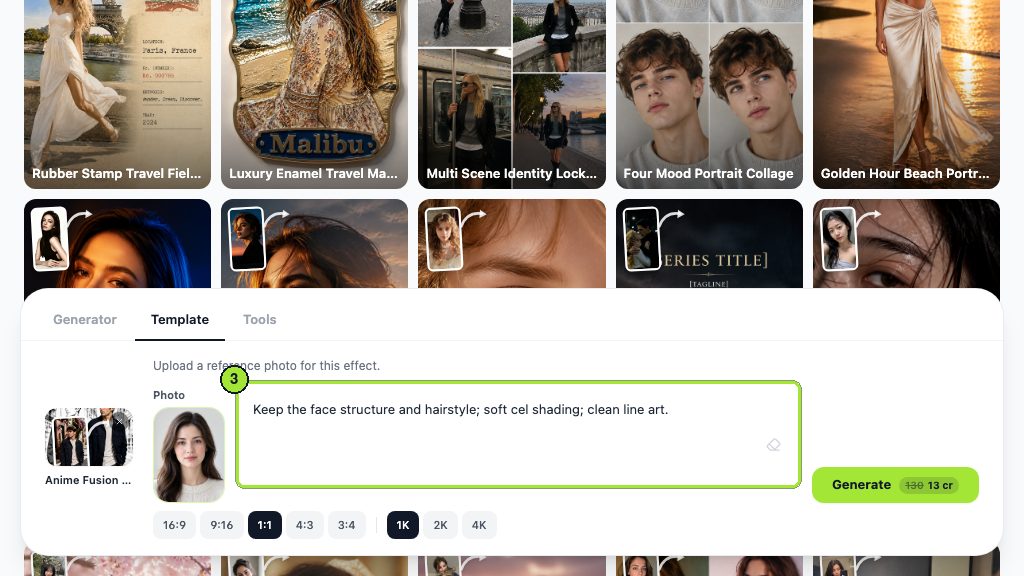
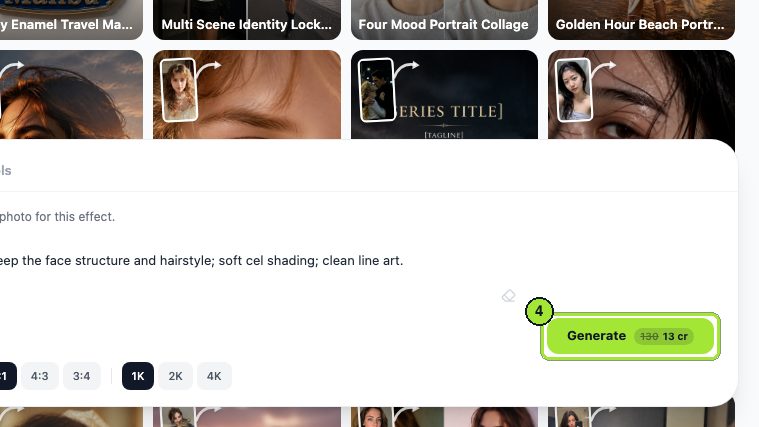
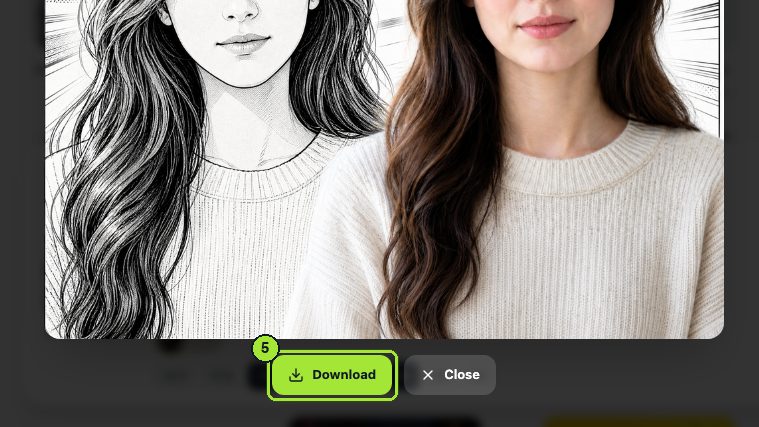
Open the anime fusion filter, drop in the portrait and generate. The template keeps natural lighting and expression and adds soft linework, cel-shading and screen tones on top, which is why it is the safest first pass for likeness.
- 3
Try the avatar route for a cleaner drawing
For a crisper illustration, use the AI anime avatar generator: upload the same photo, pick a style or describe one, and generate. It preserves features, hairstyle and expression while redrawing everything as line art, so compare it against the filter output at full size.
- 4
Fix one thing per rerun
If the glasses vanished, say 'keep the round silver glasses'; if the skin tone shifted, name it. Change one instruction at a time so you can tell what moved the result.
- 5
Upscale the keeper
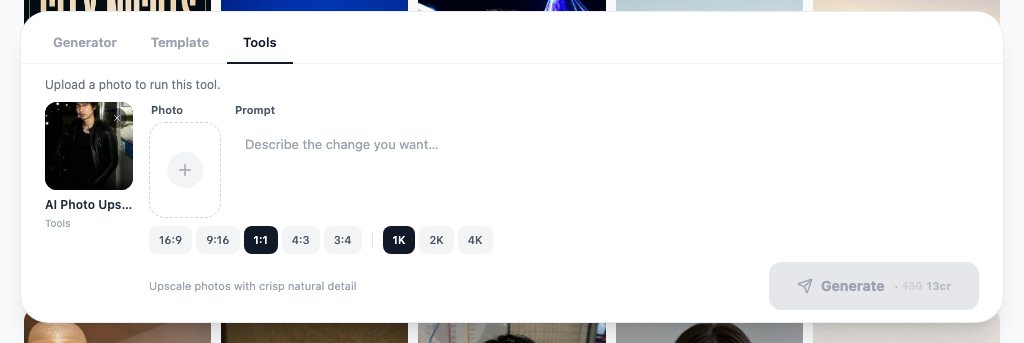
Anime flats and thin lines break up under platform compression. Send the final through the AI photo upscaler at 2x for social or 4x for print and export the PNG.
Text route for full control
If neither template nor tool gives the exact look, open Seedream 5.0 in text mode, attach the photo as a reference image and write the style yourself using the prompts further down. It costs the same credits and gives you the framing and outfit as well.
How to turn an anime portrait into a video
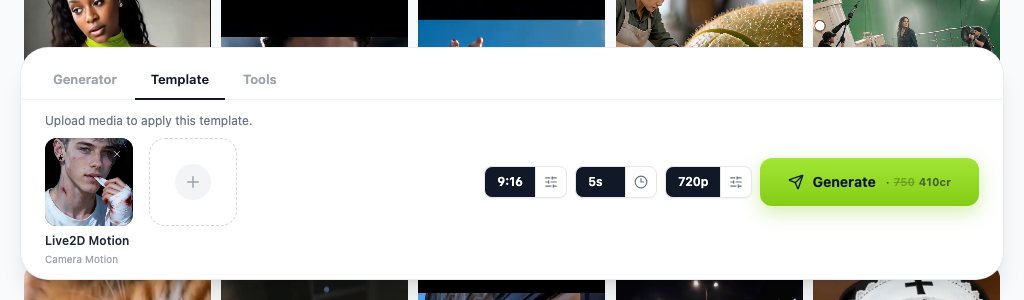
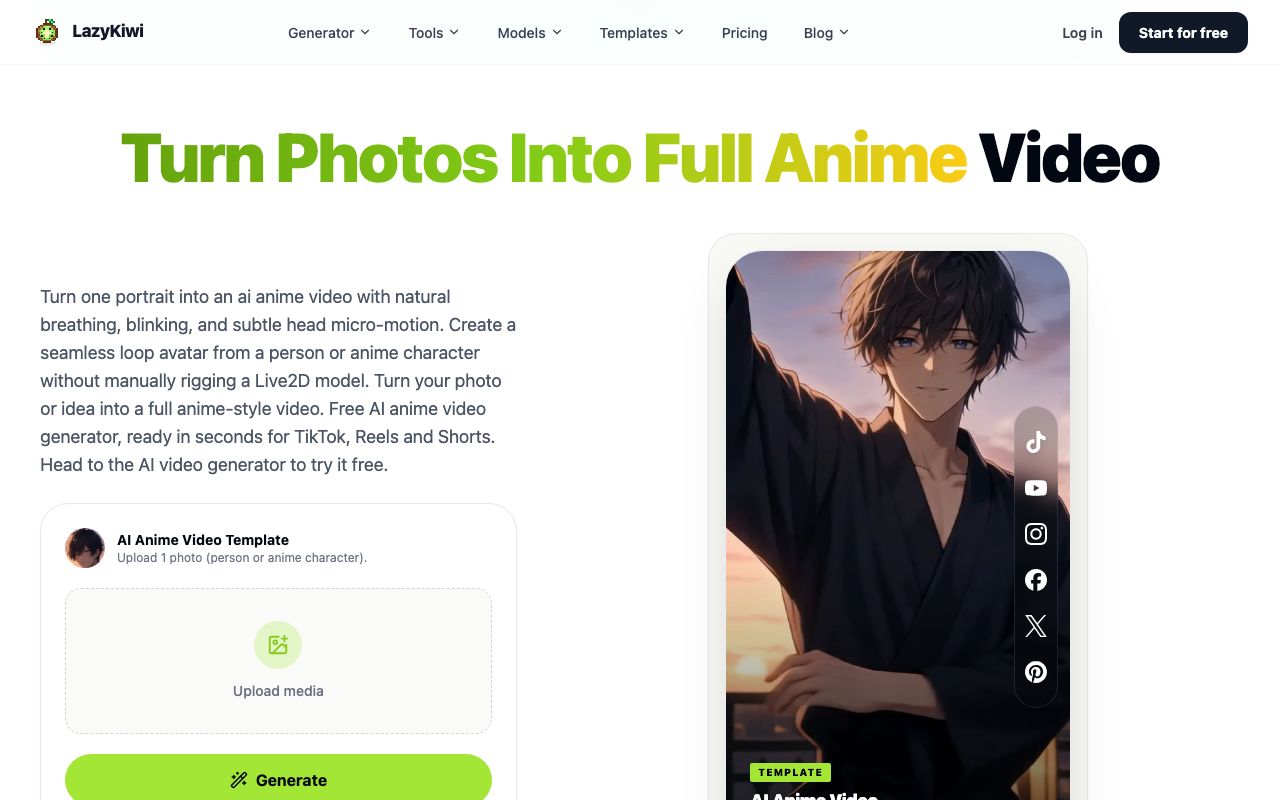
This is the photo to animation ai step, and it needs an approved still. The AI anime video template takes one photo of a person or an anime character and returns a loop with breathing, timed blinks and a slight head sway, without rigging a Live2D model. It is built to leave linework, colours, accessories and clothing where they were, so the loop reads as a living portrait rather than a redrawn scene.
Which video route fits which result?
- Idle loop for a profile, stream overlay or channel intro: the anime video template, one photo in, short loop out.
- A bigger move, such as a turn toward camera or a walk: image-to-video with Kling v3 Omni, opened as image-to-video in the video workbench, with a one-sentence motion prompt.
- A speaking version: a talking-avatar template in the same video workbench, driven by a short script. Approve the still before you add a mouth; every drift is louder once it moves.
- The reverse trick, an anime character becoming lifelike or a real portrait becoming anime as a paced transition: the anime to real life template, which runs in either direction.
Disclosure rules follow the loop onto the platform. On Facebook and Instagram, detected or self-declared AI material carries an 'AI info' tag, as described by the Meta Newsroom (2024); on TikTok, the synthetic media policy covers realistic AI imagery, audio and video, as set out in the TikTok Newsroom (2023). A stylised anime idle loop sits outside 'realistic'; a talking clip of a real person sits close enough that switching the label on is the sensible default.
Which photo works best for anime conversion?
Most bad conversions are bad photos. We converted the same person from six different shots; the table is what changed the result most, in order.
| Factor | Converts cleanly | Converts badly | Why it matters |
|---|---|---|---|
| Lighting | Window light from the front or side | Flash from below, hard midday shadows | Anime shading is drawn from the light direction; harsh light becomes black blotches |
| Angle | Front or slight three-quarter | Profile, tilted phone-from-below | Feature mapping expects both eyes and the full mouth |
| Resolution | Original camera file | Screenshot, chat-app compressed copy | Line art needs edges; compression removes them |
| Background | Wall, sky, plain curtain | Crowd, foliage, patterned wallpaper | Busy shapes leak into hair and clothing |
| Obstructions | Nothing across the face | Hair over eyes, hand on chin, sunglasses | Hidden features get invented, usually wrong |
| Expression | Relaxed, slight smile | Wide open mouth, squint | Extreme expressions distort anime proportions |
One more filter: the photo should be yours or used with permission. Converters cannot tell the difference, but platforms and clients can, and consent is the question that comes up first when a stylised face of a real person is posted.
Is there a free photo to anime AI with no sign-up?
Honest answer for 2026-09-05: the tools that take your photo want an account, and the tools that need no account mostly draw original anime faces rather than converting yours. Searches for photo to anime ai free no sign up land on both kinds, so the table separates them. Every row was checked on the vendor's own site today; two vendors load their feature inside a JavaScript app, which is noted.
| Tool | Takes your photo? | Free access (checked 2026-09-05) | Account |
|---|---|---|---|
| LazyKiwi | Yes: fusion filter, anime avatar, reference models | Free plan, 40 credits a month | Sign-up |
| Waifu Labs | No: draws original portraits from your picks | Free, per its site | None stated on the site |
| PixAI | Yes, via community models | Free to start, per its site | Sign-in |
| NovelAI | Yes, image-to-image | Free start, then paid plans | Sign-up |
| Picsart | Yes, inside the editor | Feature loads in-app; check the plan there | In-app |
| Fotor | Yes, inside the editor | Feature page redirects to the web app | In-app |
Waifu Labs is the one true no-sign-up option, and it is not a converter: its site says it learns your preferences and draws a character illustration for you, and that it is free to use, per Waifu Labs (2026). PixAI advertises free starts on a large library of community models and LoRAs, per PixAI (2026), and NovelAI's image tool includes image-to-image and multi-character prompts, per NovelAI (2026). The Picsart anime generator page and the Fotor anime filter page both open their editors, where any watermark and export limits live.
The photo to anime ai free route on LazyKiwi is the Free plan: a credit allowance that refreshes monthly, enough for a fusion pass, an avatar pass and an upscale of the same photo, with the anime video template on the same credits once you like the still.
Which anime styles can you prompt for?
Templates carry a fixed style; the avatar tool and the text route let you describe one. The recipes below are written for Seedream 5.0 with the photo attached as a reference, and they also work in Nano Banana when you want a fast draft in a wide aspect ratio. Describe the drawing, not a franchise; named shows and artists pull the face away from you.
Anime portrait of the referenced person, sharp angular linework, high-contrast cel shading, determined expression, dynamic three-quarter angle, wind in the hair, dark blue gradient background, keep the face shape, hairline and glasses from the photo.
Anime portrait of the referenced person, fine delicate lines, large luminous eyes with layered highlights, pastel pink and cream palette, soft bloom lighting, floral background, gentle smile, keep the hairstyle and skin tone from the photo.
Retro 90s anime cel portrait of the referenced person, thick ink outlines, flat two-tone shading, muted palette, slight film grain, VHS softness, simple sunset background, keep the face proportions from the photo.
Chibi anime version of the referenced person, two-head-tall proportions, oversized head, tiny body, rounded features, bold clean lines, bright flat colours, plain white background, keep the hair colour, hairstyle and glasses.
- Always end with a 'keep' clause listing three traits; it is the cheapest likeness insurance.
- Use one lighting phrase per prompt; two fight each other and the shading goes muddy.
- For a series, reuse the exact same style sentence and change only the pose or background.
- For the painted, hand-drawn film look, the Ghibli-style template in the workbench is faster than a prompt, and the ai cartoon generator guide linked below covers it.
What mistakes make anime conversions look generic?
Generic means pretty but not you. The failures repeat, and each has a fix that costs one more generation at most.
- Identity loss: the prompt never said what to keep. Add the keep clause and compare eye spacing, jaw width and hairline against the photo, not overall prettiness.
- Flat lighting: the source was evenly lit from the front with no shadow at all, so the shading had nothing to follow. Reshoot with light from one side.
- Wrong eye size: the style asked for shojo eyes on a face that reads as adult and serious. Use the shonen or 90s cel recipe, which keeps eyes closer to natural.
- Default pose: every output is a centred bust with a neutral stare. Ask for a specific angle and a specific gesture, or run the pose through the reference route.
- Accessory drift: glasses, earrings and piercings are treated as optional. List them by name in the keep clause.
- Compression blur: a converted image was exported and re-uploaded several times. Keep the upscaled PNG as the master and derive crops from it.
Ownership works the way it does for any AI picture. In its copyrightability report the U.S. Copyright Office draws the line at human control: wholly machine-made output gets no protection, whereas your own perceptible contribution does, as the U.S. Copyright Office (2026) sets out. The photo you took and the edits you make are that contribution; date-stamp them if the character will ever be licensed.
Key takeaways
- Use the anime fusion filter for likeness (style transfer) and the AI anime avatar tool or Seedream 5.0 with a reference for a cleaner redraw (regeneration).
- Front or three-quarter angle, side window light, plain background and the original camera file are the four photo factors that decide the result.
- The AI anime video template turns one approved still into a breathing, blinking loop; Kling v3 Omni image-to-video handles bigger moves.
- Truly no-sign-up tools (Waifu Labs) draw original faces rather than converting yours; converters, including LazyKiwi's Free plan with 40 monthly credits, need an account.
- End every prompt with a 'keep' clause naming three traits, and upscale the keeper 2x or 4x before it goes anywhere near platform compression.
Image & Design Editor
Maya Chen
I spend my days inside image tools, testing prompts and settings on real photos so the steps here match what you actually see on screen.
FAQ
Common questions
How do I turn a photo into anime for free?
Sign up for a free tier and use its allowance. On LazyKiwi the Free plan grants 40 credits a month, listed on the pricing page, which covers a fusion filter pass, an anime avatar pass and an upscale of the same portrait. Tools with no account at all, such as Waifu Labs, generate original anime faces rather than converting your photo, so they answer a different need.
Can I animate an anime photo?
Yes. Upload the finished anime portrait to the AI anime video template in the video workbench and it returns a loop with breathing, blinks and a small head sway, keeping the linework and colours in place. For a larger movement, use image-to-video with Kling v3 Omni and a one-sentence motion prompt; for speech, a talking-avatar template on the same still.
Which AI is best for photo to anime?
For likeness, a style-transfer filter such as the anime fusion filter, because it keeps your lighting and expression. For a cleaner illustration with a chosen style, the anime avatar tool or Seedream 5.0 with your photo as a reference and a keep clause in the prompt. Run the same photo through two routes and compare at full size; the better one depends on the face.
Does photo to anime AI work for group photos?
It works, but each face gets a smaller share of the pixels, and the smallest face drifts first. For two people a tight crop is usually fine. For three or more, crop each person out, convert them with the same template and the same style sentence, upscale each, and rebuild the group in an editor; that keeps every likeness and costs only a few extra credits.
Can I use anime AI images commercially?
Check three things: the tool's licence for outputs, the rights to the source photo (your own, or with the subject's consent), and whether the prompt named any protected character or brand. Under current U.S. Copyright Office guidance the AI-generated part is not itself protected, so your edits, cropping and any hand-drawn additions are what you own. Keep dated files of that work.
Convert your portrait to anime
Start with the anime fusion filter to keep your likeness, compare it with the anime avatar tool, then turn the keeper into a breathing anime video.
Keep reading
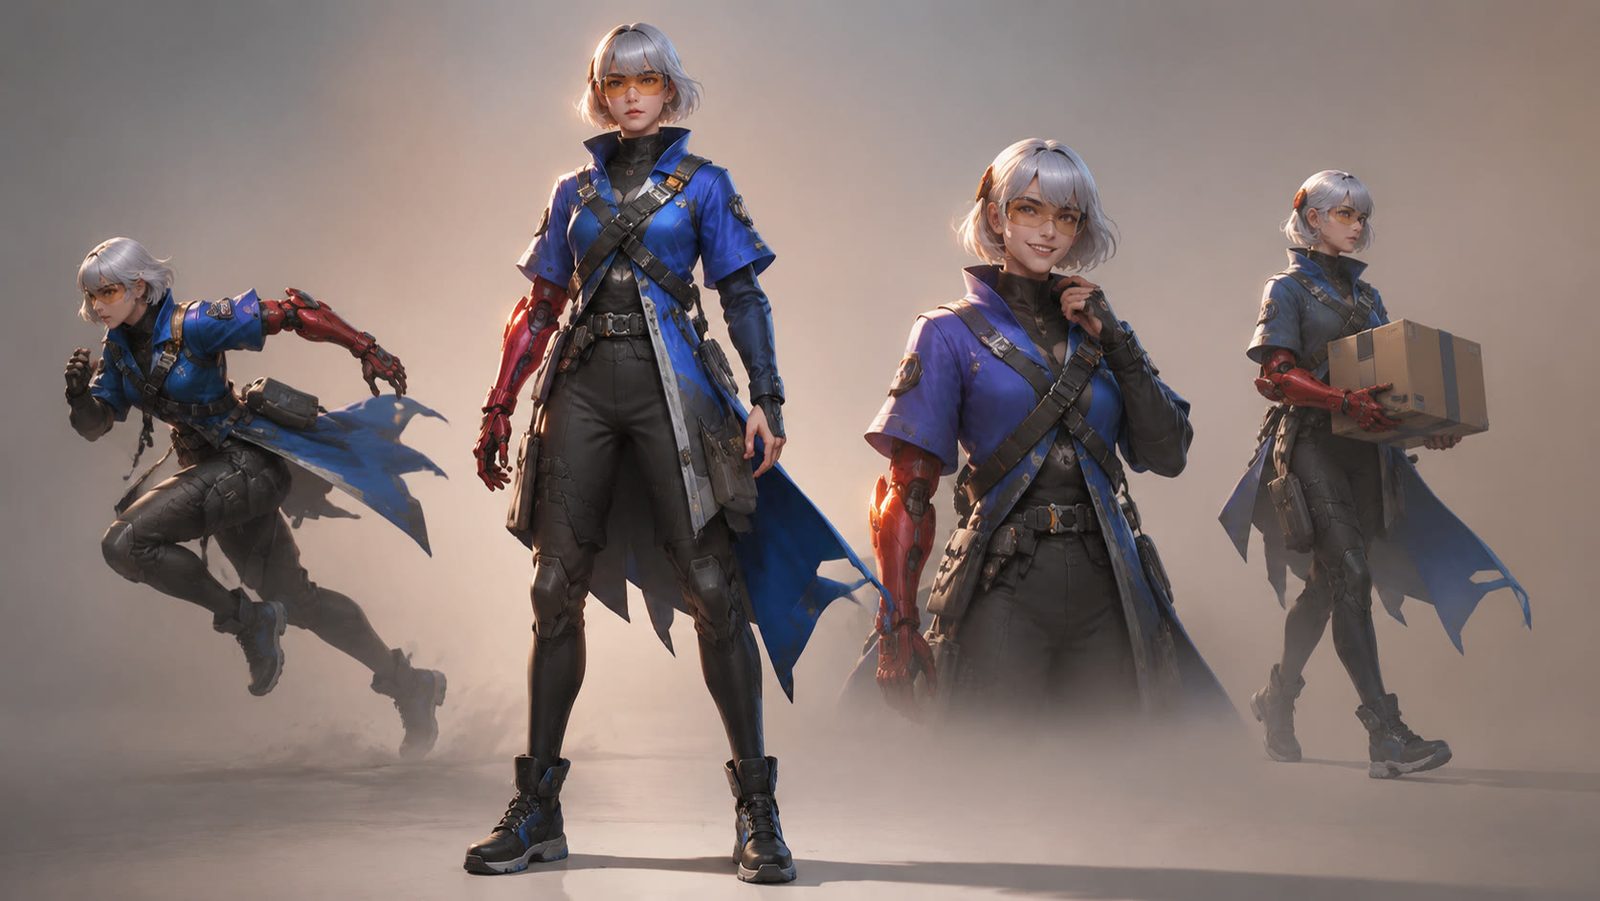
How to Use an AI Character Generator for Consistent Designs
Turn a clear concept into reusable character art with an AI character generator, structured prompts, reference details, and a simple iteration workflow.
8 min read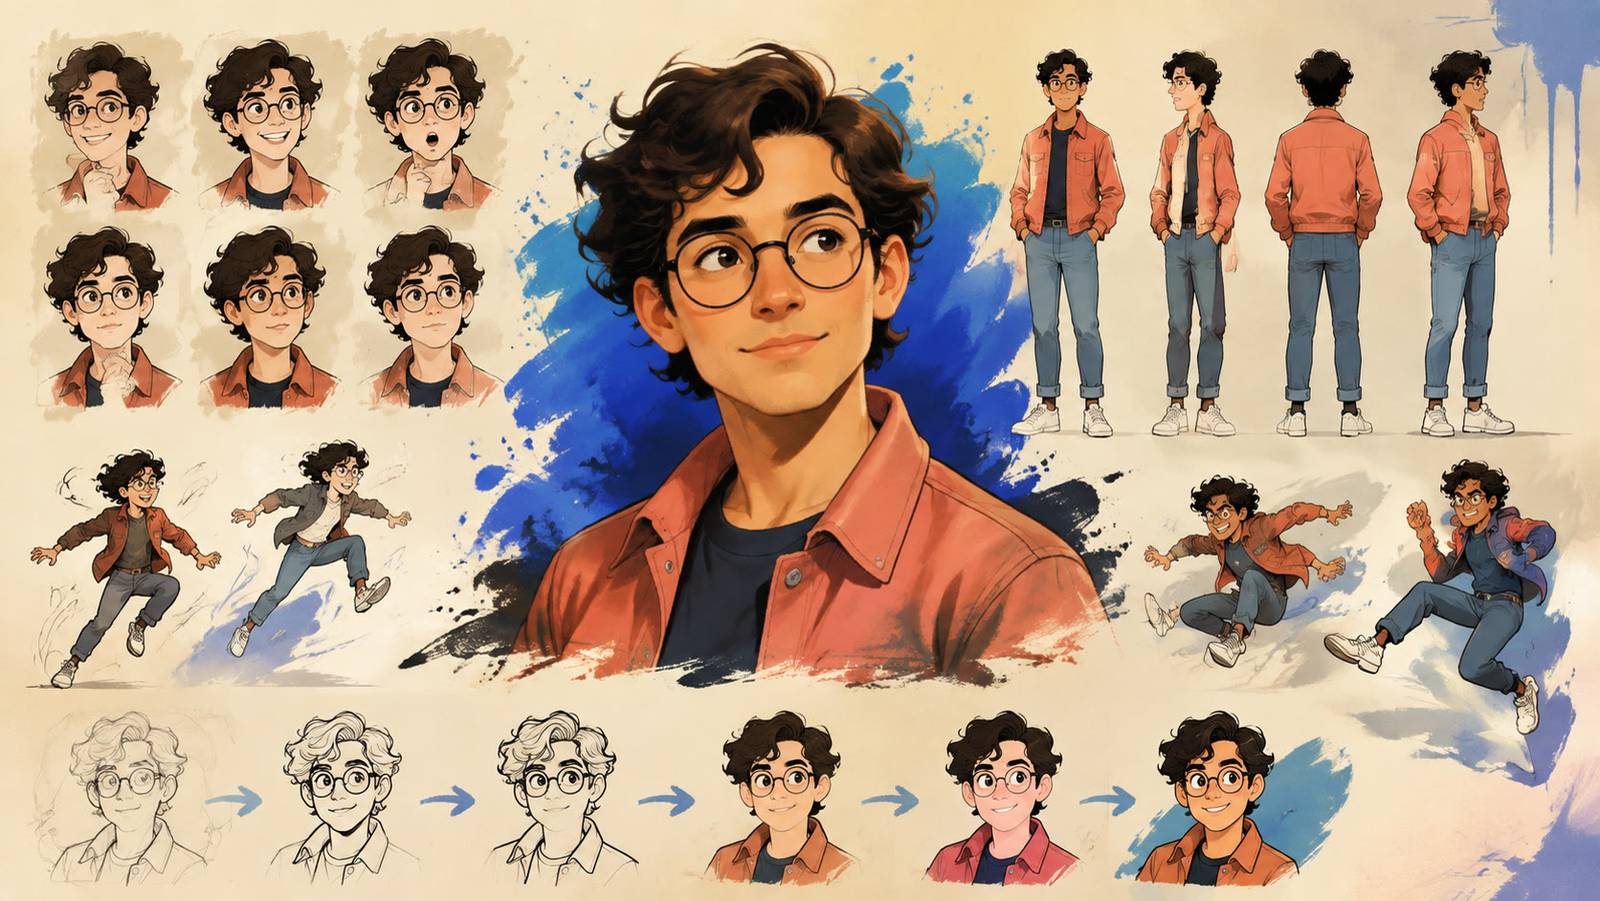
How to Use an AI Cartoon Generator for Better Images and Videos
An ai cartoon generator can turn a portrait, product photo, or original idea into a polished cartoon visual. Here is how to choose a workflow, write useful prompts, and improve the result.
8 min read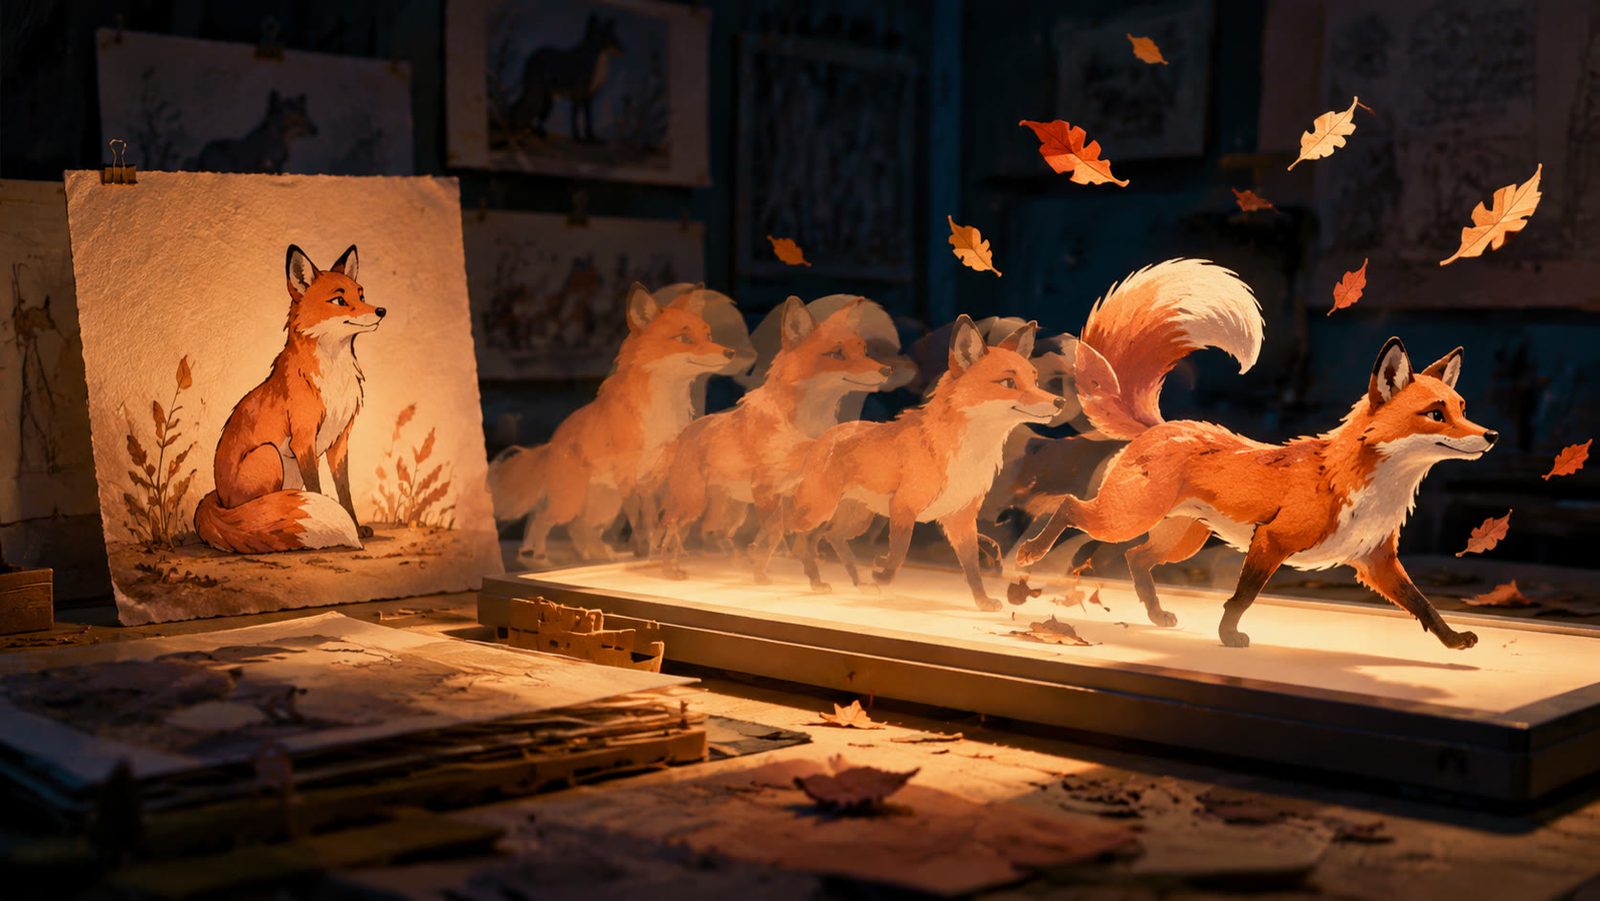
How to Turn a Still Image Into a Video With an AI Animation Generator
Use an ai animation generator to transform a photo, illustration, product shot, or character into a short video without building every frame manually.
8 min read
How to Use an AI Comic Generator for Consistent Stories
Turn a simple premise into readable panels with an AI comic generator while keeping characters, settings, and visual style consistent.
8 min read