
How to Make an AI Video From a Photo (Without Weird Motion)
How to make an AI video from a photo that holds the face: source-photo rules, motion-only prompts, and Kling v3 Omni, Wan 2.7 and Hailuo 2.3 Fast compared.
 Daniel Okafor 9 min read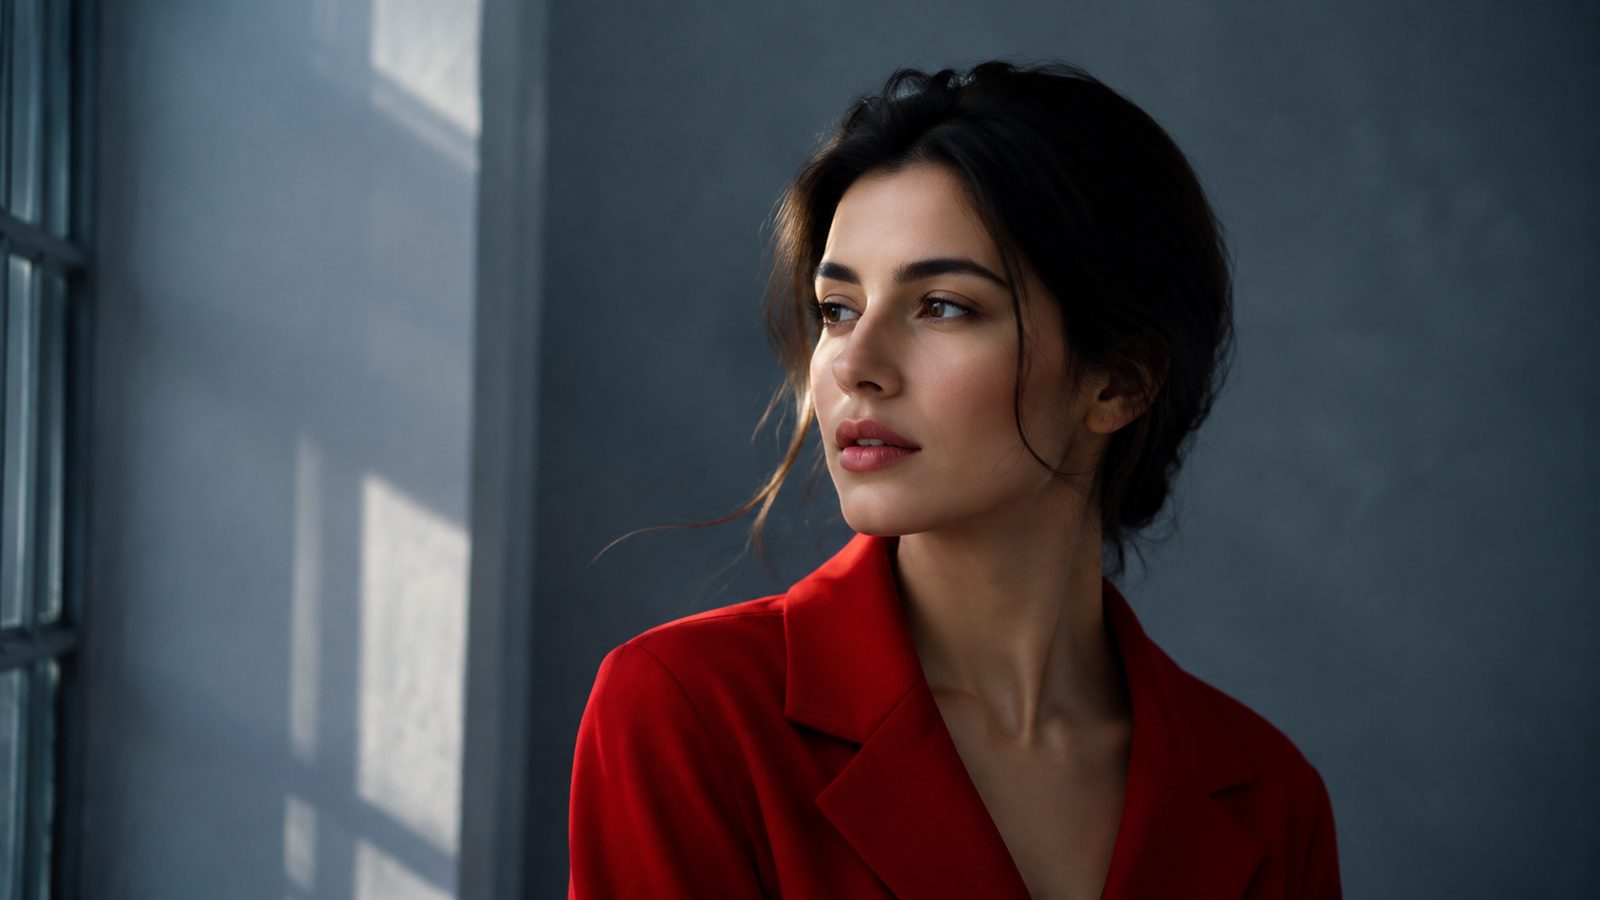
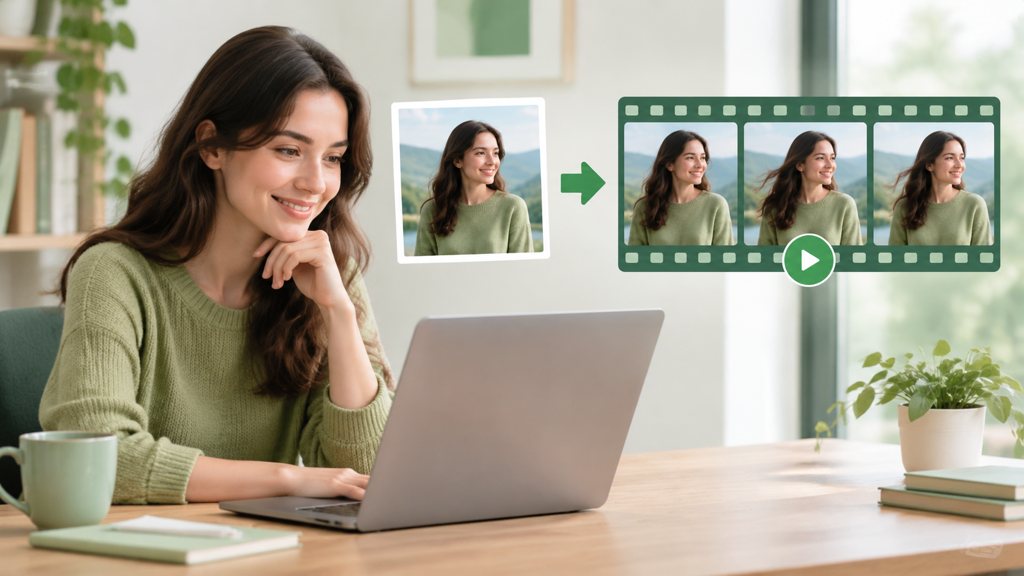
The short version of how to make an AI video from a photo: upload a sharp picture of one subject, describe the motion only (what moves and what the camera does), pick an image-to-video model, keep the clip short, and judge the result at full size before spending more credits. The photo supplies the look; the prompt supplies the movement. Below, the same portrait goes through Kling v3 Omni, Wan 2.7 and Hailuo 2.3 Fast in the workbench, with notes on where each one drifts and how to stop it.
What happens when you turn a photo into an AI video?
An ai photo to video generator does not edit your picture; it treats it as the first frame and predicts the frames that follow. The model infers depth, which pixels belong to the subject, and what a plausible next moment looks like. Everything it cannot see in the still, the back of a head, the far side of a bottle, the teeth behind closed lips, it has to invent, and that invention is where faces and hands go wrong.
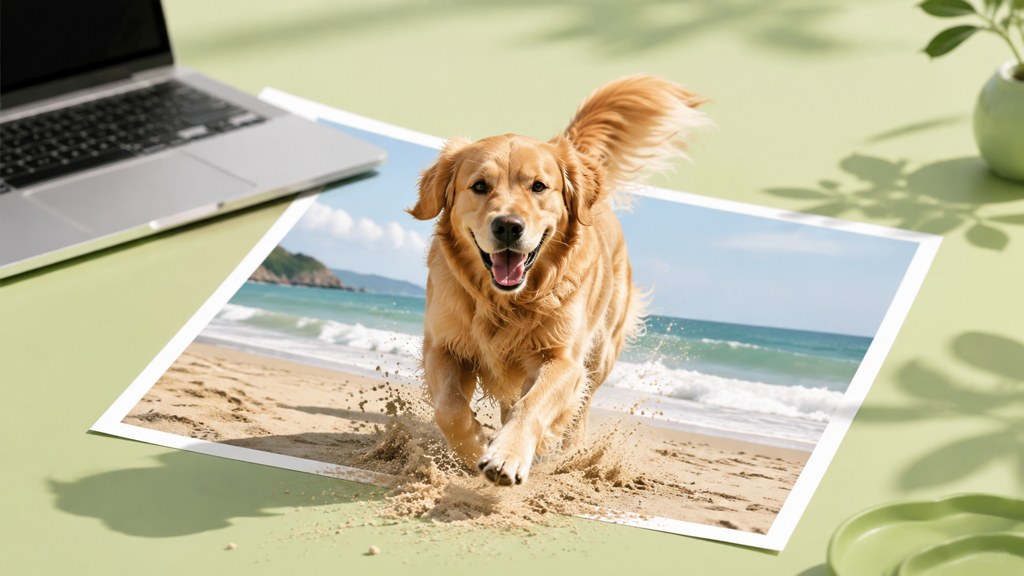
So a photo to ai video result depends more on the source than on the prompt. A front-lit portrait with visible hands gives the model evidence; a tilted selfie with fingers cropped at the wrist gives it guesswork. In the AI video generator the image mode reads the upload's aspect ratio, and on Wan 2.7 and Hailuo 2.3 Fast the output keeps that ratio, so the photo also decides the frame.
Why do faces and hands drift?
Faces drift because identity lives in small proportions that the model re-estimates every frame; hands drift because a fist and an open palm are both plausible continuations of a half-hidden hand. The fix is to ask for less of both. A blink, a breath and a slow camera move are cheap for the model. A turn toward profile is not, because it needs the side of the face the photo never showed.
How to make an AI video from a photo step by step
This is the sequence I use in image-to-video mode, with the reason for each step attached so you can skip the ones you do not need.
- 1
Pick the photo, not the idea
Start from the best picture you have of one subject on a plain background, with hands fully visible or fully out of frame. Skip group shots, heavy filters and anything already cropped tight.
- 2
Fix the source first
Run a small or soft photo through the AI photo upscaler, which enlarges up to 4x and rebuilds edge detail, so the model starts from a clean first frame. If the backdrop is cluttered, swap it with the AI background changer before you animate.
- 3
Open image mode and upload
In the workbench choose Image to Video, drop the file in, and check that the ratio shown matches the platform you are posting to. If it does not, crop the still and upload again.
- 4
Describe motion only
The prompt must not describe the photo; the model already has it. Write one movement for the subject and one for the camera: 'she blinks and exhales slowly; camera pushes in a little'. Nothing about hair colour, clothing or setting.
- 5
Choose the model and the shortest length
Kling v3 Omni for faces, Wan 2.7 when 1080p matters and the framing is fixed, Hailuo 2.3 Fast when you want a fast first look. Take the shortest length the model offers for the first run; drift grows with every added second.
- 6
Generate one and review at 100%
Watch eyes, teeth, fingers and any text in frame. If something breaks, it usually breaks in the final second; trim there instead of regenerating when the rest is clean.
- 7
Export and finish
Download the MP4, then add sound, captions and the platform's AI label in your editor. The generated clip is footage, not the finished post.
Save the photo, the prompt and the model name together in one folder. When someone asks for 'that one again' three weeks later, the prompt alone will not reproduce it.
How do you make an AI photo video that does not look weird?
The search phrase 'how to make AI video of photo without looking strange' has a one-line answer: ask for the motion the photo can support and nothing more. Weirdness is the gap between what the model can see and what you asked it to show, and you close that gap on the source side before you touch the prompt.
Which source photos work?
- One subject, sharp, with the face filling a good part of the frame height for portraits.
- Even light from the front or side; hard backlight hides the edges the model needs.
- Hands fully visible or fully out of frame, never cut off at the wrist.
- A plain or softly blurred background. Busy backgrounds turn into swimming textures once the camera moves.
- No text, logos or jewellery next to the moving parts; they are the first things to smear.
What is the motion hierarchy?
Rank motions by how much new information they demand. Cheapest: breathing, a blink, hair in a light breeze, a slow push in or pull out. Middle: a small head tilt, a hand lifting an object already in frame, a pan across a wide scene. Expensive: turning toward profile, walking, speaking, anything where fingers do work. Build the clip from the cheap tier and add one middle-tier motion only after the first run comes back clean.
Camera-only prompts are the safest of all. 'Slow dolly in, subject still' animates a portrait convincingly with almost no risk, because parallax is something these models handle well and identity never has to be redrawn. Use the operator's vocabulary: StudioBinder's list of camera movements (2026) defines push in, pull out, pan, tilt, dolly and tracking with film examples, and those are the words the models were captioned with. One movement per clip.
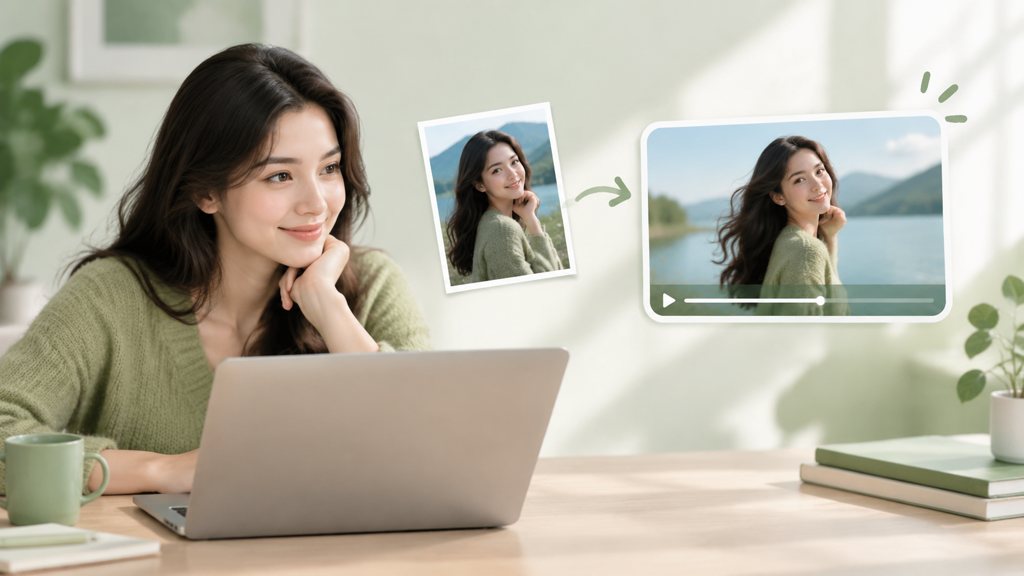
Subject breathes naturally and blinks once, eyes stay on the lens. Hair moves slightly. Camera: slow push in. Keep face, clothing and background unchanged. No new objects, no camera shake.
Which model is best for photo-to-video: Kling, Wan or Hailuo?
We ran one studio portrait in 9:16 on a plain grey background through the three image-to-video models with the motion-only prompt above. Figures are from the model pages, read on 2026-09-05; the last column is what we saw.
| Model | Takes | Clip length | Output | Frame | Portrait test |
|---|---|---|---|---|---|
| Kling v3 Omni | Prompt, one photo, or a frame pair | 3-60 seconds (pairs up to 15) | 720p or 1080p | You choose 16:9, 9:16 or 1:1 | Best identity hold; blink and breath looked natural; hair moved as one mass |
| [Wan 2.7](/models/wan-2-7) | One photo or a frame pair | 2-60 seconds (pairs up to 15) | 720p or 1080p, defaults to 1080p | Same as the photo | Sharpest 1080p frame; slight softening around the mouth on the longer run |
| [Hailuo 2.3 Fast](/models/hailuo) | One photo only | 6-60 seconds | 768p or 1080p | Same as the photo | Quickest pass; livelier motion; eyes drifted after the first few seconds |
Which one for faces, products and pets?
Faces: Kling v3 Omni, because it holds identity across the longest clip and lets you set the ratio explicitly. Products with fixed framing that must ship at 1080p: Wan 2.7, whose page lists 1080p as the default and which keeps the packshot's frame. Pets and quick social tests: Hailuo 2.3 Fast, the lowest-cost way to find out whether a photo animates at all. For a vendor-neutral view, Artificial Analysis (2026) runs a Video Arena with a separate image-to-video leaderboard built from blind votes, while MiniMax's Hailuo AI site (2026) and Alibaba's Wan site (2026) show each vendor's current showcase clips.
How to convert a photo to video with AI for free
Searches for convert photo to video AI free deserve a straight answer. Each month the Free plan tops up to 40 credits, per the pricing page, and no card is needed. Set that against what the button asked for on 2026-09-05 and the picture is clear: preparation and template routes fit inside the free allowance, a model run does not, and the Starter tier is where regular clips begin.
| Route | Settings on 2026-09-05 | Credits asked |
|---|---|---|
| Free plan allowance | Per month | 40 |
| AI photo upscaler (image tool) | 1K output | 13 per run |
| Hailuo 2.3 Fast | 6 s, 768p | 190 per run |
| Wan 2.7 | 5 s, 720p | 473 per run |
| Kling v3 Omni | 5 s, 720p | 829 per run |
| Starter plan | Per month, $14 | 4,500 |
- Start in a template. The photo animation template takes one photo, offers four motion variants and is described as free on its page, so it is the first thing to try.
- Prepare on free credits: cleaning the source with the upscaler costs a small fraction of any video run (see the table), so never skip it to save credits.
- Once you are paying for runs, use Hailuo 2.3 Fast at 768p for the first pass, then repeat only the winner at 1080p.
- Wan 2.2 is listed in the model catalogue as a short, low-resolution image-to-video option on a promo tier; use it for stability tests, not deliverables.
- Keep every test at the shortest duration. Six seconds on Hailuo or three on Kling is enough to see whether the face holds.
What do free tiers elsewhere allow?
Read on 2026-09-05: Pika lists 80 video credits a month on its free Basic plan, with per-video costs that vary by model, per Pika pricing (2026); Runway gives new accounts 125 credits once, with no refresh, per Runway (2026); Luma's plan list begins at the paid Plus level and mentions a trial without numbers, per Luma Labs (2026). The cheapest lesson in how to make an AI video from a photo is the same everywhere: short clips, low resolution first, one output per run.
How to create a video with multiple images
If your search was how to create video with images, plural, there are three routes and they solve different problems: a transition between two related photos, a slideshow of unrelated ones, or a sequence of separately animated clips.
Start-and-end frames for one transition
Upload photo A as the start frame and photo B as the end frame, and the model fills the gap between them with motion. It works when the two photos share a subject and a viewpoint: a product from the front and from three-quarters, a room before and after staging, an outfit in two poses. Kling v3 Omni and Wan 2.7 both accept frame pairs, and both cap pair clips at 15 seconds against 60 for a single image, per their model pages.
A slideshow template for a set of photos
For a gallery of unrelated shots, do not animate each one. The photo slideshow template nests every photo inside the previous one and zooms through the stack; its page lists a 6-second duration, four aspect ratios and 720p output with no watermark. That is a finished social clip in one run, with captions swapped in as you go.
Sequencing several animated clips
For a story, animate each photo separately with the same motion vocabulary and the same duration, then cut them together in an editor. Keep the camera moving in one direction across the set (all push-ins, or all pans to the right) so the sequence reads as one piece. The full AI video workflow covers export settings and platform labels for the assembled piece.
What are the most common photo-to-video mistakes?
- Busy backgrounds. Crowds, foliage and patterned walls swim as soon as the camera moves; change the backdrop before animating.
- Asking for new objects. 'She picks up a coffee' invents a cup, a hand pose and a lighting change in one go.
- Describing the photo in the prompt. The model has the photo; repeating it wastes prompt space and can pull the style away from the source.
- Wrong ratio. A 16:9 photo animated for a 9:16 feed is a cropped subject; fix the crop in the still first.
- Over-long durations. Drift compounds with time; a clip that holds for five seconds beats one that melts at fifteen.
- Skipping the label. A realistic animated photo of a real person is the kind of content YouTube asks creators to disclose, per YouTube Help (2026), and TikTok's AI-generated content rules (2026) treat it the same way.
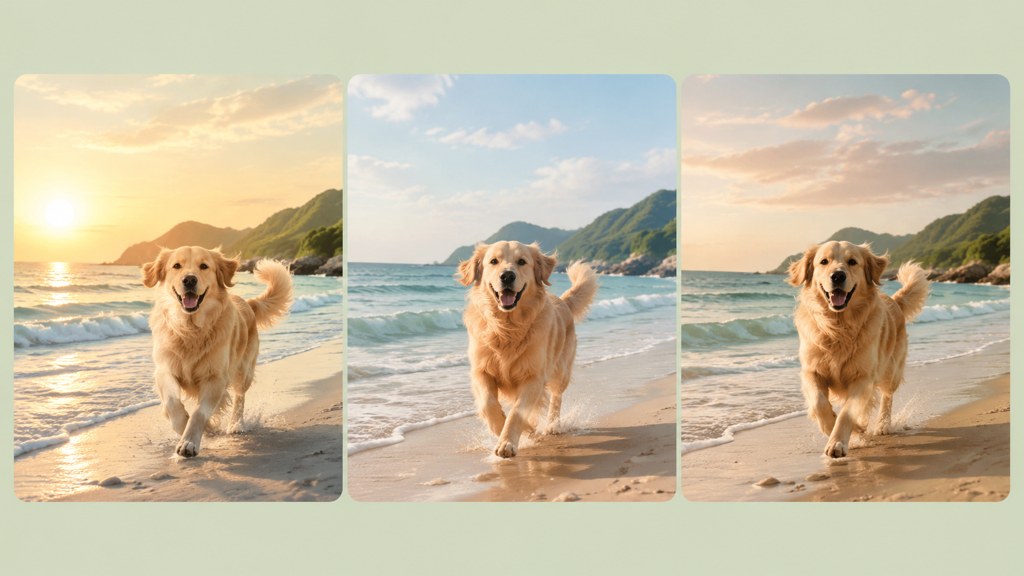
Anyone wondering how to make an AI video from a photo free of charge can run the whole loop above on the Free plan: one photo, one motion, the shortest duration, then judge at full size. The paid difference is volume and resolution, not technique.
Key takeaways
- The photo decides the look and the frame; the prompt should describe motion only. One subject movement plus a single slow camera move is the safe default.
- Kling v3 Omni held identity best in our portrait test and lets you choose 16:9, 9:16 or 1:1; Wan 2.7 gives the sharpest 1080p frame; Hailuo 2.3 Fast is the quickest cheap pass.
- Upscale a soft source with the AI photo upscaler (up to 4x) before animating, and keep hands fully visible or fully out of frame.
- The Free plan tops up to 40 credits a month, while a Hailuo run asked 190 credits and a Kling run 829 on 2026-09-05; the photo animation template and the 13-credit upscaler are what the free allowance really covers.
- For several photos, use start-and-end frames for a transition, the photo slideshow template for a gallery, or cut separately animated clips with one camera direction.
Video Workflows Editor
Daniel Okafor
I run the same clip through every video model we ship and write down what actually changes: motion, timing, cost, and where each one falls apart.
FAQ
Common questions
Can I make an AI video from a photo for free?
Partly. The Free plan (lazykiwi.ai/pricing) tops up to 40 credits a month, enough for preparation such as upscaling (13 credits a run on 2026-09-05) and for template routes whose pages say free, but not for a full model run: that day Hailuo 2.3 Fast asked 190 credits for 6 seconds and Kling v3 Omni 829 for 5. Regular clips realistically start on the Starter tier, 4,500 credits a month.
Why does my AI photo video look distorted?
Usually because the prompt asked for something the photo does not contain: a head turn toward profile, a hand doing work, a new object entering frame. Distortion also comes from soft or small sources, busy backgrounds and long durations. Upscale the still, cut the motion back to a blink and a slow camera move, and keep the first run short; then add one motion at a time.
How long can a photo-to-video clip be?
In the LazyKiwi workbench the model pages list 3 to 60 seconds for Kling v3 Omni, 2 to 60 seconds for Wan 2.7 and 6 to 60 seconds for Hailuo 2.3 Fast from a single image; start-and-end frame runs cap at 15 seconds. Long does not mean good: identity drift grows with every second, so most usable portrait clips are the shortest option the model allows.
Can I make an AI dance video from a photo?
You can, but dancing sits in the expensive tier of motion: fast limbs, hands crossing the body and weight shifts the model has to invent. Expect drift on a plain image-to-video run. Better results come from a template built for the move, a full-body photo with hands visible, a plain background and a short clip that you cut on the beat rather than one long take.
Which aspect ratio should I use for a photo-to-video clip?
Match the platform before you upload the photo: 9:16 for TikTok, Reels and Shorts, 16:9 for YouTube, 1:1 for feed posts. Wan 2.7 and Hailuo 2.3 Fast keep the uploaded image's ratio, so crop the still first; Kling v3 Omni lets you pick 16:9, 9:16 or 1:1 in the panel. Never generate wide and crop vertical later, because the subject ends up cut off.
Animate one photo in image mode
Open image-to-video, drop in a sharp portrait, write one motion and one camera move, and check the credit price before you run.
Keep reading
How to Make AI Videos From Idea to Final Export
Learn how to make AI videos from idea to export with practical steps for scripting, shot planning, prompting, audio, editing, realistic motion, and conserving free credits.
8 min read
Kling AI Image to Video: A Practical Creator Guide
Turn a single image into a short, purposeful video by combining a strong source frame with clear motion direction, camera language, and careful iteration.
8 min read
How to Turn a Still Image Into a Video With an AI Animation Generator
Use an ai animation generator to transform a photo, illustration, product shot, or character into a short video without building every frame manually.
8 min read
How to Make AI Videos for TikTok Without a Complicated Setup
Learn how to make AI videos for TikTok with a simple workflow for planning hooks, generating consistent scenes, editing vertical clips, testing trends, and creating videos with free tools.
8 min read