
AI Pixel Art Generator: Make Game-Ready Sprites and Tiles
Use an AI pixel art generator for sprites, tiles and icons, then snap the grid and lock the palette so the assets ship. Steam and copyright rules checked.
 Maya Chen 9 min read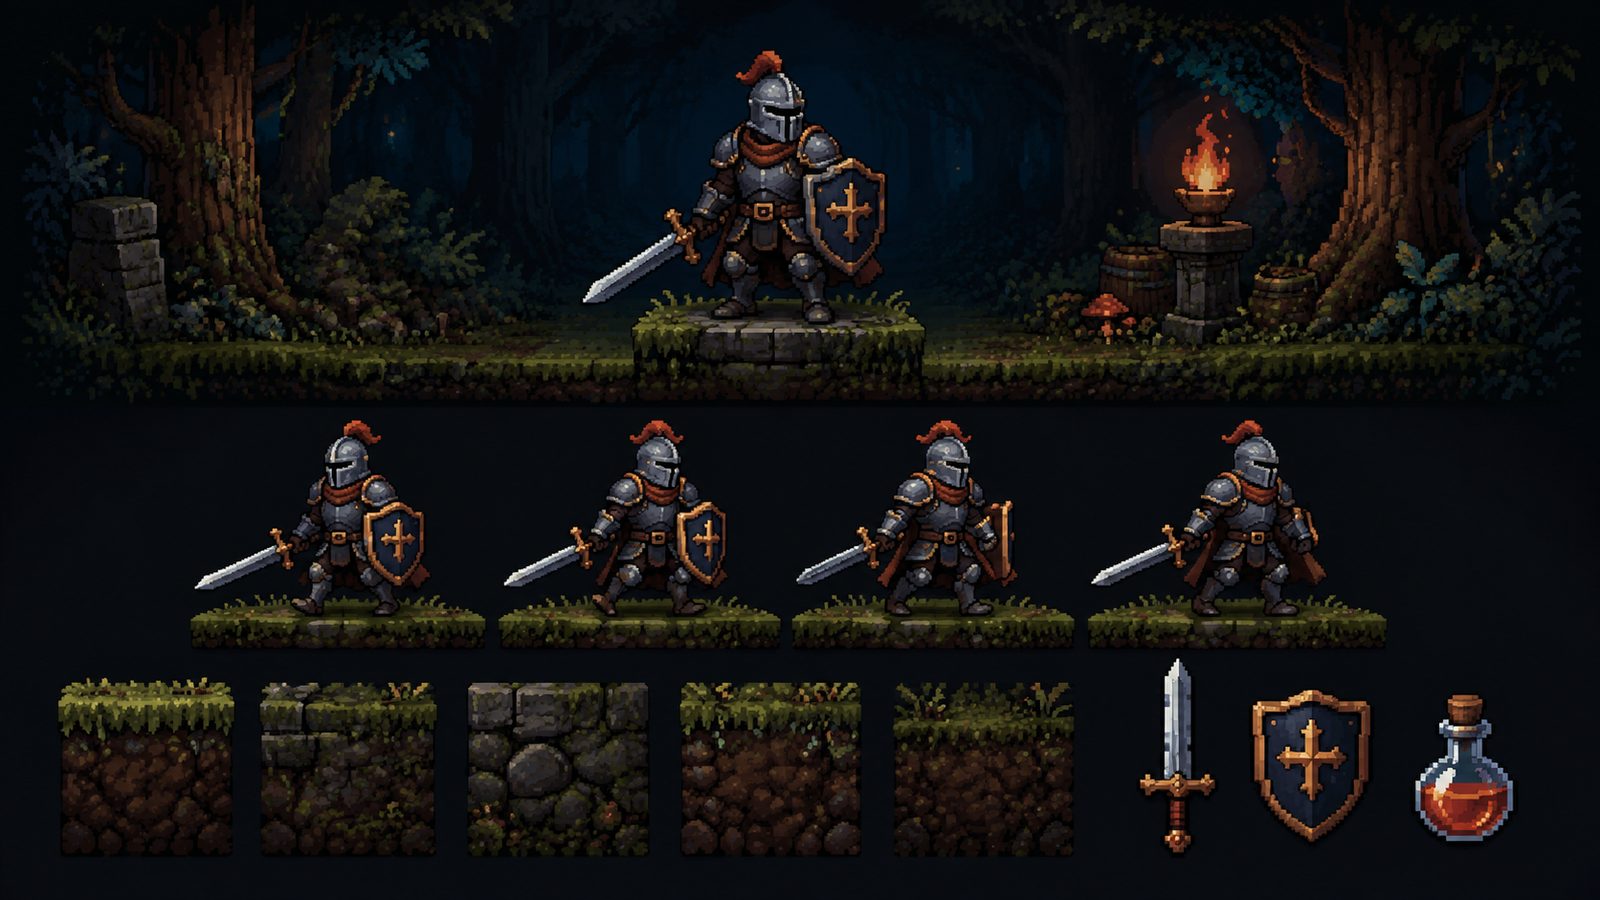
An AI pixel art generator gets you a readable sprite, tile or icon concept in seconds, but it does not give you real pixels: diffusion models paint an approximation of a grid, so every asset needs a downscale, a palette lock and a cleanup pass before it goes into an engine. This guide covers the full loop as we run it: prompt in the LazyKiwi workbench, snap the grid in Piskel or Aseprite, quantise to a Lospec palette, then export. It also answers the two questions game developers ask most, which is how to spot generated pixel art and whether Steam lets you ship it.
How does an AI pixel art generator work?
Text-to-image models generate at their native resolution, typically a thousand pixels or more on the long side, and then render 'pixel art' as a style: big square blotches that look like pixels from a distance. Zoom in and the blotches are not aligned to any grid, their edges are anti-aliased, and the colour count runs into the hundreds. A true 32 by 32 sprite has 1,024 pixels and a handful of colours. The generator gives you the design; a pixel art maker such as Aseprite or Piskel gives you the pixels.
What the model does well and what it cannot do
- Does well: silhouette, colour direction, costume ideas, item families, biome mood boards, reference sheets to hand to an artist.
- Does not do: exact canvas size, an exact palette count, transparent backgrounds you can trust, seamless tiles, or matching frames of an animation.
- Always needed afterwards: nearest-neighbour downscale to the target size, palette quantisation, edge cleanup, and a tile offset test.
Two facts shape the whole workflow. First, integer scaling and a locked palette are what make pixel art read as pixel art, and both live in the editor, not the generator. Second, the cheapest place to iterate is the prompt: the Z-Image model in LazyKiwi is listed at a promotional 2 credits per image on its model page, so generating ten concepts to keep one costs less than one minute of hand-cleaning a bad one.
How to make AI pixel art step by step
This is the loop we use for a single asset. Run it once by hand before you batch anything, because the prompt that survives step six is the one you will reuse for the rest of the set.
- 1
Write the spec before the prompt
Decide native size (16, 24, 32 or 48 px), view (side, top-down, three-quarter), palette (name a Lospec palette or a colour count), outline rule and background. These five words drive everything that follows.
- 2
Generate at 1:1 in the workbench
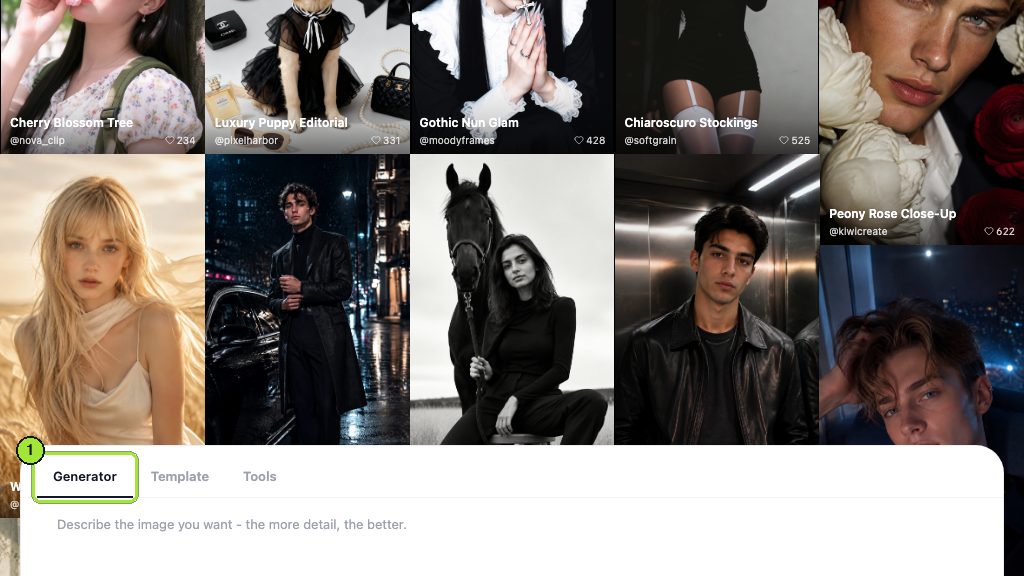
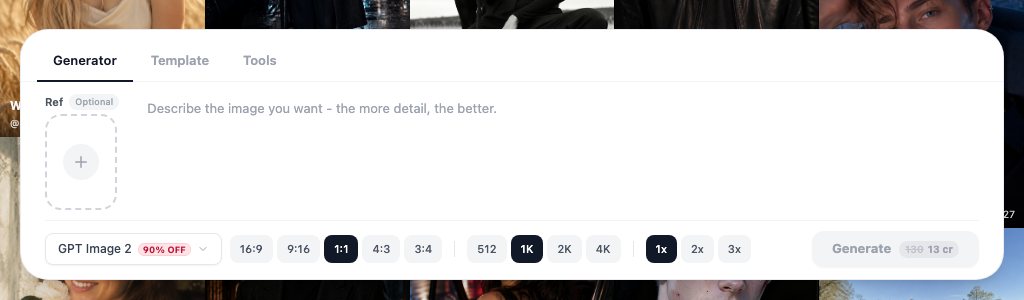
Open the AI image generator, pick Z-Image, set 1:1 and 1K (or 16:9 for a strip of frames in a row, as in the demo below), and paste the prompt. Square is also what most people pick: in LazyKiwi's workbench data (August 2026), 1:1 was the ratio on 124 of 143 external image jobs. Ask for a single centred subject on a flat background; the model ignores exact pixel counts, so describe the look ('chunky 32-pixel sprite, one-pixel dark outline') rather than a number it cannot honour.
- 3
Pick by silhouette, not detail
Shrink the browser preview to thumbnail size. The candidate that still reads at that size is the one that will survive the downscale; detail that only exists at 1K is about to disappear.
- 4
Downscale with nearest neighbour
In Piskel (2026), a free open-source editor, or in Aseprite (2026), import the PNG and resize to the native size with nearest-neighbour sampling. Bilinear or bicubic resampling blurs every edge and creates hundreds of new colours.
- 5
Quantise to the palette
Run the image through the Palette Quantizer on Lospec (2026), which reduces an image to a specific palette, or apply the palette in Aseprite. Now the asset has the colour count you specified in step one.
- 6
Clean edges and stray pixels by hand
Fix orphan pixels, straighten the outline, and redraw anything the quantiser mangled, usually eyes and small props. Ten minutes here is normal for a 32-pixel character.
- 7
Export and test in the engine
Export a PNG at native size, then let the engine scale it. Godot's 2D sprite animation docs (2026) cover AnimatedSprite2D and sprite sheets; Unity ships a 2D Pixel Perfect package (2026) that keeps scaling integer.
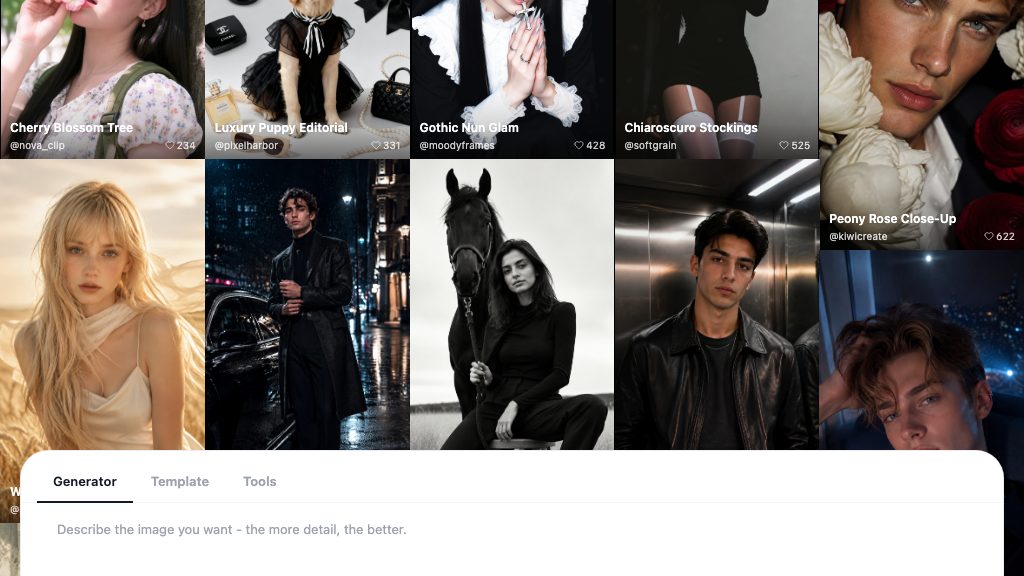
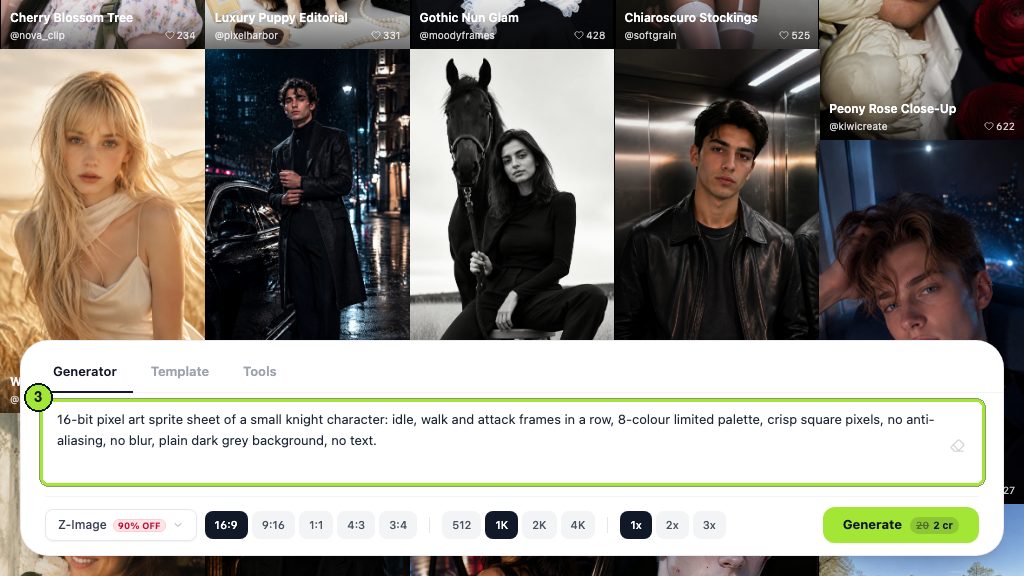
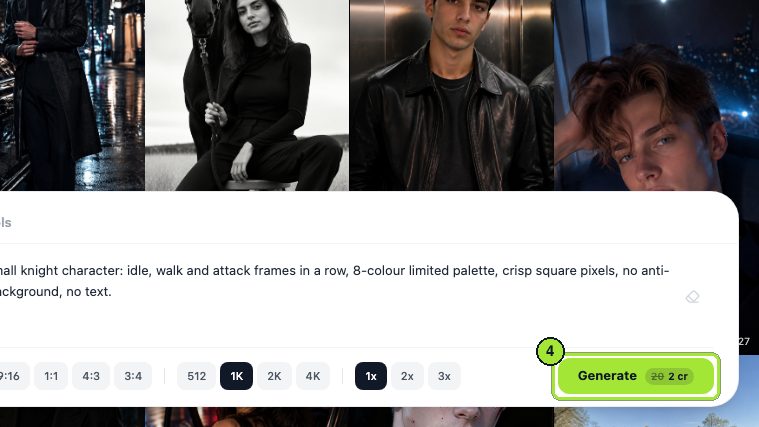
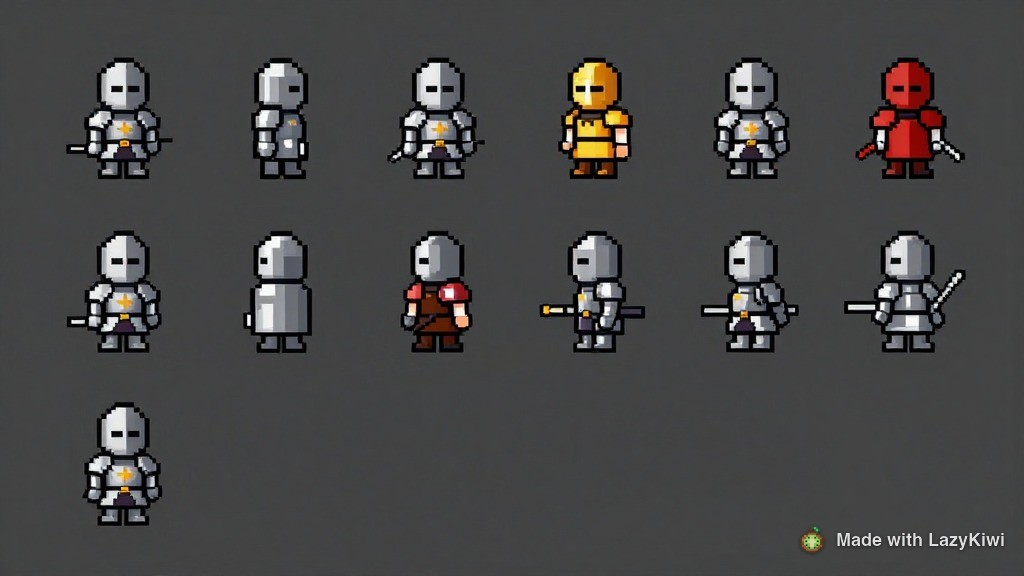
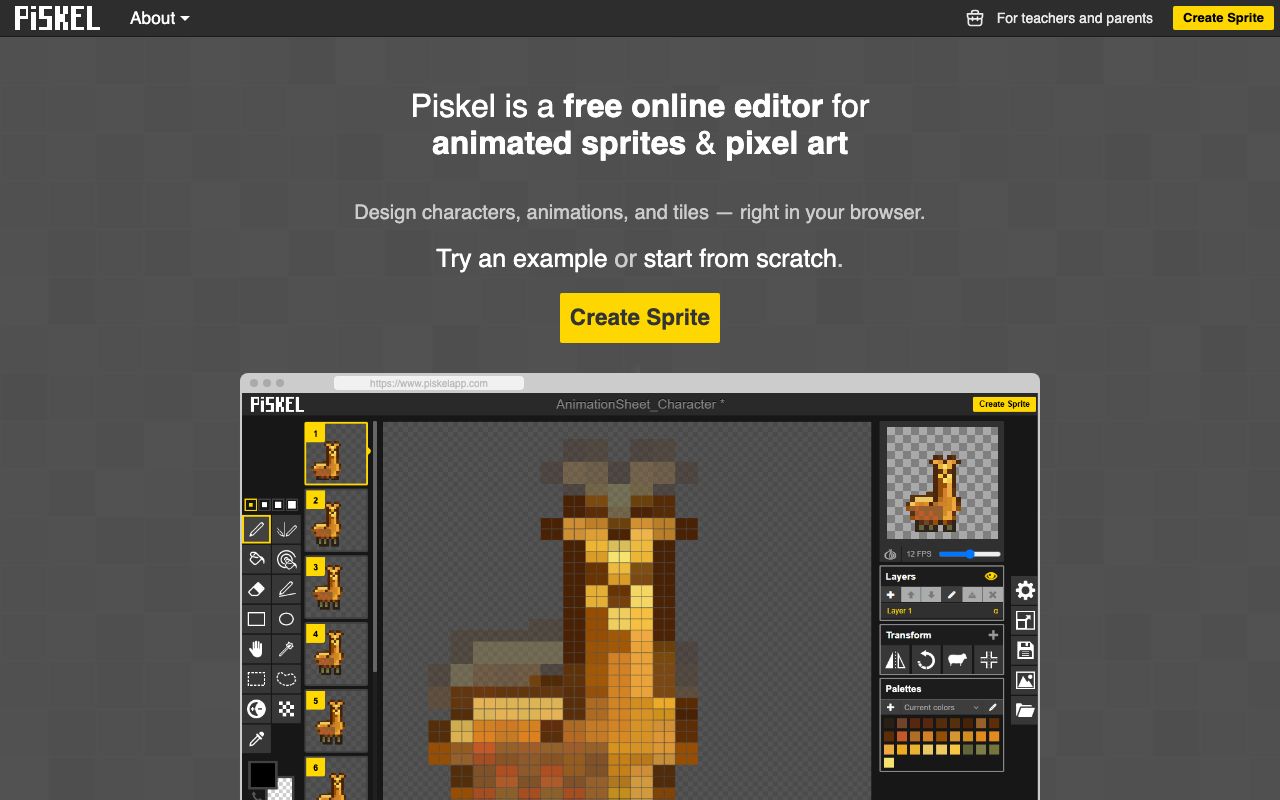
Keep three files per asset: the generator PNG, the downscaled-and-quantised master, and the hand-cleaned final. When a later asset drifts off style, you can diff it against the master instead of guessing.
What prompts work for sprites, tiles and icons?
Every prompt below follows the same order: asset type, size feel, view, subject, palette, outline, background, exclusions. Swap the subject and keep the rest, and the set stays consistent. Exclusions matter as much as inclusions; 'no text, no gradient, no drop shadow' removes the three things the model adds by default.
chunky 32-pixel pixel art sprite of a swamp alchemist, three-quarter top-down view, hooded, holding a glowing potion, muted green and amber palette, one-pixel dark outline, neutral standing pose, flat plain background, no text, no gradient, no drop shadow
pixel art ground tile, mossy stone, orthographic top-down, flat even lighting, repeating pattern with no distinct features near the edges, six-colour palette, no outline, fills the whole square, no text
24-pixel pixel art inventory icon of an iron key, centred, light from upper left, dark navy outline, four-colour palette, flat plain background, no label, no glow
Which model should you pick for each asset type?
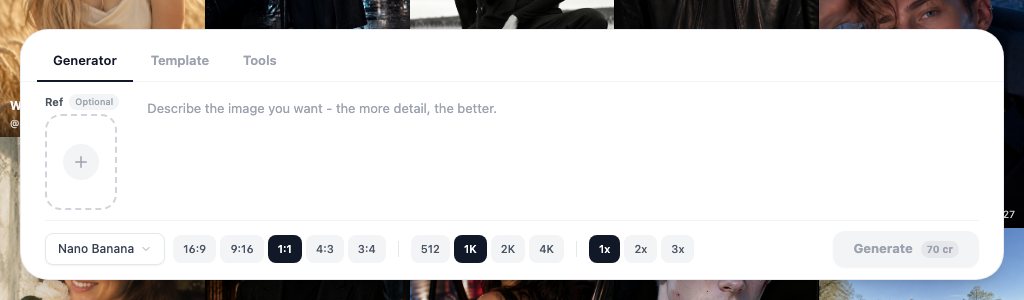
Z-Image is text-only and cheapest, so it is the concept engine. Nano Banana accepts an optional reference image, which makes it the choice once you have one approved sprite and want the next ten to match; drop the master in the reference slot and describe only what changes. GPT Image 2 handles text inside the image better than the others, which matters for UI mock-ups more than for sprites, and it is the model most people reach for: in LazyKiwi's workbench data (August 2026), it sat behind 127 of 181 external generations. The full image line-up in the catalog is GPT Image 2, Seedream 5.0, Nano Banana, Z-Image, Qwen Image and Wan 2.7 Image; none of them replace the downscale.
For tiles, run the offset test after quantising: shift the tile half its width and half its height so the four corners meet in the centre, then paint over the seam. No generator produces a tile that passes this on the first try.
How to tell if pixel art is AI generated
The question comes up from two directions: buyers on asset stores who want hand-drawn work, and studios checking a contractor's delivery. There is no detector that settles it, but raw generator output has a consistent set of tells, and cleaned output loses most of them, which is itself the point of the workflow above.
| Tell | What you see at 800% zoom | Why it happens |
|---|---|---|
| Inconsistent pixel size | 'Pixels' that are 7 wide in one place and 9 wide in another | The model paints a pixel look; it has no grid |
| Anti-aliased edges | Soft half-tone pixels along every outline | Native-resolution render, no nearest-neighbour pass |
| Palette creep | Dozens of near-identical shades in one flat area | No quantisation step |
| Mutating repeats | Belt studs or bricks that change shape along a row | Each repeat is re-imagined, not copied |
| Pseudo-text | Signs and labels made of letter-like shapes | Model approximates glyphs |
| Light-source drift | Highlights on the left of the helmet, right of the boots | No global light model |
Beyond the pixels, ask for process: a sprite sheet with equal cells and stable anchor points, layered source files, palette files, or intermediate exports. Hand-drawn work leaves that trail; raw generation does not. For the video version of the same question, the companion piece on how to tell if a video is AI generated walks through motion, speech and provenance checks.
Which is the best AI pixel art generator: free and paid options?
The best AI pixel art generator for a game team is the one whose output survives the downscale with the least repair, and whose licence lets you ship. We checked each vendor's own site on 2026-09-06 and recorded only what it states; where a page was blocked or a price was not published, the cell says so.
| Tool | What the official page says (2026-09-06) | Free tier | Best use |
|---|---|---|---|
| LazyKiwi (Z-Image, Nano Banana, GPT Image 2) | Z-Image at a promotional 2 credits per image; Nano Banana up to 4K with 10+ ratios; Free plan 40 credits a month | 40 credits monthly, no card | Concepts and matched sets |
| PixelLab | Pixel-art-specific generator with character animation, items and scene tools; 'try for free, no credit card required' | Yes, per its site | Animated sprite sheets |
| Recraft | Free-plan images are owned by Recraft, shown publicly and not licensed for commercial use; paid plans grant ownership | Yes, non-commercial | Vector and style-locked sets |
| Krea | Free 100 units a day; Basic 5,000 and Pro 20,000 units a month | 100 units a day | Fast multi-model iteration |
| Leonardo.Ai | Site returned a bot-check page to our request; not verified | Not verified | Not verified |
| Aseprite / Piskel (editors) | Aseprite is paid with a trial; Piskel is free and open source | Piskel free | The cleanup every route needs |
Sources: PixelLab (2026), Recraft pricing (2026), Krea pricing (2026), and the LazyKiwi pricing page, which lists the Free plan at 40 credits a month with no credit card required. The Recraft licence line is the one to read twice: a free-tier sprite you cannot ship is a concept, not an asset.
Is there a free route end to end?
Yes. Generate on the LazyKiwi Free plan, where the 2-credit Z-Image price stretches the monthly allowance to a couple of dozen concepts, clean in Piskel, quantise on Lospec, and fill gaps from OpenGameArt (2026), which accepts only free licences such as CC0, OGA-BY, CC-BY and CC-BY-SA, or the free filter on itch.io game assets (2026), where you can filter by 16x16 and 32x32 formats. The paid step, if you take one, is Aseprite for its tiled mode and sprite-sheet export.
How to convert an image to pixel art with AI
Image to pixel art AI has two honest routes and one that disappoints. The disappointing one is asking a generator to 'make this photo pixel art' and shipping the output; you get the blotchy style described at the top. The two that work are a style template followed by a downscale, and a pure editor pipeline with no generation at all.
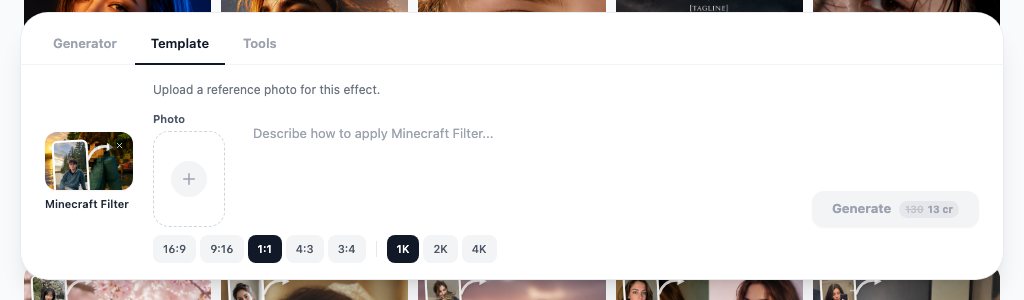
- Route A, stylise then snap: run the photo through the Minecraft filter template, which rebuilds the subject as blocky voxels, then downscale the result with nearest neighbour and quantise. The blocks give the downscale clean regions to work with.
- Route B, editor only: downscale the photo directly to 64 or 96 pixels wide, quantise to a 16-colour Lospec palette, and hand-fix the face. No credits, no licence question, and the most 'drawn' result.
- Either route: crop first. A busy background turns into noise at 64 pixels; the AI photo editor will remove a stranger or clear a sky from a one-line instruction before you shrink anything.
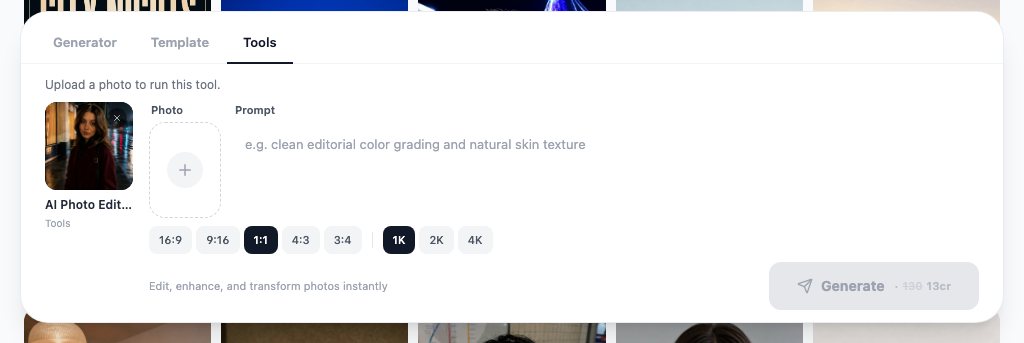
Settings that matter: keep the aspect ratio square or 4:3 so the sprite has room, choose 1K rather than 4K because you are about to throw the resolution away, and generate at 1x. If the photo is cropped too tight for a full-body sprite, the AI image extender paints new background beyond the original edges before the downscale.
Can you use AI pixel art in a shipped game?
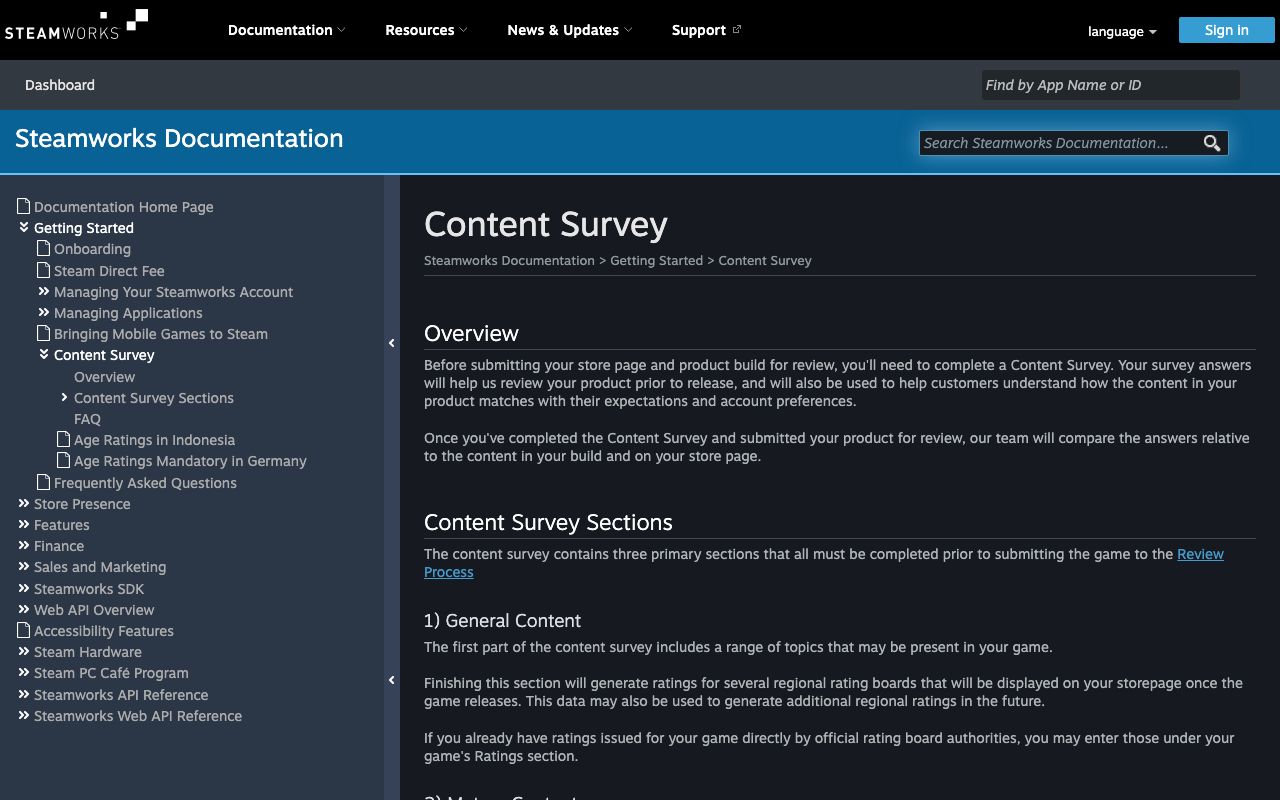
On Steam, yes, with disclosure. The Steamworks Content Survey has a Generative Artificial Intelligence section that asks you to describe your implementation in detail, and defines Pre-Generated content as 'any kind of content that ships with your game and is consumed by players that is created with the help of AI tools during development', with a separate Live-Generated category for content created while the game runs, per Steamworks documentation (2026). Valve evaluates the disclosed content the same way it evaluates non-AI content.
Who owns a generated sprite?
In the United States, the Copyright Office requires human authorship and has issued registration guidance stating that applicants have a duty to disclose the inclusion of AI-generated content in a work submitted for registration and to describe the human author's contribution, per the Federal Register (2023). The Office's AI initiative page (2026) collects its later reports. In practice, the hand-cleaned master with your palette, edits and animation frames is where your authorship lives, which is one more reason not to ship raw output.
- Read the generator's licence for commercial use before the first render; Recraft's free tier, for example, excludes it.
- Keep prompts, generator PNGs and cleaned masters in version control so you can show the human work if asked.
- Tick the AI disclosure on Steam and say what was generated; store pages that hide it get reported by players.
- Mixed packs from OpenGameArt or itch.io carry their own licences; keep a credits file per asset.
Key takeaways
- A generator paints a pixel look at 1K resolution; the sprite only becomes pixel art after a nearest-neighbour downscale, a Lospec palette quantise and a hand cleanup in Piskel or Aseprite.
- In LazyKiwi, Z-Image is the concept engine at a promotional 2 credits per image, Nano Banana's reference slot keeps a set consistent, and the Free plan gives 40 credits a month.
- Raw output shows six tells at 800% zoom: uneven pixel size, anti-aliased edges, palette creep, mutating repeats, pseudo-text and drifting light; the cleanup workflow removes them.
- Recraft's free-tier images are owned by Recraft and not licensed for commercial use; PixelLab and Krea publish free tiers, and Leonardo.Ai could not be verified today.
- Steam allows AI-made assets with disclosure in the Content Survey's generative AI section, and US copyright registration requires you to disclose AI-generated material and describe the human contribution.
Image & Design Editor
Maya Chen
I spend my days inside image tools, testing prompts and settings on real photos so the steps here match what you actually see on screen.
FAQ
Common questions
Can AI generate pixel art?
It can generate the design of a sprite, tile or icon, and it does that well for silhouettes, palettes and item families. It cannot produce a real grid: the output is a high-resolution image painted in a pixel style, so you still downscale it with nearest-neighbour sampling, quantise it to a palette and clean the edges before it behaves like pixel art in an engine.
Is there a free AI pixel art generator?
Several. LazyKiwi's Free plan lists 40 credits a month with no card, and Z-Image is priced at a promotional 2 credits per image, so the allowance covers a couple of dozen concepts. PixelLab advertises a free trial without a card and Krea lists 100 free units a day. Check licences: Recraft's free tier keeps ownership of the images and bars commercial use.
How do I make AI pixel art look consistent?
Fix the spec first (size, view, palette, outline, background) and keep it word for word across prompts, changing only the subject. Once one sprite is approved, use a model with a reference slot such as Nano Banana and feed it the cleaned master. Then quantise every asset to the same Lospec palette; a shared palette hides more inconsistency than any prompt wording.
Does Steam allow AI-generated art?
Yes, provided you disclose it. The Steamworks Content Survey includes a generative AI section where you describe Pre-Generated content (assets made with AI tools during development) and Live-Generated content (created while the game runs, which also needs described guardrails). Valve reviews disclosed AI content the same way it reviews any other content.
What resolution should sprites be?
Pick the native size from your camera and tile grid, not from the generator: 16, 24 and 32 pixels are the common character heights for top-down and platformer games, with 48 or 64 for detailed hero sprites. Generate at 1K, downscale to that native size, and let the engine scale up by integers; Unity's 2D Pixel Perfect package and Godot's sprite tools both handle that step.
Generate your first sprite concepts
Open Z-Image in the workbench, paste the sprite prompt from this guide and generate ten variants for the price of one cleanup session. Downscale the keeper before you judge it.
Keep reading
AI Character Generator: How to Design Consistent Characters
Build one character with an AI character generator, then keep the face, outfit and palette steady across poses, outfits, figures and short video.
11 min read
How to Tell If a Video Is AI Generated
Learn how to tell if a video is ai generated by checking motion, speech, provenance, context, and detector results as a combined body of evidence.
8 min read
AI Cartoon Generator: Turn Photos Into Cartoons and Videos
Use an AI cartoon generator to cartoonify a photo in four looks, then restyle a clip into a cartoon video. Steps, prompts, free options and fixes.
8 min read
Photo to Anime AI: Turn a Portrait Into Anime Art and Video
A photo to anime AI pipeline that keeps your likeness: fusion filter or anime avatar, upscale, then a breathing anime video. Free routes checked today.
8 min read