
How to Make an AI ASMR Video That Feels Real (2026 Guide)
Make an AI ASMR video from one photo or a text prompt, pick concepts that survive generation, time the sound to the cut and label it correctly.
 Daniel Okafor 11 min read
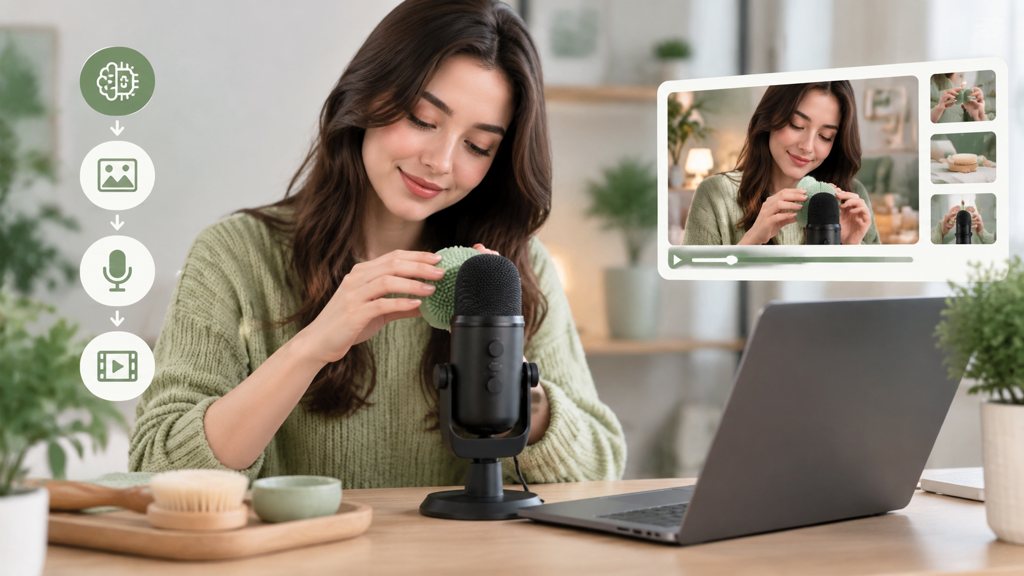
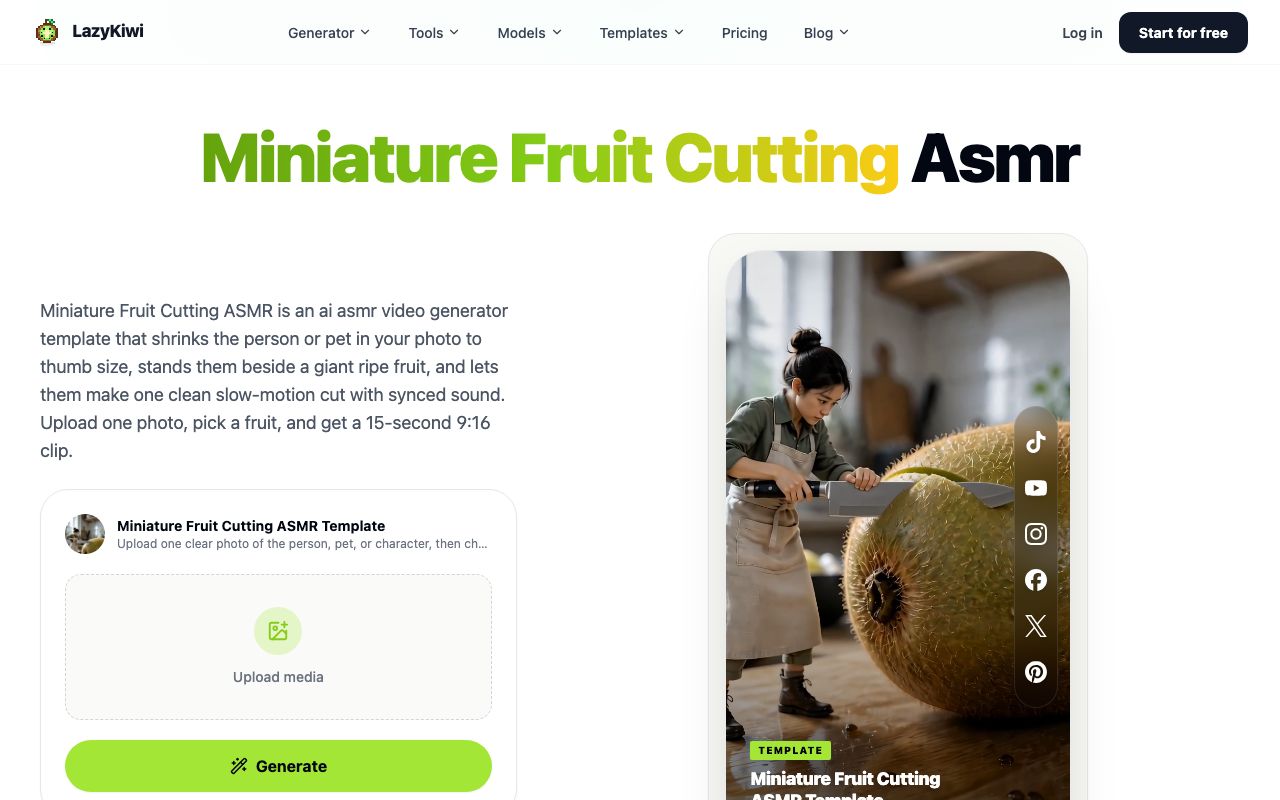
An AI ASMR video is a generated clip built around one tactile action, such as a blade going through a giant kiwi, with sound that lands on the exact frame of contact. If you searched how to make ASMR AI videos, the short answer is: pick one trigger, generate a short vertical clip from a template or a text prompt, then layer and time the audio yourself. This guide uses the miniature fruit cutting template and two text-to-video models in the LazyKiwi workbench, cites the research on why sync matters, and ends with the mistakes that break the effect.
What makes AI ASMR videos satisfying?
ASMR is a measurable response, not just a mood. Poerio and colleagues describe it as tingling in the crown of the head triggered by audio-visual cues such as whispering, tapping and hair brushing, and their second study recorded reduced heart rate and increased skin conductance in people who experience it, per PLOS ONE (2018). The earlier survey by Barratt and Davis grouped the common triggers into whispering, personal attention, crisp sounds and slow movements, per PeerJ (2015).
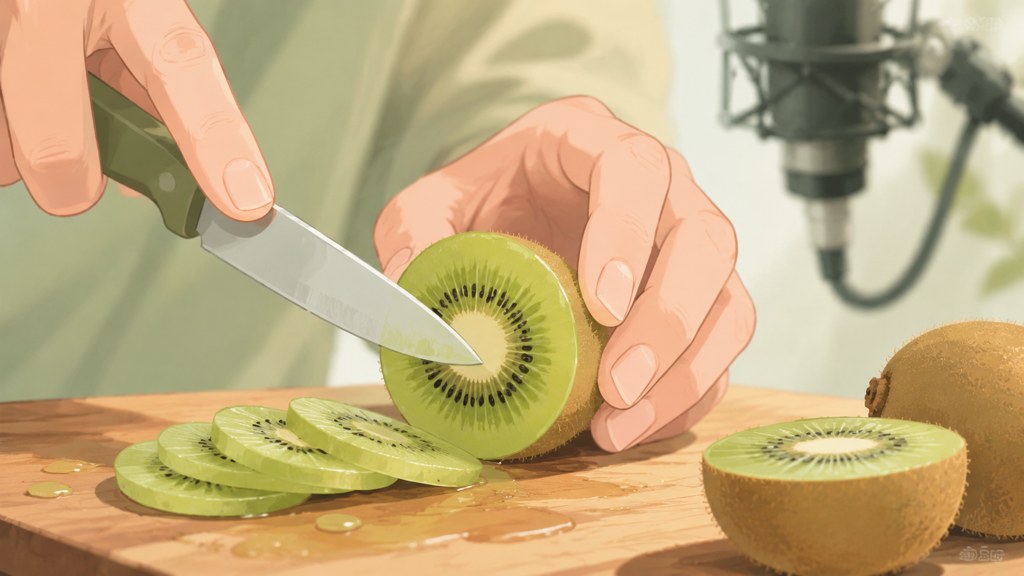
Two of those four triggers are visual, and they are the two a video model can deliver on demand: slow, deliberate motion and a close view of a texture that changes state. The crisp-sound trigger is where generated clips usually fail, because most text-to-video models render silent footage and the creator bolts audio on afterwards.
Which triggers survive the jump to generated footage?
- Slow movements: prompt one continuous action at reduced speed; the model handles this well when the camera is locked.
- Crisp sounds: never trust the model for these; either use a template that ships with a synced track or add the sound in an editor.
- Close textures: macro framing on skin, glass, sand or foam gives the viewer something to anticipate before the cut.
- Personal attention: weak in generated clips, because eye contact and hand-to-camera gestures drift; leave it to live creators.
- Whispering: a voice track is a separate production; skip it for object-based ASMR.
Sync is the whole trick. A viewer who has watched a thousand cutting clips expects the crack to arrive when the blade breaks the skin, and a sound that lands three frames late reads as fake even if the picture is perfect. The template route below bakes the timing in; the prompt route hands the timing to you.
Watch every generated take muted first. If the action still reads as satisfying without sound, audio will only improve it. If it does not, no sound design will rescue it.
How to make an AI ASMR video step by step
The LazyKiwi AI video generator gives you two routes. The template route takes one photo and returns a finished clip; the template page for miniature fruit cutting describes a 15-second 9:16 output with a synced sound layer. The prompt route uses a text-to-video model such as Seedance 2.5 and returns silent footage you score yourself. Start with the template if you want a result today, and move to prompts once you know which concept you want to repeat.
- 1
Open the template and upload one photo
Go to the miniature fruit cutting ASMR template and drop in one clear photo of a person, pet or character. The page recommends a full-body or full-pet shot, because the subject is shrunk to thumb size next to the fruit and a head-and-shoulders crop loses its proportions.
- 2
Check the settings row before you press Generate
In our capture the panel showed 9:16, 5 s and 720p, and the Generate button listed 410 credits with 750 struck through. Credits are charged by model, duration, resolution and output count, per the LazyKiwi pricing page, so the button price is the number to read, not the plan price.
- 3
Or write a prompt in the Generator tab
Select Seedance 2.5, set 9:16 and the shortest duration, and describe one action: subject, material, tool, direction, speed, fixed camera, clean background. A prompt with two actions doubles the chance of a bent blade or a fruit that changes size mid-cut.
- 4
Generate, then review muted
Scrub frame by frame around the moment of contact. Reject any take where fingers merge, the knife passes through the board, or the halves separate before the blade reaches them. Regenerate with a simpler pose rather than trying to edit around the flaw.
- 5
Add or replace the sound
Template clips arrive with a synced track. Prompt clips need a blade drag, a split, droplet hits and a settle, aligned to markers (see the audio section below). Keep the room tone quiet so the contact sound has contrast.
- 6
Build the loop
Find the last frame where the halves have settled and the first frame before the blade enters, then trim so the two match in framing and light. Reversing the footage works for presses and wobbles but looks wrong for cuts.
- 7
Export vertical with sound on
Export at 1080x1920 and check the clip on a phone with headphones before posting. If the texture looks soft at that size, run it through the enhancer described in the mistakes section rather than re-rendering.
Which ASMR concepts work best with AI video?
Concepts that depend on one clean material change survive generation; concepts that depend on many small pieces moving independently do not. The table below lists the five formats we would prioritise, with the route we would take for each. The free-form column is a prompt cue, not a full prompt.
| Concept | Why it works in generated video | Route in LazyKiwi | Prompt cue |
|---|---|---|---|
| Glass fruit cutting | One rigid object, one split, refractions read as detail | Seedance 2.5 or MiniMax H3 text prompt | transparent glass peach, single slow cut, fine cracks ahead of blade, fixed macro camera |
| Miniature fruit cutting | Tilt-shift scale plus one cut; template ships with synced sound | Miniature fruit cutting template (photo in) | none needed; choose the fruit in the template |
| Kinetic sand slicing | Clean planar cut, grains fall in one direction | MiniMax H3 at 2K for grain detail | block of kinetic sand, wide blade, one straight press, grains crumble, top-down |
| Slime pressing | Slow deformation with a rebound; forgiving of small drift | Seedance 2.5, 9:16, shortest duration | glossy slime on white plate, palm presses once, slow rebound, locked camera |
| Soap cutting | Curls and ribbons are a strong visual trigger, but many independent pieces | Seedance 2.5 with a reference image of the bar | bar of soap, blade shaves one thin curl, curl peels and drops, macro |
Seedance 2.5 or MiniMax H3 for macro detail?
Seedance 2.5 is the flexible option: its model page lists any duration from 4 to 30 seconds, 480p or 720p output, aspect ratios from 21:9 through 9:16, a 5,000-character prompt field and up to nine reference images, and the model comes from ByteDance's Seed team (2026). MiniMax H3 is the resolution option: 768p or 2K output, 4 to 15 seconds and a 7,000-character prompt field, built by MiniMax (2026).
Price follows resolution. In our captures the same 5-second clip cost 1,150 credits on Seedance 2.5 at 720p and 410 credits on MiniMax H3 at 768p, which is why the pricing page points to model, duration and resolution as the cost drivers. For a static macro shot where the only movement is the blade, H3 at 2K gives you texture you can crop into; for a start-and-end-frame reveal or a longer take, Seedance 2.5 is the one that supports it.
Macro close-up of a transparent glass peach on a dark slate board. A polished steel knife enters from the right and makes one slow continuous cut through the centre. Fine cracks appear just ahead of the blade, the two halves separate and settle. Fixed camera, shallow depth of field, soft studio light, no hands visible, no text, no extra objects.
How to design audio that matches AI ASMR visuals
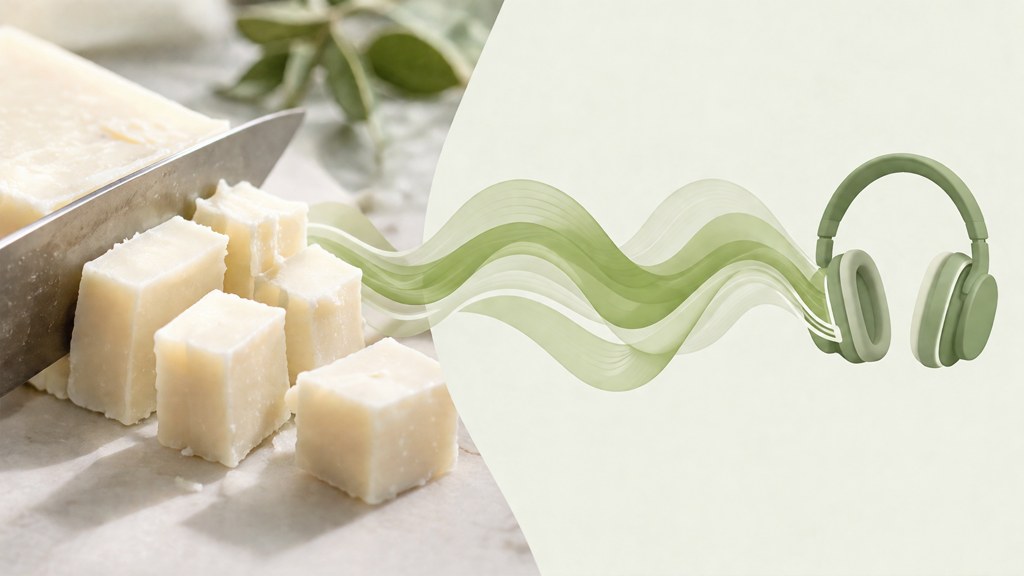
An ai generated asmr video from a text prompt is silent, so the sound is a second production. You have four practical sources: record your own with a phone held close to real fruit or sand, pull Creative Commons clips from Freesound, use the sound-effect library inside CapCut, or license from a subscription catalogue. Each has a licensing catch worth knowing before the clip goes on a monetised channel.
| Source | What it is (verified 2026-09-06) | Licence note |
|---|---|---|
| Freesound | Collaborative library; home page counted 733,950 free sounds at capture | CC0 needs nothing; CC-BY needs attribution in your description, per the Freesound FAQ |
| Your own recording | Phone or USB mic, 5 cm from the object, in a quiet room | You own it; the cleanest option for commercial use |
| CapCut sound effects | Built-in library inside the editor | CapCut describes the built-in effects as copyright-free assets; check before large-scale commercial use |
| Epidemic Sound | Subscription music and SFX catalogue | Covered while subscribed; the site notes access to the library ends with the subscription period |
| Audacity | Free, open-source editor for cleaning and layering | Software, not sounds; no licence issue for output |
Freesound (2026) is the fastest way to a usable blade or glass sound, and its help FAQ (2026) is explicit that CC0 sounds carry no restrictions while CC-BY sounds require attribution. CapCut (2026) describes its built-in effects as copyright-free assets. Epidemic Sound (2026) is the subscription route. For cleaning and stacking layers, Audacity (2026) is free and handles everything an ASMR edit needs.
How do you time sound to a generated cut?
- Drop five markers on the picture: blade enters, first contact, deepest pressure, separation, settle.
- Build five layers to match: quiet room tone, blade drag, the split transient, droplet or grain hits, and a soft settle on the board.
- Align the sharpest transient to the first-contact frame, then nudge it one or two frames early; late sound reads as fake, slightly early does not.
- Scale the sound to the shot: a thumb-sized figure cutting a giant kiwi wants a low, damp split, not a cinematic impact.
- No music. Background music masks the transient and is the first thing viewers mention in comments on an asmr ai video.
Listen once with your eyes closed. If the sound tells the same story as the picture (enter, press, split, settle), the timing is done. If you cannot picture the cut from the sound alone, a layer is missing.
Is there a free AI ASMR video generator?
Partly. The LazyKiwi pricing page lists a Free plan with 40 credits a month that refresh monthly, and the template page says signup credits cover the first cuts. The Generate button in our capture showed 410 credits for a 5-second 720p render, so compare the button price on the day with your balance before you plan a batch; promotions change the struck-through figure. There is also a free 5-second Seedance template in the gallery; in LazyKiwi's workbench data (August 2026), 15 external accounts used it in the month, so it is a real route for a first test rather than a footnote.
Everything around the render can be free. Freesound, Audacity and CapCut's sound effects cost nothing, and a phone recording costs nothing. Other generators advertise free tiers with watermarks or daily caps; we have not verified their current limits, so read each pricing page on the day rather than trusting a roundup.
- Free: the LazyKiwi Free plan credits, Freesound CC0 clips, Audacity, CapCut built-in sound effects, your own phone recordings.
- Paid: a full 720p or 2K render at the credit price shown on the Generate button, Epidemic Sound, any tool that removes a watermark.
- Spend order that works: one template render to learn the format, then prompts at the shortest duration and lowest resolution until a concept holds, then one high-resolution take.
How to adapt an AI ASMR clip for TikTok, Shorts and longer videos
The clip itself barely changes between platforms; the wrapper does. YouTube's Shorts tools accept vertical videos up to 3 minutes long, per YouTube Help (2026), which is room for a compilation of a dozen cuts. TikTok's policy requires a label on AI-generated content that contains realistic images, audio or video, per TikTok Newsroom (2023). YouTube asks creators to disclose realistic altered or synthetic content at upload, and applies an altered-or-synthetic label for viewers, per YouTube Help (2026). Vertical is the default for this format: in LazyKiwi's workbench data (August 2026), 22 of 39 external video jobs were rendered at 9:16.
- Loop length: keep a single-cut clip between 5 and 15 seconds so the loop restarts before attention drops; the template's 15-second output already fits.
- Captions off: on-screen text over the cut competes with the texture; put the concept name in the post caption instead.
- Sound-on hook: place the first contact within the first second so viewers who scroll with sound on hear the split immediately.
- Label it: tick the AI disclosure field on YouTube and the AI-generated label on TikTok; a miniature person cutting a giant fruit is realistic enough to qualify.
- Thumbnail frame: the frame just before contact, with the blade touching the skin, outperforms the split itself in our feed tests.
What changes for a three-minute compilation?
Group by material, not by random variety: six glass fruits, or six miniature cuts of different fruit, hold attention better than fruit, sand and slime in one reel. Match loudness across clips so nobody flinches at the third transient, keep the camera position identical, and cut on the settle of one clip to the entry frame of the next. Re-use the same photo across the set if you are using the template, so the tiny figure becomes a recurring character.
What mistakes break the ASMR illusion?
Every failed ASMR clip we reviewed broke in one of six ways, and five of the six are fixable without regenerating.
- Audio drift: the transient lands after contact. Fix by nudging the split layer one or two frames earlier.
- Jump cuts: two takes stitched mid-action. Fix by cutting only on the settle, never during the press.
- Impossible physics: a bending blade, a fruit that grows, halves that separate early. This one needs a regenerate with a simpler prompt.
- Background music: masks the trigger. Remove it; room tone is enough.
- Soft texture at phone size: a 480p render scaled to full screen. Fix with an upscale pass.
- Missing prop: the tool never entered the frame. The add object to video tool can place it, but a regenerate is usually cleaner.
For the soft-texture case, the AI video enhancer in the Tools tab takes a finished clip and offers an upscale factor and frame interpolation. In our capture both were set to 2x and the button listed 410 credits, the same price as the template render, so it is worth it for a keeper rather than every take.
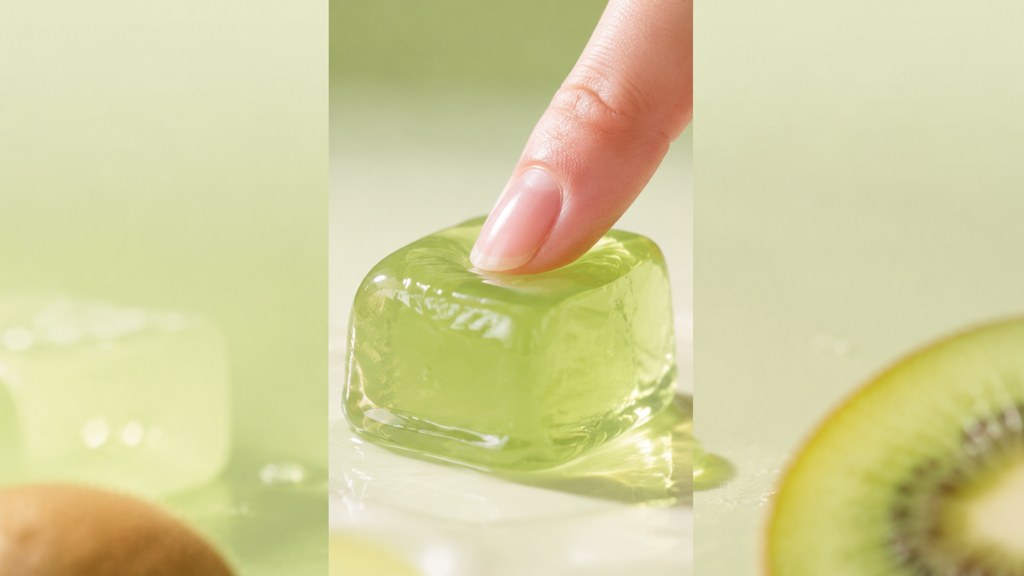
Frame interpolation smooths motion, which helps a slow press and hurts a crisp split. For cutting clips, upscale only; for slime and sand, use both.
Key takeaways
- ASMR is a physiological response (reduced heart rate, raised skin conductance in the 2018 PLOS ONE study), and the triggers a model can deliver are slow movement and close texture; crisp sound is on you.
- The miniature fruit cutting template turns one photo into a 15-second 9:16 clip with a synced sound layer; in our capture the 5-second 720p render was priced at 410 credits.
- For text prompts, Seedance 2.5 covers 4 to 30 seconds at up to 720p and MiniMax H3 covers 4 to 15 seconds at up to 2K; the same 5-second clip cost 1,150 and 410 credits respectively.
- Score prompt clips from Freesound (CC0 or CC-BY), your own recordings or CapCut's library, align the split transient to the first-contact frame and never add music.
- Label the upload: TikTok requires an AI label on realistic generated video and YouTube asks for disclosure at upload; keep single cuts to 5 to 15 seconds and compilations to one material.
Video Workflows Editor
Daniel Okafor
I run the same clip through every video model we ship and write down what actually changes: motion, timing, cost, and where each one falls apart.
FAQ
Common questions
How do people make AI ASMR videos?
Most creators use one of two routes: a template that takes a photo and returns a short clip with sound already synced, or a text-to-video model such as Seedance 2.5 that returns silent footage they score in an editor. In both cases the clip is one action, one material and a locked camera, then trimmed into a loop and exported vertical.
What is the best AI ASMR video generator?
It depends on whether you want sound handled for you. For a photo-based clip with a synced track, the LazyKiwi miniature fruit cutting template is the fastest route. For custom concepts, MiniMax H3 gives 2K macro detail and Seedance 2.5 gives longer takes and start-and-end frames; both are silent, so budget time for audio.
Do AI ASMR videos need an AI label?
On TikTok, yes for anything realistic: the policy requires a label on AI-generated content with realistic images, audio or video. On YouTube, creators must disclose realistic altered or synthetic content at upload and viewers see an altered-or-synthetic label. A miniature person cutting a giant fruit qualifies on both platforms.
How do I add sound to a generated ASMR clip?
Import the silent clip into an editor such as Audacity or CapCut, mark the frames for blade entry, first contact, separation and settle, then place one sound per marker: a drag, a split transient, droplet hits and a soft settle. Source clips from Freesound (check CC0 versus CC-BY) or record your own with a phone close to real fruit.
How long should an ASMR clip loop be?
Between 5 and 15 seconds for a single cut, which is why the template's 15-second output works as posted. Trim so the last settled frame matches the first pre-contact frame in framing and light. For compilations, YouTube Shorts accepts vertical videos up to 3 minutes, so six to twelve cuts of the same material fit comfortably.
Make your first ASMR cut
Upload one photo, pick a fruit and get a 15-second vertical clip with the sound already synced. Read the credit price on the button before you generate.
Keep reading
AI Video Effects That Stop the Scroll: A 2026 Hook Guide
Which AI video effects stop the scroll, how to add one to a photo or clip in minutes, and what the free tiers really cover, checked on official pages.
10 min read
How to Make AI Cat Videos People Actually Watch (2026 Guide)
Make AI cat videos from one photo with models that keep paws and eyes honest, run the dance templates, keep one cat across a series and test free.
9 min read
How to Make an AI Baby Meme (Video and GIF) in 2026
Where the AI baby meme came from, how to make the image, video and GIF versions from one photo, caption formats that land, and the label rules per platform.
9 min read
AI GIF Generator: Make Reaction GIFs From Video or Text
Use an AI GIF generator two ways, video to GIF or text to a short loop, then trim, convert and upload it where people search, with every limit cited.
8 min read