
Best AI Subtitle Generator in 2026: 7 Tools Compared
Seven AI subtitle generator options compared on verified prices, free tiers and languages, plus the caption standards and the steps to subtitle any clip.
 Marcus Tan 10 min read
The best AI subtitle generator for most creators in 2026 is CapCut if you edit on a phone, Descript if you edit by transcript, and YouTube's own automatic captions if the video only lives on YouTube. That verdict comes from opening seven official pricing and product pages on 6 September 2026 rather than from a feature list. LazyKiwi does not transcribe speech; it generates and cleans up the footage, so this guide covers the subtitle step honestly as something you do after export, and shows where the accessibility standards set the limits on line length and reading speed.
What is the best AI subtitle generator in 2026?
The shortlist below is the seven tools people actually compare, with the figures each vendor publishes on its own site. Accuracy percentages are vendor claims, not independent tests; the standards bodies quoted later in this post are clear that machine output needs a human pass before it counts as accessible.

| Tool | Free tier (checked 2026-09-06) | Paid entry point | Languages / claims stated by the vendor |
|---|---|---|---|
| CapCut | Auto captions in the free editor, no card required | Not stated on the subtitle page | Multiple languages, translated subtitles |
| VEED | Free to start; longer videos and file downloads need a plan | Creator plan from $20/month (tool page FAQ) | Up to 99.9% accuracy claim; SRT, VTT, TXT |
| Descript | Free plan exists; details on pricing page | Hobbyist $16/person/month annual ($24 monthly) | Transcription in 25 languages; 10 media hours/month on Hobbyist |
| Kapwing | $0: watermark, 4-minute exports, 720p | Pro $16/member/month annual ($24 monthly) | Auto-translate subtitles to 60+ languages on paid tiers |
| Happy Scribe | Site blocked automated checks; not verified | Not verified | Automatic and human subtitles (unverified today) |
| Rev | 45 AI transcription and caption minutes/month, English only | Essentials $25.49/seat/month annual ($29.99 monthly) | 37+ languages on paid AI tiers; human captions 99%+ |
| YouTube automatic captions | Free on every eligible upload | None | Default language of the video only; quality varies |

Sources for the table: CapCut (2026), VEED (2026), Descript pricing (2026), Kapwing pricing (2026), Rev pricing (2026) and YouTube Help (2026). Happy Scribe returned a bot-check page to every request we made, so its row carries no numbers.
How to choose an AI subtitle or caption generator
Vendors use subtitle, caption and transcript interchangeably; the deliverables are different. Subtitles carry dialogue and may be translated. Captions add speaker identification and meaningful sounds for viewers who cannot hear the audio. A transcript is the plain text with no timing. An ai caption generator that only burns styled words into a Reel is not a captioning tool in the accessibility sense, and an auto subtitle generator that exports SRT may have no styling at all.
Subtitles, captions or transcript: which file do you need?
- YouTube, courses and webinars: an editable SRT or VTT file the platform can switch on and off and translate.
- TikTok, Reels and Shorts: burned-in captions, because most viewers scroll with sound off and the styling has to survive the feed.
- Accessibility deliverables: captions with speaker labels and sound descriptors, reviewed by a person.
- Show notes, blog posts and search: a plain transcript with the timing stripped.
Five things to test before you pay
- Accents and names: run a 60-second sample with a product name, a place name and a number, and count the errors.
- Speaker labels: does the tool separate two voices and let you rename them once for the whole file.
- Line control: can you split a long line and shift a timestamp without re-transcribing.
- Export: SRT and VTT for platforms, burned-in MP4 for social, and both at once if you post everywhere.
- Translation: does the tool translate from a corrected transcript or from its own first draft.
Pick the tool that lives where you already edit. A video subtitle generator inside your editor beats a more accurate one that forces a round trip through a second app.
AI subtitle generators compared one by one (2026)
CapCut
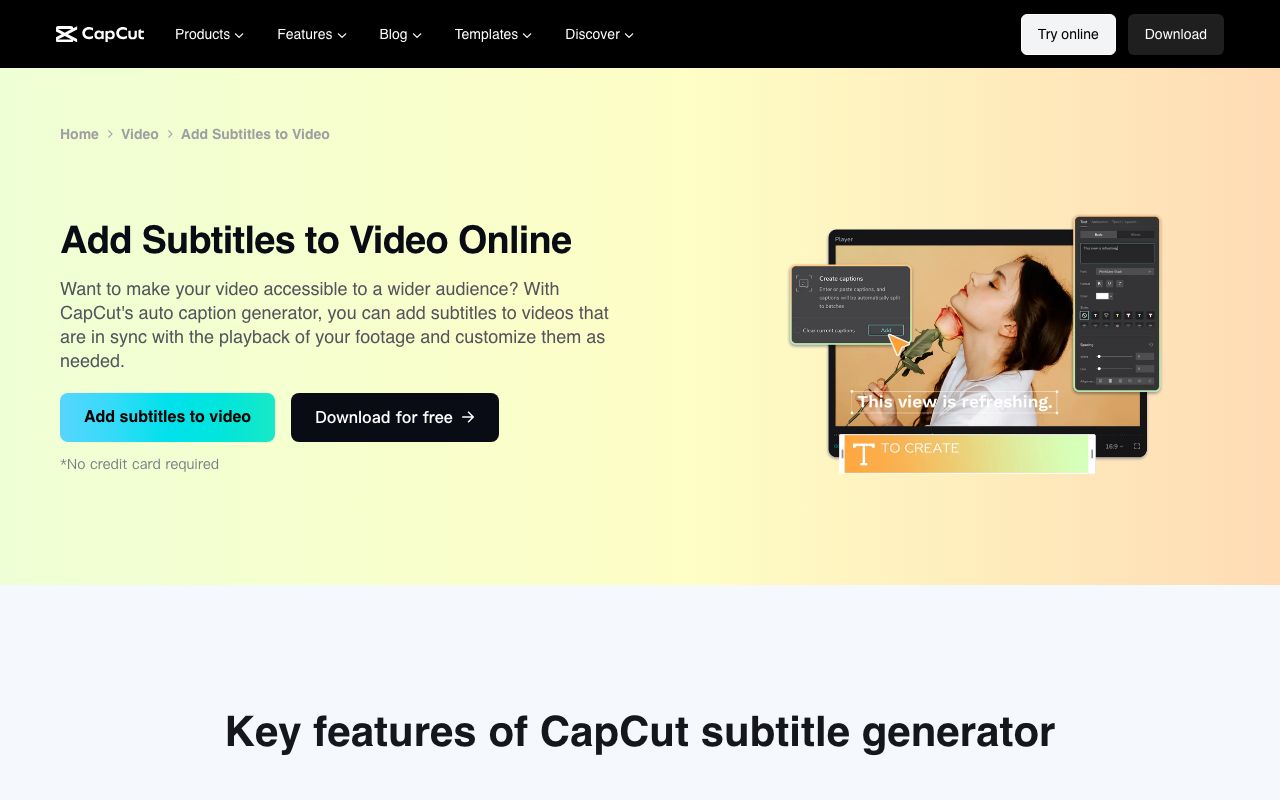
CapCut's subtitle page positions auto captions as part of the free editor, with no credit card required to download, and lists translated subtitles as a built-in feature, per CapCut (2026). It is the default for phone-first creators because the caption styles match what the TikTok feed already looks like. The page does not state a caption-specific price, so treat any limit you hit inside the app as the real one.
VEED
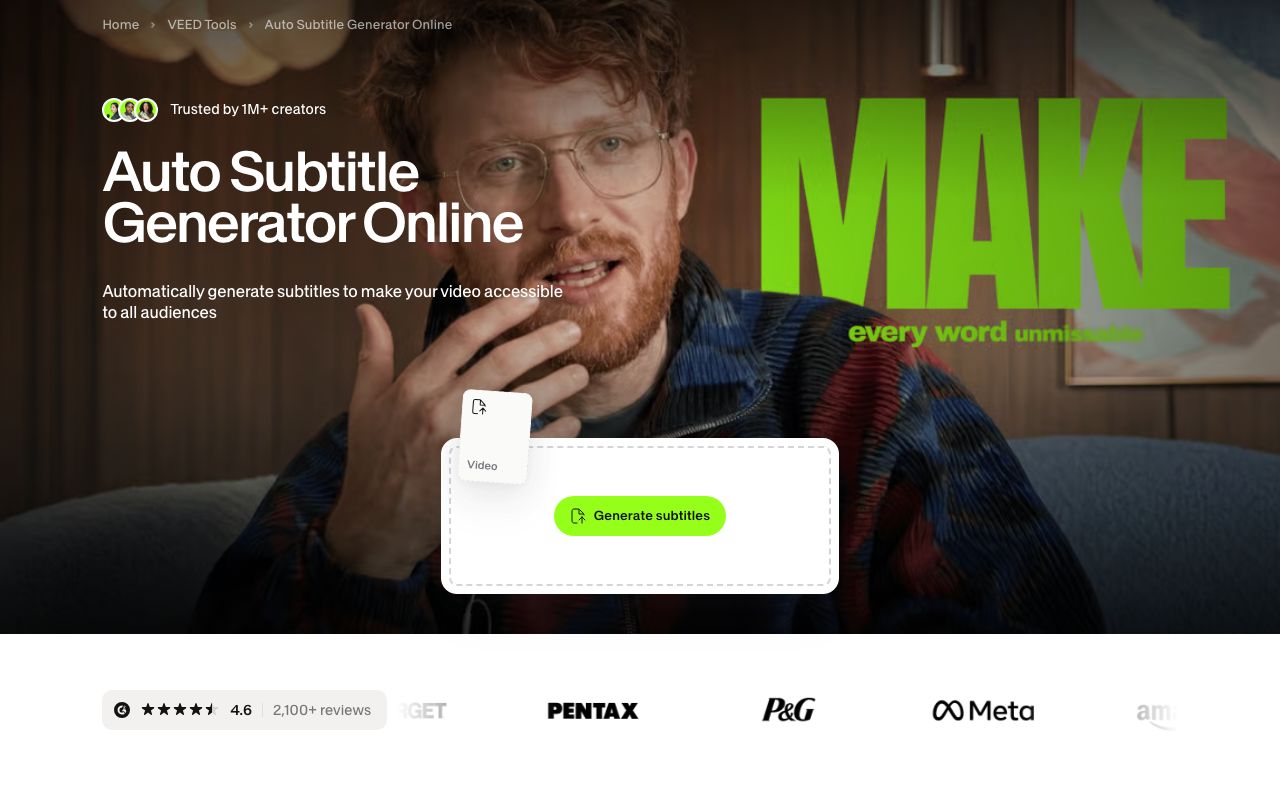
VEED's tool page claims up to 99.9% accuracy and offers SRT, VTT and TXT downloads, with the FAQ stating that longer videos and subtitle-file downloads need a paid plan and that a Creator plan starts at $20/month, per VEED (2026). The browser editor is the draw: caption styling, translation and export sit in one timeline.
Descript
Descript edits video by editing the transcript, which makes it the strongest choice for interviews and podcasts. Its pricing page lists the Hobbyist plan at $16 per person per month on annual billing or $24 monthly, with 10 media hours a month and 1080p watermark-free export, and states automatic transcription in 25 languages, per Descript pricing (2026).
Kapwing
Kapwing's free tier is honest about its limits: watermarked exports with no monthly cap, videos up to 4 minutes and 720p. Pro removes the watermark at $16 per member per month billed annually ($24 monthly), and paid tiers auto-translate subtitles into more than 60 languages, per Kapwing pricing (2026).
Happy Scribe
Happy Scribe sells automatic and human-made subtitles, but its site served a security challenge to every request we made on the day of writing, so we cannot quote a price or a language count. Open its pricing page yourself before you shortlist it, and read the per-minute versus subscription split carefully.
Rev
Rev is the transcription company that added AI captions to a human service. The free tier gives 45 AI transcription and caption minutes a month in English only; Essentials is $25.49 per seat per month on annual billing or $29.99 monthly with 5,000 AI minutes, paid tiers cover 37+ languages, and human captions are sold with a 99%+ accuracy guarantee, per Rev pricing (2026). Use it when a client contract says the captions have to be right.
YouTube automatic captions
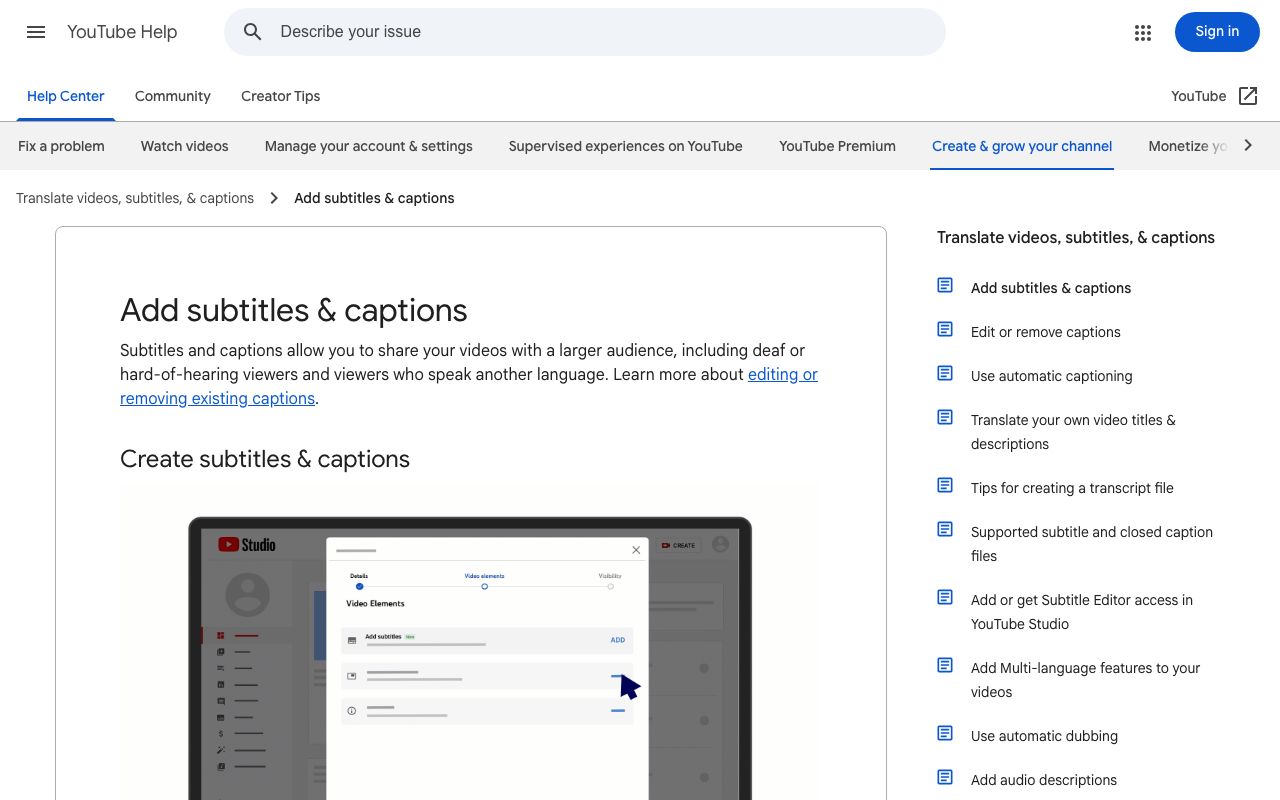
YouTube generates captions with speech recognition and publishes them automatically when available, in the video's default language only, and its help page says plainly that quality varies and creators should review and edit them, per YouTube Help (2026). You can also upload a corrected transcript and let YouTube set the timing, per YouTube Help (2026).
Is there a free AI subtitle generator?
Yes, and the search for an ai subtitle generator free of charge has three real answers. YouTube automatic captions cost nothing on any eligible upload. CapCut's editor generates captions without a card. And OpenAI's Whisper is open source: the GitHub repository (2026) describes six model sizes with multilingual recognition and translation, which you can run locally with no upload at all if you are comfortable with a command line.
- Free with a watermark: Kapwing's $0 tier, up to 4 minutes at 720p.
- Free with a minute cap: Rev's 45 English minutes a month.
- Free to start, paid to download: VEED's subtitle files sit behind a plan.
- Free and offline: Whisper, if you have the hardware and the patience.
- Free and already there: YouTube automatic captions, reviewed before you publish.
The cost that matters is correction time. A free draft with twelve wrong names in a ten-minute interview costs more of your afternoon than a paid tool with two. Run the same one-minute sample through two free options and count errors before you decide.
How to add subtitles to a video step by step
This is how to add subtitles to video that started life in a generator. LazyKiwi's AI video generator produces the footage; the speech has to come from you, because Veo 3.1 Lite in the LazyKiwi workbench renders 4 to 60 second clips at 720p or 1080p in 16:9 or 9:16 without an audio track. So the order is: finish the picture, add the voice, then caption.
- 1
Lock the picture first
Captions are timed to frames, so any re-render after captioning breaks the timing. Generate, review, and only then move on.
- 2
Clean up soft or noisy footage
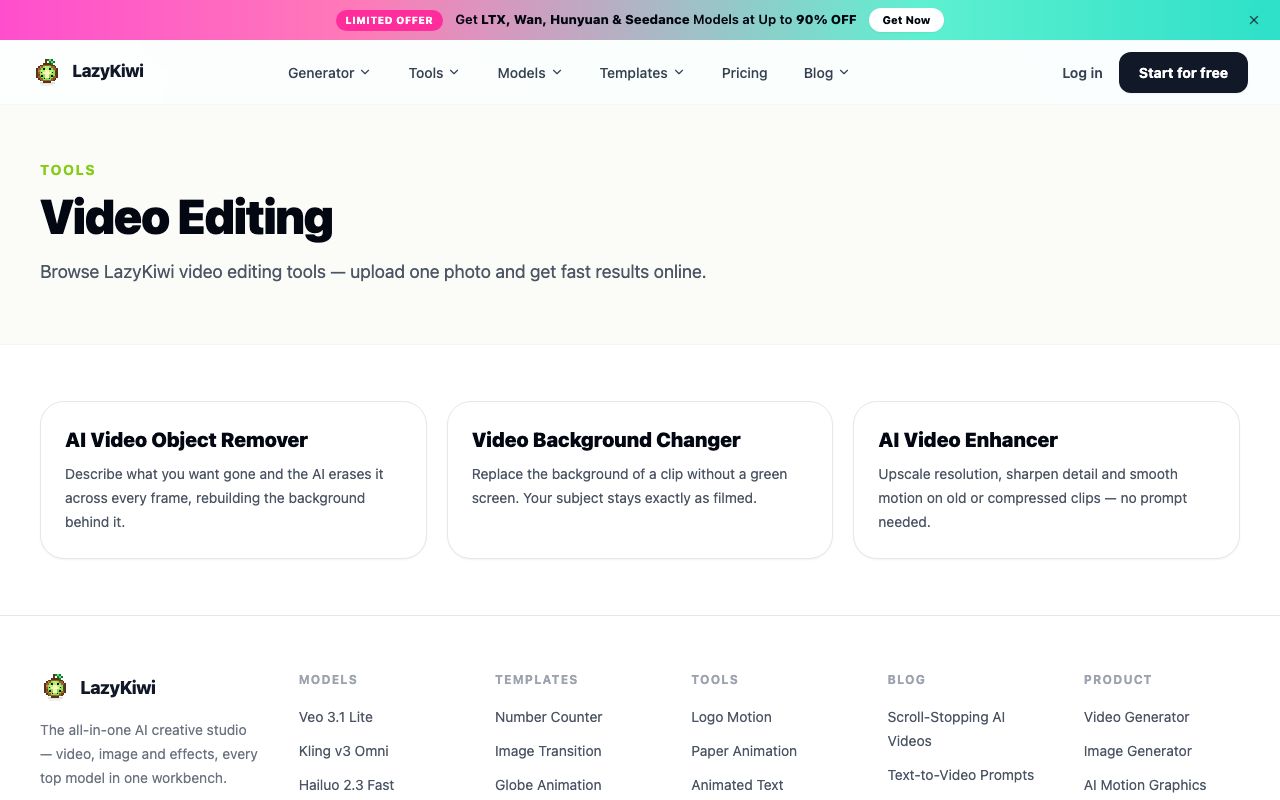
If the clip looks soft at phone size, run it through the AI video enhancer from the video edit tools; the panel offers an upscale factor and frame interpolation, both set to 2x in the workbench capture below, and shows the credit price on the button before you commit.
- 3
Record or generate the voice track
Lay the voiceover in your editor against the finished clip. Speak at a normal pace: Section 508 guidance notes that speech over 180 words a minute may be too fast for captions to keep up.
- 4
Run the auto subtitle pass
Upload to the tool you chose above and let it draft. Do not style anything yet.
- 5
Correct meaning before timing
Fix names, numbers, product terms and homophones in the transcript view. Then check line breaks and timestamps; a corrected word with a wrong timestamp is still a wrong caption.
- 6
Style to the standards
Two lines, short lines, lower third, high contrast, no scrolling or flashing. The next section gives the numbers.
- 7
Export twice
One burned-in MP4 for TikTok, Reels and Shorts; one SRT or VTT file for YouTube and your course platform. Keep the corrected transcript as the master for translation.
One more LazyKiwi option belongs in this workflow, and it is not a subtitle tool. The animated text generator renders a headline or a hook line as animated typography for the first seconds of a Reel; its page lists eleven presets, a free 720p export three times a day and a 30-credit 1080p export. Use it for the opening line, not for dialogue, and keep it in the top two thirds of the frame so it never collides with the captions.
How to make captions readable and accessible
Three published standards set the numbers, and they agree more than they disagree. The W3C's accessibility initiative states that automatically generated captions do not meet user needs or accessibility requirements unless they are confirmed to be fully accurate, and points to WCAG success criterion 1.2.2 (captions for prerecorded audio, Level A) and 1.2.4 (live captions, Level AA), per W3C WAI (2026). The same page names WebVTT as the most common caption format on the web.
| Rule | Section 508 (US government) | Netflix timed-text style guide | W3C WAI |
|---|---|---|---|
| Lines on screen | No more than two | Two (implied by the 42-character limit) | Not specified |
| Characters per line | No more than 45, fewer is better | 42 | Not specified |
| Reading speed | Speech over 180 words per minute may be too fast | Up to 20 characters per second (17 for children's content) | Not specified |
| Placement | Centre of the lower third unless it covers on-screen text | Font sized to fit 42 characters across the screen | Positioning guidance on the page |
| Automatic captions | Not addressed | Not addressed | Not sufficient unless confirmed fully accurate |
The US government's accessibility site is the most concrete: use no more than two lines at a time with no more than 45 characters per line, display captions in the centre of the lower third unless they cover important on-screen text, avoid scrolling or flashing, and identify speakers consistently, per Section508.gov (2026). Netflix's guide for its subtitle vendors sets 42 characters per line and a reading speed of up to 20 characters per second for adult programmes and 17 for children's programmes, per Netflix Partner Help (2026).
What does 20 characters per second feel like?
A two-line caption of 80 characters needs four full seconds on screen. Most auto-generated drafts cut lines at every pause, which produces 1-second captions of 30 characters that nobody can read. Merge short cues, split long ones, and watch the finished export at 1x with the sound off; if you cannot read a caption before it leaves, a viewer who depends on it cannot either.
Vertical video shrinks the safe area. On 9:16, aim under 32 characters per line even though the standards allow more, because platform UI covers the bottom of the frame and the sides are narrow. LazyKiwi workbench data from August 2026 puts 22 of 39 external video jobs at 9:16, so most generated clips will meet this constraint.
How to translate subtitles without losing meaning
Translate from the corrected source transcript, never from the first machine draft, or every transcription error multiplies across every language. Kapwing's paid tiers auto-translate subtitles into more than 60 languages and Descript's higher tiers translate and dub video in 30+ languages, per their pricing pages linked above, but both take whatever text you feed them.
- Give the translator context: audience, tone, product names to keep untranslated, and the on-screen terms that must match the interface.
- Expect expansion: German and Spanish run longer than English, so a 42-character line becomes a 50-character line and breaks the reading-speed rule; condense rather than paraphrase.
- Keep one master file per language as a separate track; do not overwrite the source.
- Check fonts: the export must render every accent and script, or the caption shows boxes.
- Have a fluent reviewer watch the video, not read the file; idioms fail in context, not on paper.
When is dubbing better than subtitles?

Subtitles win for tutorials, interviews and anything with on-screen text, because the viewer can pause and read. Dubbing wins for entertainment and for markets where reading speed on a phone is the barrier. If you are weighing the two, our guide to AI video dubbing covers voice preservation, timing and the label rules per platform. Whatever you pick, the LazyKiwi Free plan's 40 credits a month, listed on the pricing page, cover the generation side while the caption tools above handle the words.
Key takeaways
- Best AI subtitle generator by workflow: CapCut for phone-first editing, Descript ($16/month annual, 25 transcription languages) for transcript editing, YouTube automatic captions when the video only lives on YouTube.
- Free routes that work: YouTube auto captions, CapCut's free editor, Kapwing's watermarked 4-minute tier, Rev's 45 English minutes a month, and open-source Whisper run locally.
- Standards to hit: no more than two lines, 42 to 45 characters per line, up to 20 characters per second, centred in the lower third (Section 508, Netflix style guide).
- W3C WAI is explicit that automatic captions are not sufficient unless confirmed fully accurate; budget a correction pass for names, numbers and timing.
- LazyKiwi has no subtitle feature: generate with Veo 3.1 Lite (silent, 4 to 60 s), enhance at 2x if soft, add the voice track, then caption in the tool you chose and export SRT plus a burned-in MP4.
Tools & Reviews Editor
Marcus Tan
I open every competitor's pricing page myself before writing a comparison, and I say plainly when another tool is the better pick.
FAQ
Common questions
Does YouTube automatically generate subtitles?
Yes. YouTube uses speech recognition to create automatic captions and publishes them on the video when they are available, in the video's default language only. Its help page warns that quality varies with accents, noise and overlapping speakers and asks creators to review and edit them. You can also upload a corrected transcript and let YouTube sync the timing.
What is the most accurate AI subtitle generator?
No independent benchmark covers all seven tools, so treat vendor figures as claims: VEED states up to 99.9% accuracy and Rev sells human-verified captions at 99%+. In practice accuracy depends on your audio, so run the same one-minute sample with a product name, a place name and a number through two tools and count the errors before you commit.
Are Netflix subtitles AI generated?
Netflix does not say on the page we checked. What it publishes is a timed-text style guide for its subtitle vendors that sets 42 characters per line and a reading speed of up to 20 characters per second for adult programmes, with detailed rules on italics, speaker identification and song lyrics. Whether a machine or a person drafts the file, those are the targets the output has to meet.
Can AI subtitles be translated?
Yes. Kapwing's paid tiers auto-translate subtitles into more than 60 languages and Descript's higher tiers translate and dub in 30+ languages, according to their pricing pages. Always translate from the corrected source transcript rather than the raw draft, keep each language as its own track, and have a fluent reviewer watch the finished video rather than read the file.
What format should I export subtitles in?
Export two things: an SRT or VTT file for YouTube, course platforms and any player that lets viewers toggle captions, and a burned-in MP4 for TikTok, Reels and Shorts where most people watch muted. W3C WAI names WebVTT as the most common caption format on the web; SRT is the older, more widely accepted upload format. Keep the corrected transcript as the master.
Prepare the footage before you caption it
Remove objects, swap backgrounds or upscale the clip in LazyKiwi's video edit tools, then take the export to the subtitle tool you picked above.
Keep reading

Best AI Video Editor in 2026: 7 Picks, Free and Paid
Seven of the best AI video editors compared on prices checked today, free tiers, captions, text-based cuts and generative tools, plus where LazyKiwi fits.
9 min read
Best AI Video Dubbing Tools in 2026: 7 Compared for Creators
Seven AI video dubbing tools compared on prices and language counts checked today, how the pipeline works, the free routes, and the consent and label rules.
10 min read
Best AI Video Upscaler in 2026: Free and Paid Tools Compared
Six AI video upscaler options with prices verified today, free routes and output limits, plus the LazyKiwi enhancer steps and the signs of over-upscaling.
9 min read