
Best AI Video Upscaler in 2026: Free and Paid Tools Compared
Six AI video upscaler options with prices verified today, free routes and output limits, plus the LazyKiwi enhancer steps and the signs of over-upscaling.
 Marcus Tan 10 min read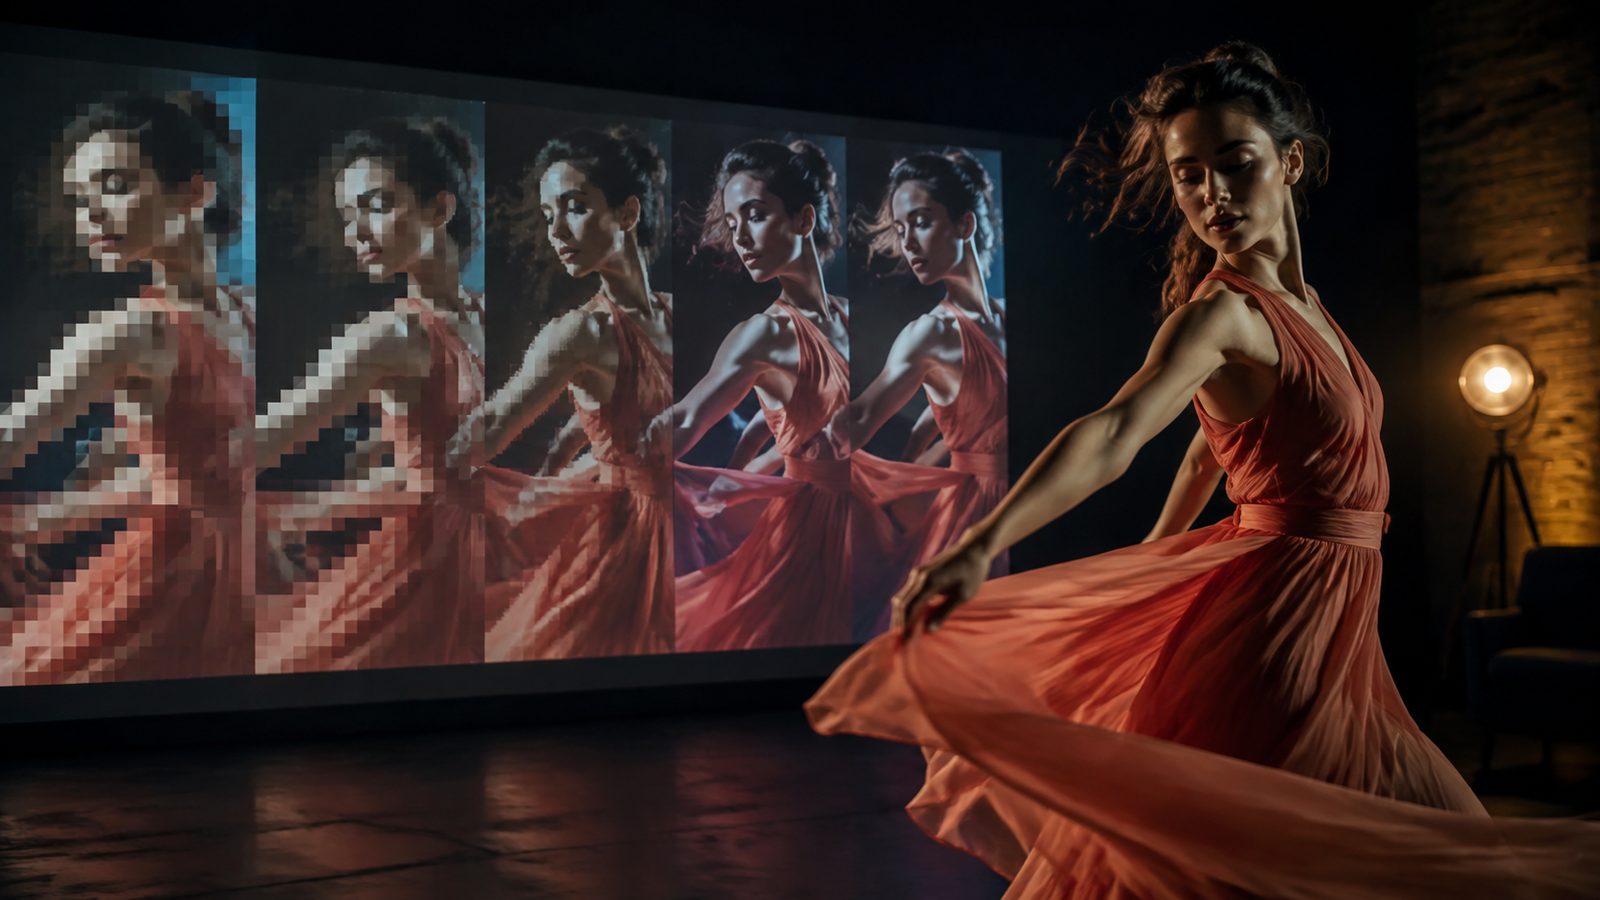
The best AI video upscaler for most creators is whichever one they will actually run before every export, and that usually means a tool with no settings to tune: the LazyKiwi video enhancer for generated and phone clips, CapCut when the edit already lives there, Topaz Video when you need model-by-model control, and Real-ESRGAN when you have a GPU and patience. We checked every price on 2026-09-06, explain what super-resolution can and cannot recover, and finish with the artefacts that give an over-processed clip away.
What is the best AI video upscaler in 2026?
Six tools cover almost every case: one no-settings web tool (LazyKiwi), one desktop suite with a dozen named models (Topaz Video), one editor with upscaling built in (CapCut), one open-source model you run yourself (Real-ESRGAN) and two browser editors that bundle an enhancer with captions and templates (VEED, Kapwing). The table shows the entry price each vendor displayed today and what the free route gives you.

| Tool | Price shown on 2026-09-06 | Free route | Output ceiling stated by the vendor |
|---|---|---|---|
| LazyKiwi AI video enhancer | Per-run credits; Free plan 40 credits/month | Free plan credits, no card | 'Well past the source'; 2x selector in the workbench |
| Topaz Video (desktop) | $59/month | None listed on the pricing page | Model-dependent; Starlight, Proteus, Iris and others |
| Topaz for Web - Video | $19/month on a limited-time offer, from $29 | None listed | Precision and Creative Upscale, 200 credits/month |
| CapCut | Free download; Pro price not published | Free app | Up to 4K per its upscaler page |
| Real-ESRGAN | Free, BSD-3-Clause | Whole project | 4x models; you choose the output size |
| VEED | Creator $12/user/month yearly | Free plan with watermark | Video Enhancer tool inside the editor |
| Kapwing | Pro $16/month annual | Free plan, 720p, watermark | 4K export on Pro |

Prices come from Topaz Labs pricing (2026), CapCut's upscaler page (2026), the Real-ESRGAN repository (2026), VEED pricing (2026), Kapwing pricing (2026) and the LazyKiwi pricing page. Topaz was mid-promotion when we looked, so its web price is quoted with the struck-through original.
How does AI video upscaling work and what can it fix?
Ordinary resizing spreads the pixels you have across a bigger grid. Super-resolution models instead predict the high-resolution frame that would have produced your low-resolution one. Real-ESRGAN, the model behind many web tools, was trained entirely on synthetic degradations: the authors took clean images, ran them through a high-order chain of blur, resize, noise and JPEG compression, and taught the network to reverse it, while also targeting the ringing and overshoot artefacts that earlier models produced, per Wang et al. on arXiv (2021).
That training recipe explains both the strengths and the limits. Compression blocks, soft edges and sensor noise are exactly the degradations the model learned to undo, so a clean 720p file gains real-looking edges and texture. Text the source never resolved, faces that were already a smear, and motion blur from a handheld shot are not degradations the model can invert; it will guess, and the guess is where artefacts come from.
What separates a video upscaler from a photo upscaler?
Consistency between frames. A photo model can invent a slightly different eyelash on every run and nobody notices; run that on 30 frames a second and the eyelash crawls. Video-specific models such as Real-ESRGAN's AnimeVideo-v3 and the video script in the same repository process frames with that in mind, and commercial tools add their own temporal filtering. When you test any upscaler, judge the moving image, not a paused frame.
- Fixes well: compression blocking, soft focus from a low bitrate, a 720p export that has to sit on a 1080p timeline.
- Fixes partly: film grain and sensor noise (the model may over-smooth skin while removing it).
- Cannot fix: unreadable text, faces below roughly a thumbnail's worth of pixels, heavy motion blur, colour that was clipped in the source.
Upscale the cleanest copy you own. A generated clip downloaded straight from the workbench upscales better than the same clip after a TikTok re-encode.
AI video upscalers compared one by one (2026)
LazyKiwi AI video enhancer: no settings, credits per run
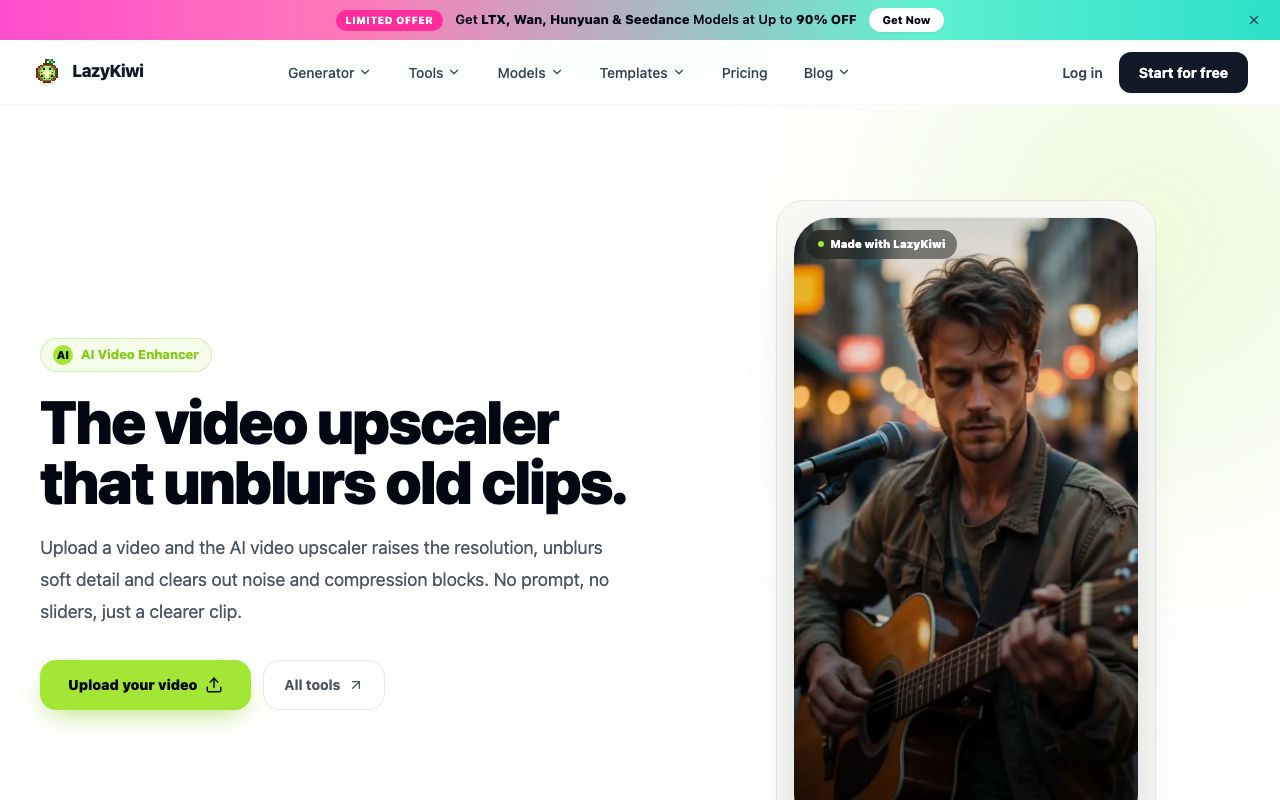
The AI video enhancer takes an upload and returns the same clip at higher resolution with compression blocks cleared and edges unblurred; the tool page states the length, framing, frame rate and audio come back as they went in, that it is free to start with no card, and that how far it goes 'convincingly depends on how much real detail the original holds'. In the workbench the panel exposes two factors, upscale and frame interpolation, each defaulting to 2. Best for: generated clips and phone footage where you want one pass and no decisions.
Topaz Video: the reference desktop tool
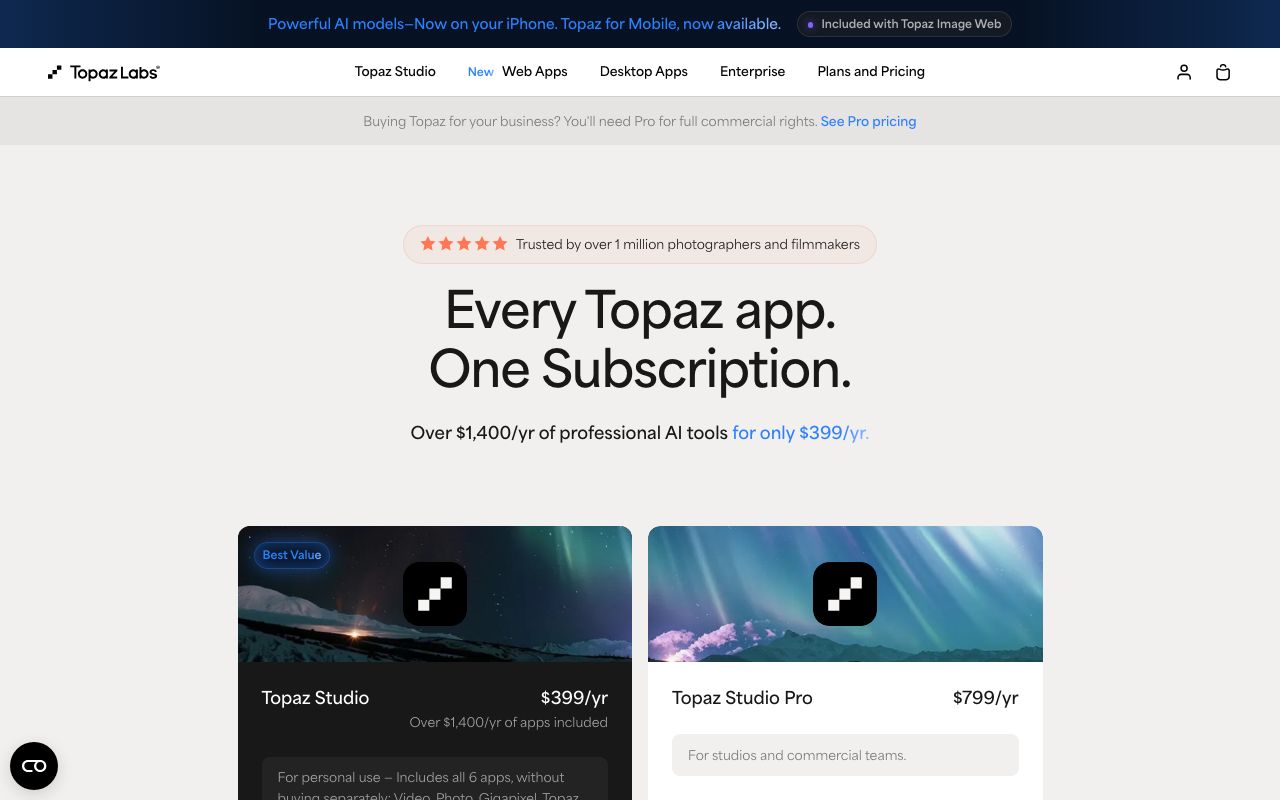
Topaz Video is the tool professionals reach for when a specific model matters: its plan lists Starlight Precise, Proteus, Iris, Nyx, Rhea, Artemis, Gaia and more, plus SDR-to-HDR and stabilisation, at $59 a month with cloud access to Starlight, per Topaz Labs (2026). The Topaz Studio bundle of every app is $399 a year and Studio Pro $799 a year on the pricing page. Best for: archival restoration and paid client work where you will tune per shot.
CapCut: upscaling inside the editor
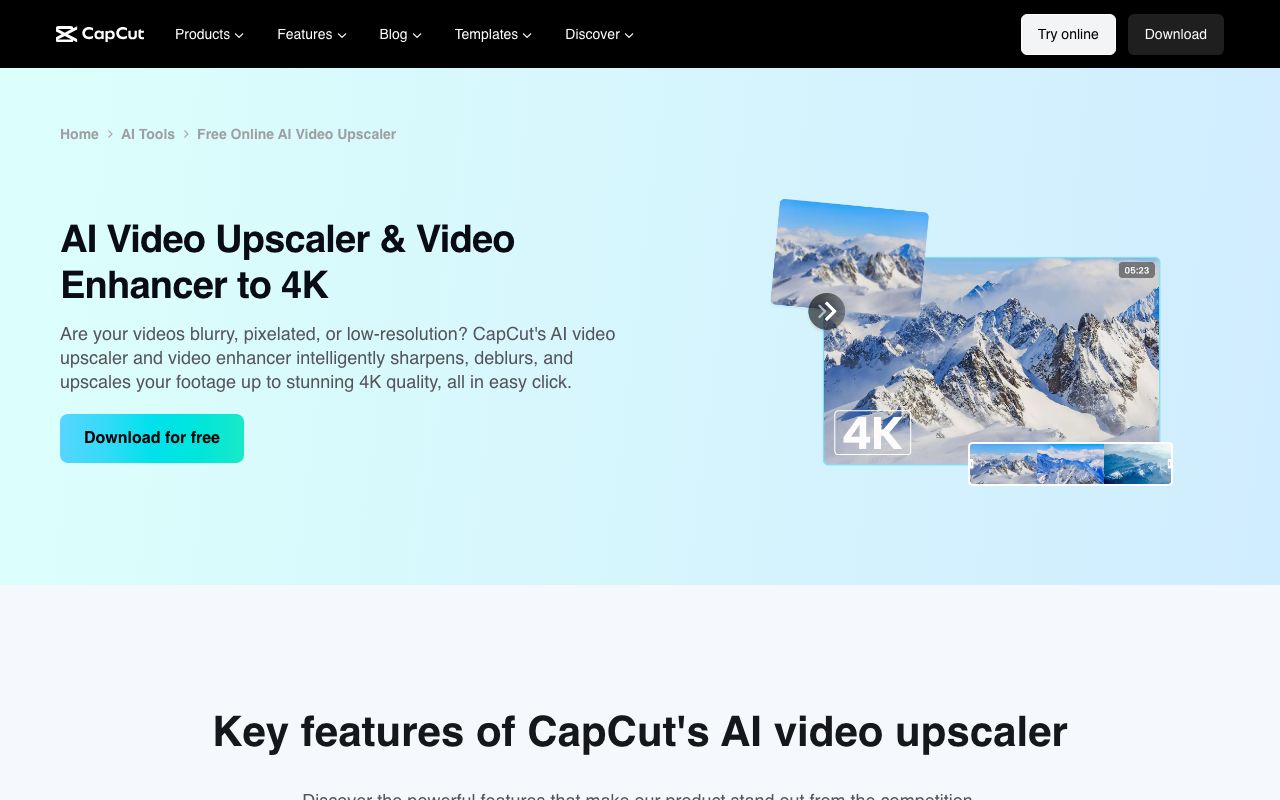
CapCut's upscaler page promises enhancement to 4K and says the feature sharpens, deblurs and upscales footage in one click, with a free download button and an FAQ that recommends selecting an HD output when enhancing a 480p source, per CapCut (2026). The page does not state file-size or duration limits, so test a clip of your typical length. Best for: creators already cutting in CapCut who want the enhance step on the same timeline.
Real-ESRGAN: free, local, yours to script
The Real-ESRGAN repository (2026) ships a video inference script, a 4x general model, an anime-illustration model and the AnimeVideo-v3 model, under a BSD-3-Clause licence, and a Vulkan build for machines without CUDA. Nothing leaves your computer, there is no per-run cost, and you can batch a folder overnight. The trade is time: setup, model downloads and render speed that depends on your GPU. Best for: technical users, anime and illustration footage, and confidential material.
VEED and Kapwing: enhancer plus captions in the browser
Both are browser editors first. VEED lists a Video Enhancer among its tools and prices its Creator plan at $12 per user a month on yearly billing with no watermark, per VEED pricing (2026). Kapwing's free plan exports at 720p with a watermark, and Pro at $16 a month billed annually lifts that to 4K export without the mark, per Kapwing pricing (2026). Pick either when the enhance step and the caption step should happen in one upload.
Is there a free AI video upscaler?
Yes, three of them, with different catches. Searches for ai video upscaler free tend to land on tools that only sharpen and resize, so it is worth knowing which free options run a real super-resolution model.
| Free option | What you get | The catch |
|---|---|---|
| Real-ESRGAN | Full model, any length, local processing | Command line, GPU time, no support |
| CapCut | Upscaler inside the free app, up to 4K per its page | Limits not published; check export size on your device |
| LazyKiwi Free plan | 40 credits a month that refresh monthly, no card | Each enhancer run has a credit price shown on the button |
| Kapwing Free | Browser enhancer | 720p export with a watermark |
On LazyKiwi the free route is the Free plan on the pricing page, which lists 40 credits a month, and the enhancer's own page says you can enhance a clip with no credit card. In our workbench capture the Generate button showed 410 credits for the sample clip with 750 struck through, so read the button before you run a long file; trim to the seconds you will use. If your search was ai video upscale free and the footage is a phone clip you will post once, CapCut is the shortest path. If it is anime or a batch, Real-ESRGAN is free in the fuller sense.
How to upscale a video with AI in LazyKiwi
The whole job is four clicks, which is the point. What takes judgement is choosing the source and checking the result at the size viewers will see it.
- 1
Pick the cleanest source
Use the original export from your generator or camera, not a copy that has been through a social platform. If the clip came from the AI video generator, download it from the workbench rather than from a shared link.
- 2
Open the enhancer and upload
In the video workbench, switch to the Tools tab and choose AI Video Enhancer; the panel's instruction is to upload a video and then pick the two factors. Drop the clip into the Video slot.
- 3
Leave the factors at 2 for a first pass
The upscale selector and the frame-interpolation selector both default to 2. For a 720p to 1080p job the 2x upscale is plenty; leave interpolation alone unless the clip is choppy, since the tool page says frame rate and duration otherwise come back unchanged.
- 4
Check the price, then generate
The credit cost sits on the Generate button and changes with clip length; the pricing page explains that credits vary by clip length, resolution, chosen model and how many outputs you request. Trim first if the button surprises you.
- 5
Compare at playback size
Play the original and the result on the same phone or monitor at the same zoom. A bigger file always looks sharper when it fills more screen; equal display size is the only fair test.
- 6
Export for the platform
YouTube's upload guide recommends H.264, progressive scan and about 8 Mbps for 1080p at standard frame rates, rising to 35 to 45 Mbps for 2160p, per YouTube Help (2026). Export the upscaled master at or above those rates so the platform's re-encode does not undo the work. Most clips that reach this step are vertical; in LazyKiwi's August 2026 usage figures, vertical 9:16 was the ratio on 22 of 39 external video jobs, so check the vertical export preset rather than the widescreen one.
Upscale before captions, logos or end cards go on. Text baked into a 720p frame gets reconstructed like everything else, and letterforms are where reconstruction shows.
Which upscaler should you use for AI-generated clips, old footage and phone video?
Three sources, three answers, and one case where the right move is not to upscale at all.
| Source | First choice | Alternative | Why |
|---|---|---|---|
| AI-generated clip at 480p or 720p | LazyKiwi enhancer | Regenerate at 2K on MiniMax H3 | Generated footage is clean and compression-free, the easiest input for super-resolution |
| Old camcorder or DVD rip | Topaz Video | Real-ESRGAN | Interlacing, noise and colour need per-shot model choices |
| Phone video for social | CapCut | LazyKiwi enhancer | One app for enhance, caption and post; enhancer if you cut elsewhere |
| Anime or illustration | Real-ESRGAN AnimeVideo-v3 | Topaz Video | A model trained on the material beats a general one |
| Still images for a video | LazyKiwi AI photo upscaler | Topaz Photo | Different model, up to 4x, cheaper per image |
When is regenerating better than upscaling?
When the clip is short and the model offers a higher native resolution. MiniMax H3 renders at 768p or 2K for 4 to 15 seconds with a 7,000-character prompt, and Kling v3 Omni renders at 720p or 1080p for 3 to 60 seconds, per their model pages. The September 2026 catalog lists ten video models in total (Seedance 2.5, MiniMax H3, Kling v3 Omni, Hailuo, Veo 3.1 Lite, Wan 2.7, Hunyuan, LTX, Happy Horse and Grok Imagine Video), and only MiniMax H3 offers a 2K render. A clip rendered at 2K has real detail at 2K; the same clip rendered at 768p and upscaled has predicted detail. For a hero shot, spend the credits on resolution at generation time and keep the enhancer for the B-roll.
Stills matter more than a video guide suggests: in LazyKiwi's workbench data (August 2026), 57 external users ran image template or tool generations against 17 for video templates, so the photo tool is the upscaler most people touch first. For stills that will be animated or placed on a timeline, use the AI photo upscaler instead of the video tool; its page offers 2x or 4x enlargement and adds detail to faces, edges and textures. In the image workbench the same tool shows 1K, 2K and 4K output buttons and a per-image credit price on the button.
What are the signs of over-upscaled video?
An ai upscaler video pass that went too far is easy to spot once you know the four tells. Each has a fix that does not involve buying a different tool.
- Plastic skin: pores and fine grain smoothed into a waxy surface. Fix: use a lower factor, or feed a cleaner source so the model has less noise to remove.
- Halos: a bright or dark rim along every strong edge, the ringing artefact Real-ESRGAN's authors specifically trained against. Fix: avoid sharpening before the upscale; one pass only.
- Temporal shimmer: hair, foliage and fabric that crawl between frames when the clip plays. Fix: judge at playback speed, prefer a video-specific model, and skip frame interpolation on busy shots.
- Invented text: letters on signs and labels that become plausible but wrong. Fix: mask or crop text, or add it back at full resolution in the editor afterwards.
How do you run a fair before-and-after?
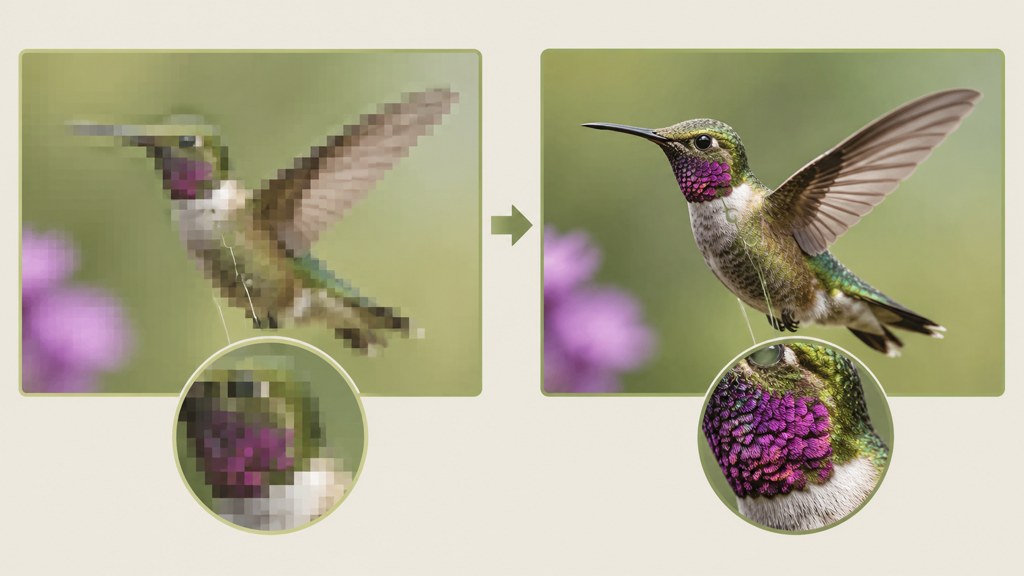
Export a five-second excerpt containing a face, a moving edge and some on-screen text, run it through your two finalists, and watch all three versions at the same display size with the file names hidden. If you cannot tell the upscaled versions from the original at that size, the source was already good enough and you have saved the credits. Anyone who wants to ai upscale video regularly should keep that excerpt as a standing benchmark and re-run it whenever a tool updates its model.
Key takeaways
- Super-resolution reverses the degradations it was trained on (blur, resize, noise, JPEG); Real-ESRGAN learned from purely synthetic chains, so it repairs compression well and cannot recover text or faces the source never held.
- Verified 2026-09-06: Topaz Video $59 a month, Topaz Studio $399 a year, VEED Creator $12 per user a month yearly, Kapwing Pro $16 a month annual; CapCut's upscaler is a free download up to 4K.
- The truly free routes are Real-ESRGAN (BSD-3-Clause, local) and CapCut; LazyKiwi's Free plan gives 40 credits a month and the enhancer shows its per-run price on the button.
- In LazyKiwi the enhancer defaults to a 2x upscale and 2x frame interpolation; for a hero shot, rendering natively at 2K on MiniMax H3 beats upscaling a 768p render.
- Judge results at playback speed and equal display size; plastic skin, edge halos, shimmering hair and invented lettering mean the pass went too far.
Tools & Reviews Editor
Marcus Tan
I open every competitor's pricing page myself before writing a comparison, and I say plainly when another tool is the better pick.
FAQ
Common questions
How do I upscale a video with AI for free?
Three routes. Install Real-ESRGAN from GitHub and run its video script locally; it is BSD-licensed and costs nothing but GPU time. Use CapCut's built-in upscaler, which its page describes as a free download that enhances to 4K. Or sign up for LazyKiwi's Free plan, which lists 40 credits a month, and run the enhancer on a trimmed clip after reading the credit price on the button.
Does CapCut have an AI video upscaler?
Yes. The CapCut AI video upscaler page says it sharpens, deblurs and upscales footage to 4K in one click, with a free download and an FAQ that suggests selecting an HD output for a 480p source. The page does not publish duration or file-size limits, so test a clip of your normal length before relying on it.
Can AI upscale 720p to 4K?
It can output a 4K file; whether the file looks like 4K depends on the source. Going from 720p to 2160p means predicting nine pixels for every one you have, and the model fills them with plausible detail rather than recorded detail. Clean generated footage survives that well; noisy phone video tends to show plastic skin and halos. For a 1080p delivery, a 2x pass is the safer target.
Is Topaz Video AI worth it?
For archival restoration, client work and anything where you will pick a model per shot, yes: the plan lists Starlight, Proteus, Iris and a dozen other models with cloud Starlight access at $59 a month, and the Studio bundle is $399 a year. For one-off social clips it is more tool than the job needs; a no-settings web enhancer or CapCut gets the same clip posted faster.
Does upscaling fix blurry AI-generated video?
Softness from a low render resolution, yes; that is the ideal input because generated frames carry no compression noise. Motion blur, smeared hands or a face the model never resolved, no. In those cases regenerate at a higher native resolution (MiniMax H3 offers 2K) or with a tighter prompt, then upscale only if the timeline still needs more pixels.
Upscale a clip and compare it side by side
Upload a trimmed excerpt to the LazyKiwi video enhancer, leave the factors at 2, and check the result at the size your viewers will see. The credit price is on the button before you run it.
Keep reading
Best AI Video Editor in 2026: 7 Picks, Free and Paid
Seven of the best AI video editors compared on prices checked today, free tiers, captions, text-based cuts and generative tools, plus where LazyKiwi fits.
9 min read
How to Make AI Videos in 2026: Idea to Export, Step by Step
How to make AI videos in 2026: pick a generation mode, choose Kling v3 Omni or Seedance 2.5, prompt for clean motion, and export without wasting credits.
11 min read
Best AI Subtitle Generator in 2026: 7 Tools Compared
Seven AI subtitle generator options compared on verified prices, free tiers and languages, plus the caption standards and the steps to subtitle any clip.
8 min read
AI Video Dubbing: A Practical Creator Guide for 2026
Use ai video dubbing to translate and localize videos while preserving the speaker’s meaning, delivery, timing, and brand voice.
8 min read