
Real Estate Photography Tips That Sell Listings
Real estate photography tips from the shot list up: camera height, window exposure, room prep, and the exact line where an edit becomes a misrepresentation.
 Elena Vasquez 10 min read
Buyers decide in the search grid, where one lead photo competes with twenty others, so the first frame of a listing is worth more than the rest combined. These real estate photography tips cover the order of the shot list, the camera height and focal length that keep a room honest, a window exposure method that does not look processed, and the edits that cross from presentation into misrepresentation. Nothing here needs a camera you do not own; most of it needs a tripod and twenty minutes of tidying.
What shots does a listing actually need?
Shoot in the order a buyer scrolls, because that is the order in which they decide to keep going. The set that works for a normal three-bedroom house is about twenty frames, and it starts outside.
- 1
The front elevation
Straight on or at a slight angle, with the whole building and a little sky. This is the lead photo and it carries the click.
- 2
The approach
The second exterior: the street view, the driveway, whatever tells someone what it feels like to arrive.
- 3
Main living space
Two frames from opposite corners, so the room can be understood rather than guessed at.
- 4
Kitchen
One wide from the doorway, one along the worktop line. Clear every surface first.
- 5
Bedrooms in size order
Largest first. One frame each unless a room has a feature worth a second.
- 6
Bathrooms
From the doorway, lid down, towels straight, no toothbrushes and no photographer in the mirror.
- 7
Garden and outbuildings
Wide enough to show the boundary, because buyers want to know where the plot ends.
- 8
The one detail frame
A fireplace, a stained-glass panel, an original floor. One is charming, six is padding.
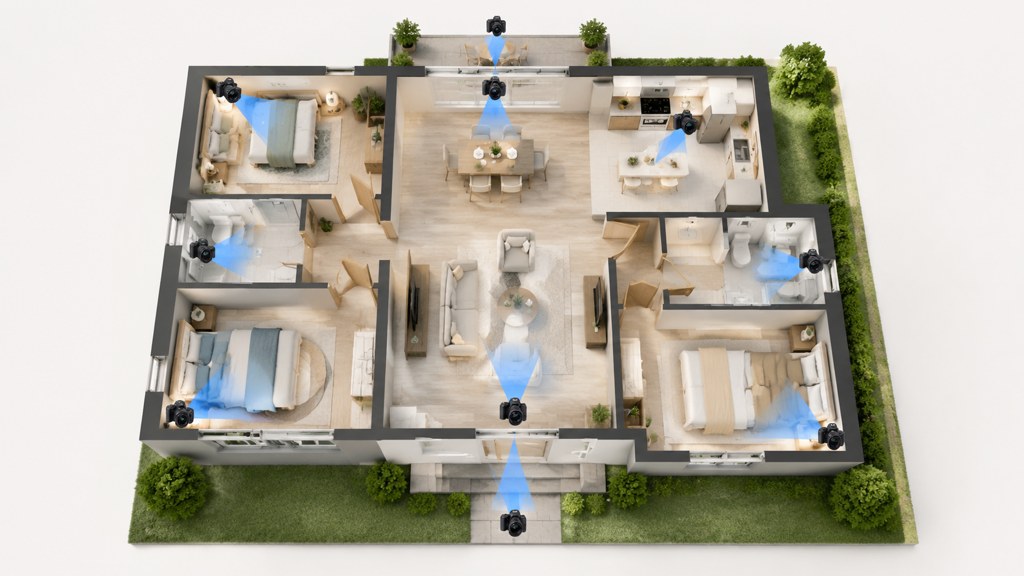
Real estate photos underperform most often because the set is unbalanced, not because any single frame is bad. Eight photos of a garden and one of the kitchen tells a buyer what the seller is proud of, and it is rarely what they came to see.
What camera height and lens make a room read correctly?
Chest height, not eye height. Around 1.3 metres puts the horizon through the middle of the room and keeps furniture in proportion; shoot from 1.7 metres and you get a floor-heavy frame that makes ceilings look low. Kitchens can go slightly higher to clear a worktop, bathrooms slightly lower.
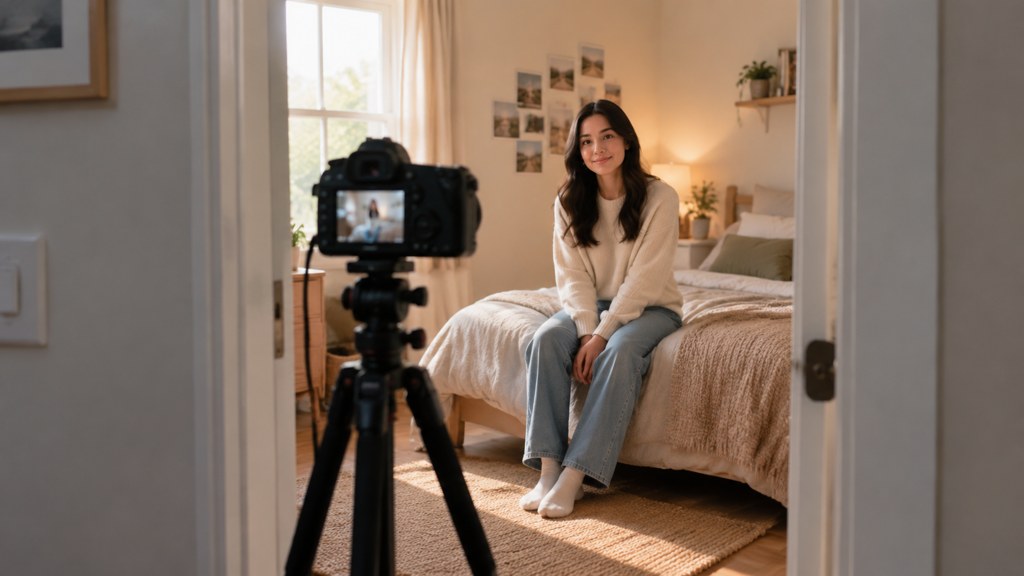
- Focal length: 16mm to 24mm in full-frame terms. Wider than 16mm bends the walls and reads as a lie the moment someone walks in.
- Keep the camera level. A tilted camera converges the verticals and no amount of correction fully undoes it.
- Shoot into the room from a corner or a doorway, not from the middle of the floor.
- Include a foreground element where you can: a chair back, a table edge. Depth is what a phone panorama never gets right.
- Use a tripod for everything. It costs you nothing in time once it is up, and it makes bracketing possible.
Camera makers publish decent free technique libraries if you want the reasoning rather than the rule; Nikon's Learn and Explore section runs step-by-step pieces on picture controls and lens choice (Nikon (2026), checked 7 September 2026).
How do you expose for windows and the room at once?
The room is three to five stops darker than the view outside, so a single exposure gives you either a white rectangle where the garden should be or a silhouetted interior. There are two honest answers and one bad habit.
| Method | How it works | Looks like | When to use it |
|---|---|---|---|
| Flash and ambient blend | Expose for the window, then light the room with bounced flash to match | A real room on a bright day | Any room with a view worth keeping |
| Exposure bracketing | Three to five frames, blended by hand with the window frame masked | Natural, if you resist the sliders | Tripod work where flash is impractical |
| Single-frame HDR preset | One file pushed hard in software | Grey shadows, halos around window frames, plastic skies | Almost never |
The bad habit is the third row. Heavy tone mapping is the clearest signal of an amateur set, and buyers read it as a hidden problem even when they cannot name what is wrong. If you only take one thing from these real estate photography tips and tricks, make it this: blend two exposures, do not crush one.
Turn the lights on, then check
Interior lights add warmth and make a room feel lived in, but they also add a second colour temperature. Shoot one frame with them on and one off, and keep whichever needs less correction.
How do you prepare a room before you shoot it?
Preparation costs nothing and does more for a listing than any lens. Work in this order and it takes about fifteen minutes a room.
- Remove: bins, cables, chargers, remote controls, pet bowls, laundry, anything on the fridge door.
- Reduce: worktop appliances down to one, cushions down to two per sofa, toiletries out of sight.
- Straighten: lampshades, rugs, chairs pushed in, curtains hooked back evenly on both sides.
- Add: fresh towels, a bowl of fruit, one plant. Nothing that looks staged for a magazine.
- Light: every bulb working and the same colour, blinds open, ceiling fans off so the blades do not blur.
These real estate photography tips for sellers are the part homeowners can do themselves before anyone arrives with a camera, and they are the difference between a shoot that runs to schedule and one that becomes a tidying session with an audience.
How do you photograph small or dark rooms?
Small rooms are a composition problem before they are a lens problem. Stand in the corner with your back to the wall, or shoot through the doorway from outside the room, which adds a frame and buys distance you do not have.
- Use a mirror deliberately: it doubles the apparent space, but check your own reflection before you press the shutter.
- Keep one wall out of the frame rather than cramming all four in with an ultra-wide lens.
- In a dark room, add light rather than exposure: a bounced flash into the ceiling beats a high ISO every time.
- Shoot at the brightest hour the room gets, which for a north-facing bedroom might be the middle of the day and for a west-facing lounge the late afternoon.
- Do not brighten a basement into a room it is not. Buyers who visit will notice, and that is the visit you wanted.
The honest limit on a wide lens is the point where a viewer's sense of scale breaks. If the sofa in the frame would not physically fit through the door you can see behind it, the photograph is no longer a description of the room.
How do you shoot exteriors and the neighbourhood?
Time of day follows the facade. A south-facing front is lit for most of the day; an east-facing one wants a morning shoot; a west-facing one wants late afternoon. A north-facing front never gets direct sun, so shoot it under bright overcast and stop waiting for something that is not coming.
- Move the cars, the bins and the hose. If a neighbour's car cannot move, shoot from the other side.
- Avoid midday in summer: hard shadows across a facade age a house by twenty years.
- One dusk frame is worth having for a property with good windows, shot in the twenty minutes when the sky still has colour and the interior lights are on.
- One drone frame maximum, and only where it shows the plot or the setting. Six aerials say the house is not the selling point.
- Photograph the street if the street is a feature, and leave it out if it is not.
The trade press is a better source than a shopping site if you want to keep up with what equipment is worth carrying for this work (PetaPixel (2026)). Most of it is not new gear: a tripod, a bounce flash and a level.
Which edits are acceptable on a listing photo?
The line is simple to state and easy to cross by accident: you may improve how a property is presented, and you may not change what a buyer would believe about it.
| Edit | Acceptable | What to disclose |
|---|---|---|
| Exposure, white balance, contrast | Yes | Nothing |
| Straightening verticals, lens correction | Yes | Nothing |
| Removing a bin, a cable or a car | Usually | Nothing, if it is not a fixture |
| Virtual staging of an empty room | Yes | Label the photo as virtually staged |
| Sky replacement | Usually | Say so where the portal expects it |
| Removing damp, cracks or a defect | No | Not fixable by disclosure |
| Changing the view through a window | No | Not fixable by disclosure |
| Adding a feature the property does not have | No | Not fixable by disclosure |
Membership rules put a floor under the table above. Article 12 of the NAR Code of Ethics obliges members to advertise a property truthfully, and Standard of Practice 12-10 extends that duty to pictures that mislead, however they were produced (NAR (2026), read 7 September 2026). Consumer protection rules land in the same place from another direction: what you claim about a property has to survive contact with the property (FTC (2026)).
Portals set their own photo requirements on top of that, so check the rules for the site the listing will appear on, from national sites such as Redfin to whichever MLS you file with.
How do you use AI to speed up a listing edit?
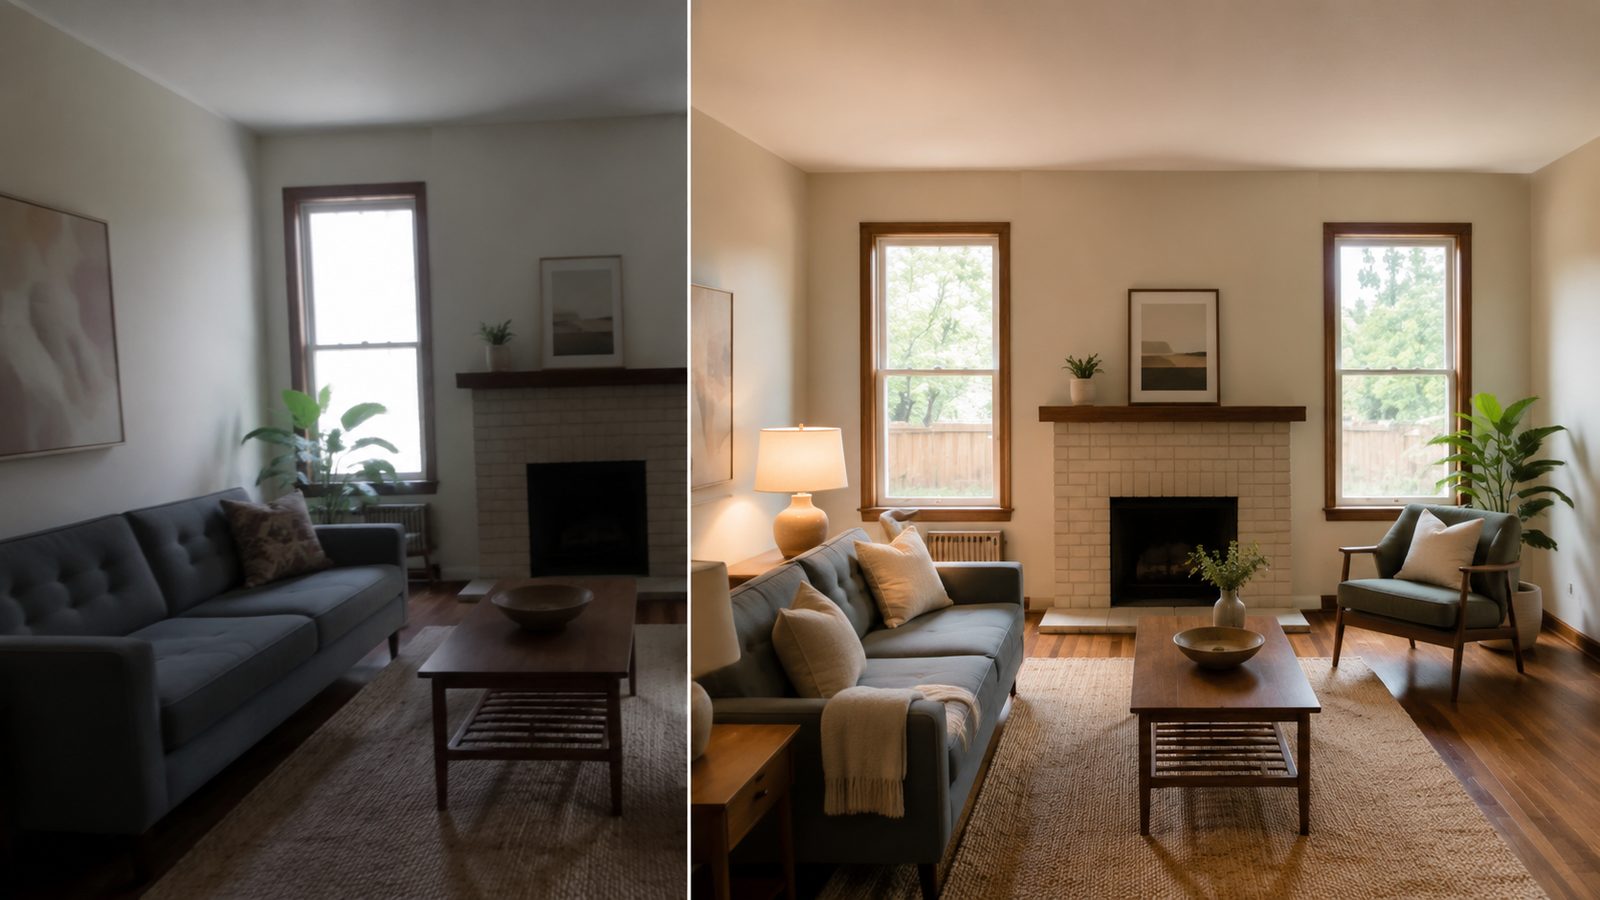
Three jobs, all of them post-production, none of them a substitute for the shoot: a consistent colour pass across a set, tidying an object the shoot could not move, and staging an empty room. I ran the third one for this piece on a real empty room and then on a furnished one.
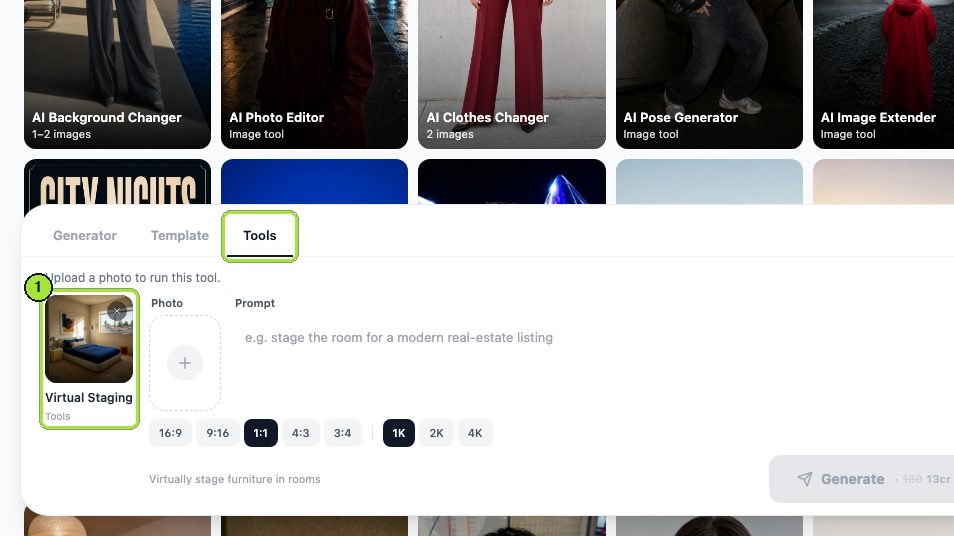
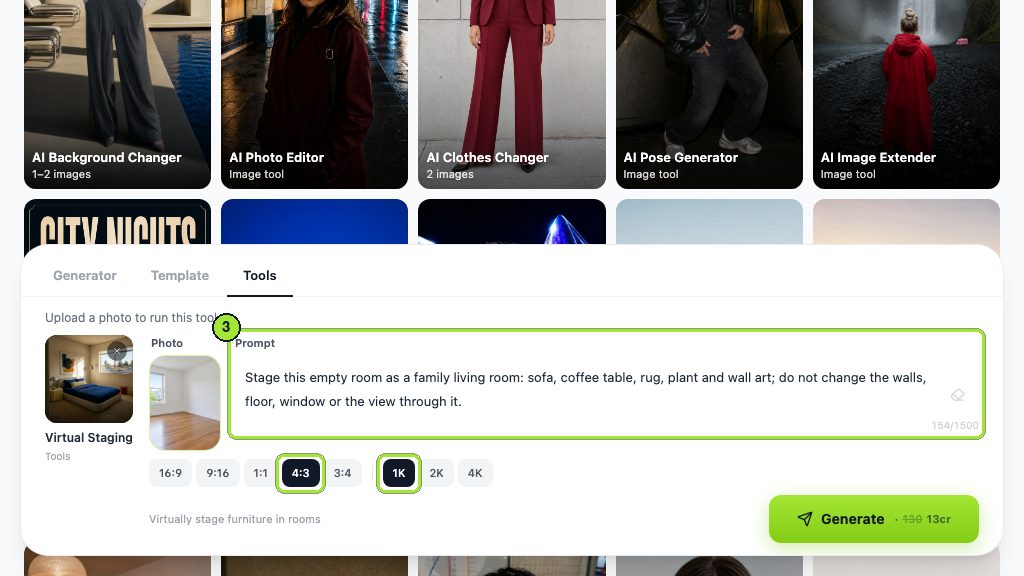
- 1
Empty room first
Staging works best on a room with nothing to argue with. My first run went in at 4:3, which suits a brochure page.
- 2
Write the protection clause
My instruction closed with the same sentence both times: do not change the walls, floor, window or the view through it.
- 3
Match the ratio to the destination
16:9 for portal galleries, 4:3 for print. The second run used 16:9 on a furnished room to restyle rather than fill it.
- 4
Check the render against the original
Compare shadow direction, scale against the doorway and anything reflective. Reject and rerun rather than shipping a near miss.
- 5
Label it
Virtually staged, in the caption of that photo, every time.
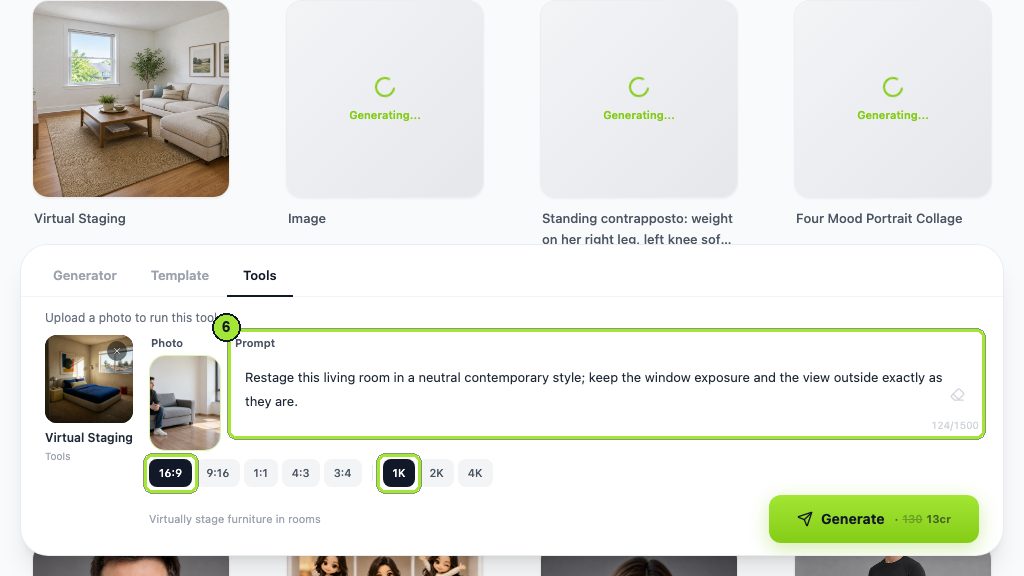
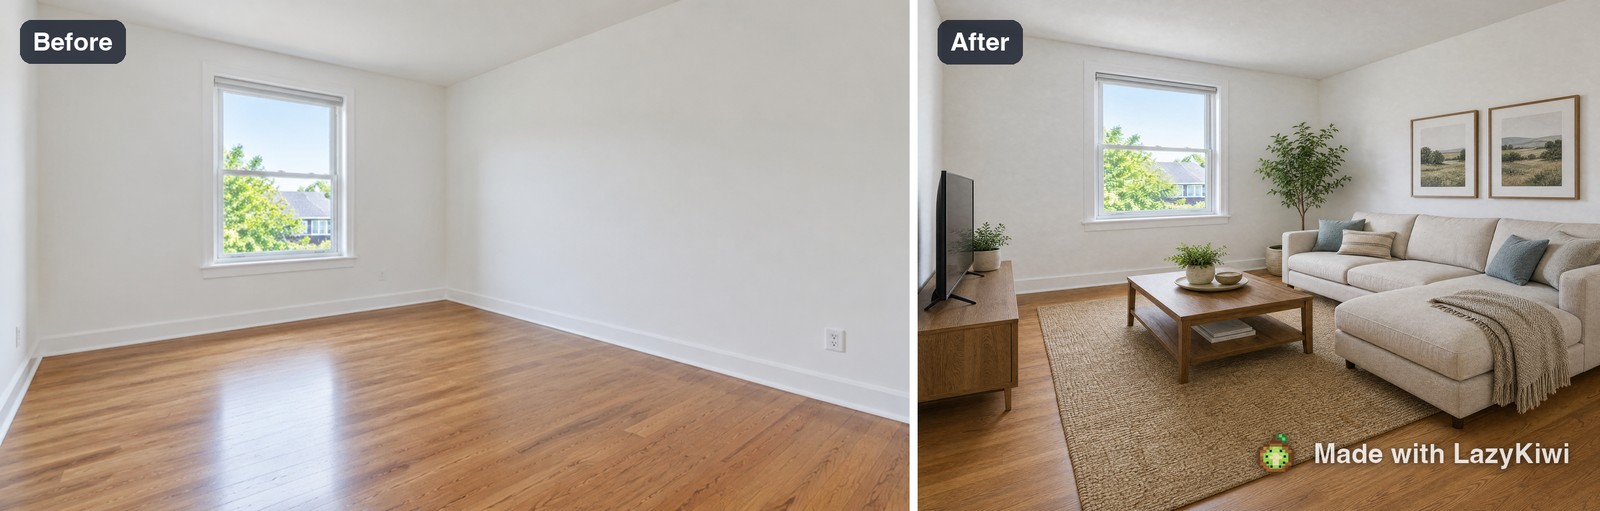
Cost is the reason this appears in a photography article at all. A render through our virtual staging tool was 13 credits at 1K on the day I tested, against a listed US$30.00 for a single image at BoxBrownie, quoted with a 48-hour turnaround on its own page on 7 September 2026 because a person does the work. The instant route is not better; it is faster and cheaper, and it needs your judgement in place of theirs. In LazyKiwi's workbench data (August 2026), 57 external users ran image tools and templates against 17 on the video side, so this is where the volume already is.
The staging tool sits in the Tools tab of the image generator, alongside two others that earn their keep on a listing set: the object remover for the wheelie bin nobody could move, and a colour pass across the whole set so frame twenty matches frame one. Both run on GPT Image 2, and both need checking against the original before anything is published.
What mistakes make listing photos underperform?
- A portrait-orientation lead photo, which gets cropped to nothing in the search grid.
- Midday sun on a north-facing facade, so the front of the house sits in its own shadow.
- The photographer visible in a mirror, a window or a kettle.
- Converging verticals from a tilted camera, which makes every wall lean.
- A first frame that is not the best frame. Order matters more than any individual photo.
- Twenty photos of one room and none of the third bedroom.
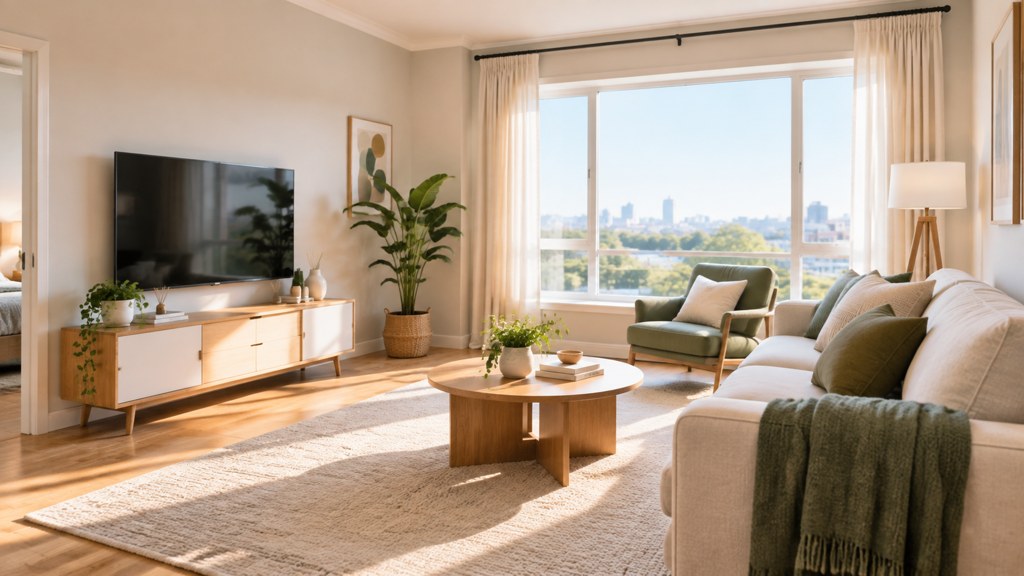
Buyers do not compare your photos with the property. They compare them with the next listing in the grid.
— Elena Vasquez
The best real estate photography tips are unglamorous: level camera, tidy room, honest window, right order. Beginners often start by buying a wider lens, and real estate photography tips for beginners should really start with a tripod and a bin bag.
Key takeaways
- Shoot in scroll order and lead with the strongest exterior; the first frame carries the click.
- Chest height and a 16mm to 24mm equivalent keep rooms honest; ultra-wide reads as a lie at the door.
- Blend flash with ambient or bracket the exposure, and stay away from single-frame HDR presets.
- Presentation edits are fine, and anything that changes what a buyer would believe is not.
- A staging render cost 13 credits against a listed US$30.00 per human-assisted image on 7 September 2026; label either one.
Business & Ecommerce Editor
Elena Vasquez
Elena Vasquez covers commercial photography and ecommerce imaging for LazyKiwi. She has shot listings, product catalogues and headshots, and writes for people who need the picture to do a job.
FAQ
Common questions
What are the best real estate photography tips for a phone-only shoot?
Brace the phone on something solid at chest height, tap to expose for the window and then lift the shadows afterwards, turn off every mixed light source you can, and shoot each room from two corners. Composition and tidying beat any camera upgrade.
How many real estate photos should a listing have?
Around twenty for a standard three-bedroom house: two exteriors, two of the main living space, one or two per remaining room, the garden and one detail. Fewer than ten looks thin, and more than thirty buries the frames that matter.
Which listing edits need a disclosure line?
Exposure, colour and straightening need none. Staging and sky replacement should carry a label on the frame itself. Anything that conceals a defect or alters a view belongs in neither category, because no wording makes that photograph accurate.
What are good tips for real estate photography in an occupied home?
Send the prep list to the owner two days ahead, arrive early to finish it yourself, and shoot the rooms in the order they will be tidied rather than the order you would like. Never edit out a seller's belongings instead of moving them.
Is a drone worth it for a normal listing?
For most suburban homes, one aerial frame is enough and it only earns its place when it shows the plot, the setting or a roof feature. Check the local flight rules before the shoot, and never make an aerial the lead photo of a house.
Stage the empty room before the viewing
Run one clean, level photo of an empty room through the staging tool, keep the walls and window untouched in the prompt, and label the result.
Related reading
AI Real Estate Photo Editing: A Workflow Agents Can Trust
AI real estate photo editing that stays on the right side of the line: exposure fixes, clutter removal, labelled virtual staging, a pre-publish checklist.
7 min read
Best AI Interior Design App in 2026: 7 Tools Compared
The best AI interior design app depends on the job: LazyKiwi, Homestyler, Planner 5D, RoomGPT, REimagineHome, Spacely and Collov compared, prices read now.
8 min read
AI Product Photography: White Background to Branded Scene
AI product photography in practice: shoot on a phone, get a white-background image, swap in a branded scene, upscale, and export to Amazon and Google rules.
8 min read