
Change Background of Photo: 3 Methods Compared
Change background of photo files three ways: white for IDs and listings, a real room for portraits, an invented scene for social. Edge and light rules.
 Maya Chen 9 min read
To change background of photo files well, first decide which of three jobs you are doing: a compliance shot where somebody else's rules pass or fail the file, a realistic replacement where nobody should notice the edit, or an invented scene where nothing is being claimed. Each tolerates a different amount of edge error and each needs a different instruction. This piece walks a real two-run job in the workbench, prints what each free tool actually returns, and lists the five background mistakes that get photos rejected by marketplaces and passport offices.
What are the three reasons people change a photo background?
Almost every request falls into one of three buckets, and they have wildly different tolerances for error. Knowing which one you are in tells you how much effort the edge deserves.

- **Compliance.** A passport photo, an ID badge, a marketplace listing. Somebody else's rules decide whether the file passes, and a grey halo around the shoulders is a rejection rather than a critique.
- **Realism.** A good portrait taken in a bad room. The goal is a background nobody notices, which means light direction and contact shadow matter more than the cutout itself.
- **Creativity.** A scene that never existed. Nothing is being claimed, so an imperfect edge costs nothing, and the real risk is a composite that reads as a sticker on a poster.
It is also why the same three-word request produces such different results for different people. Two readers can both type change background of photo into a search box and want opposite things: one needs a file that satisfies an automated checker, the other needs a picture that convinces a human eye. Optimising for one actively hurts the other, because pure flat colour is a pass for the checker and a giveaway for the eye.
The method changes with the bucket. Compliance work wants pure flat colour and zero shadow on the backdrop. Realism work wants the opposite: a shadow under the feet is exactly what stops the subject floating.
How to change the background of a photo step by step
The sequence is short and the order is fixed. Separate, place, then reconcile the light. Skipping the third step is why most composites look wrong without anyone being able to say why.
- 1
Load the subject
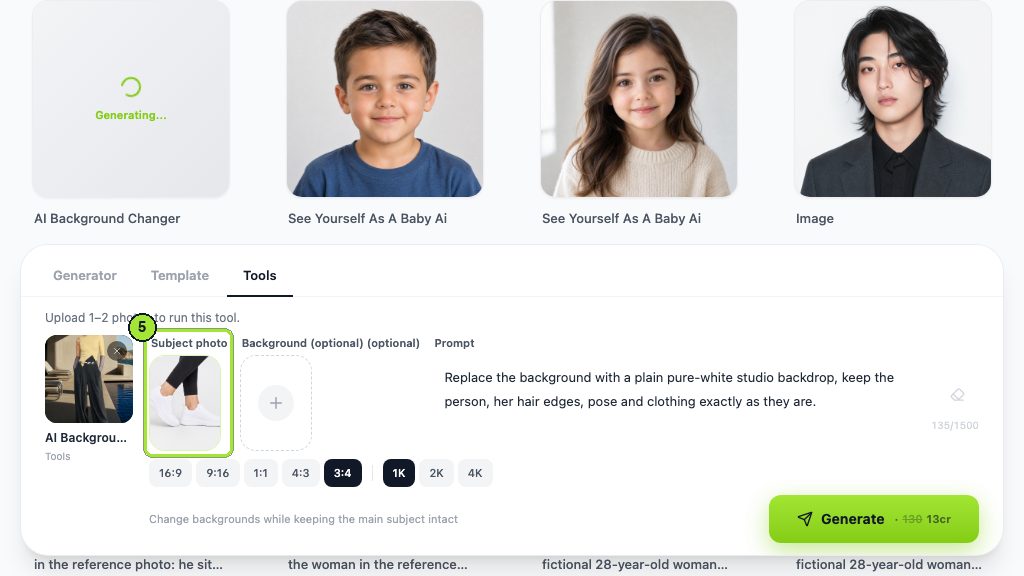
Open the background changer and drop the file into the Subject photo box. Use the largest version you have; edges are where resolution is spent.
- 2
Describe the replacement, and protect the subject in the same sentence
There is no eraser and no mask. What you type decides both what arrives and what survives, so a clause naming the hair edges and the pose is not optional padding.
- 3
Pick a ratio that suits the destination
3:4 for a person, 1:1 for a marketplace tile, 16:9 for a slide. Choosing this now avoids a second pass to recompose later.
- 4
Generate and inspect the edge first
Go straight to the hairline and the gap between arm and body. If those are right, everything else usually is.
- 5
Run a second pass for the shadow if the scene needs one
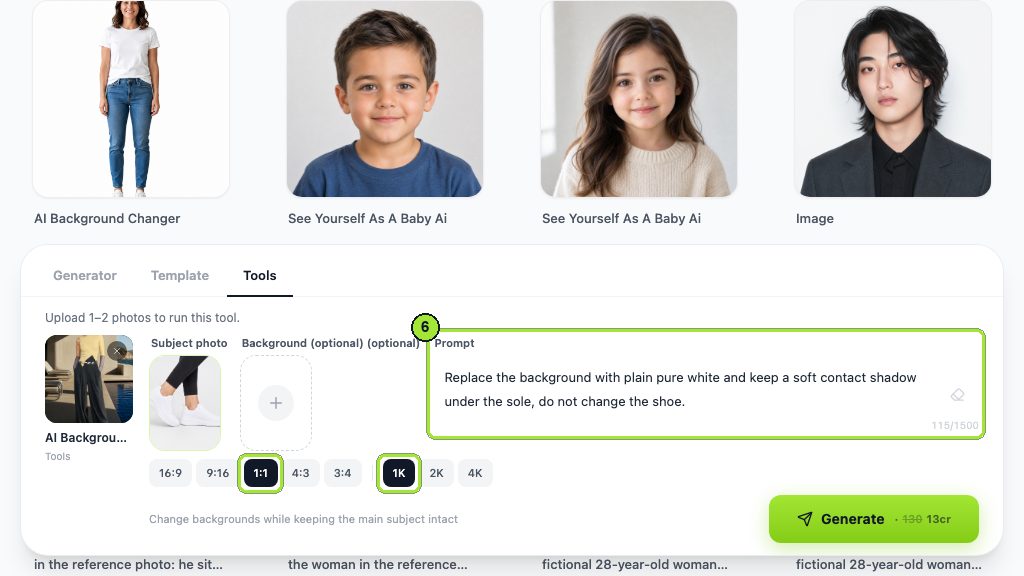
A contact shadow is a separate instruction and it is what makes a person stand on the floor instead of hovering above it.
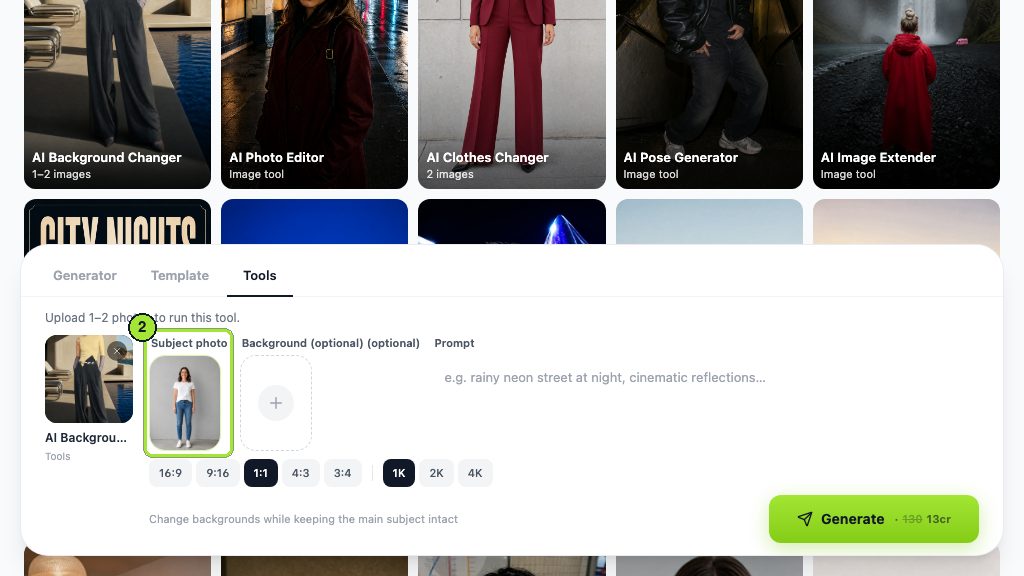
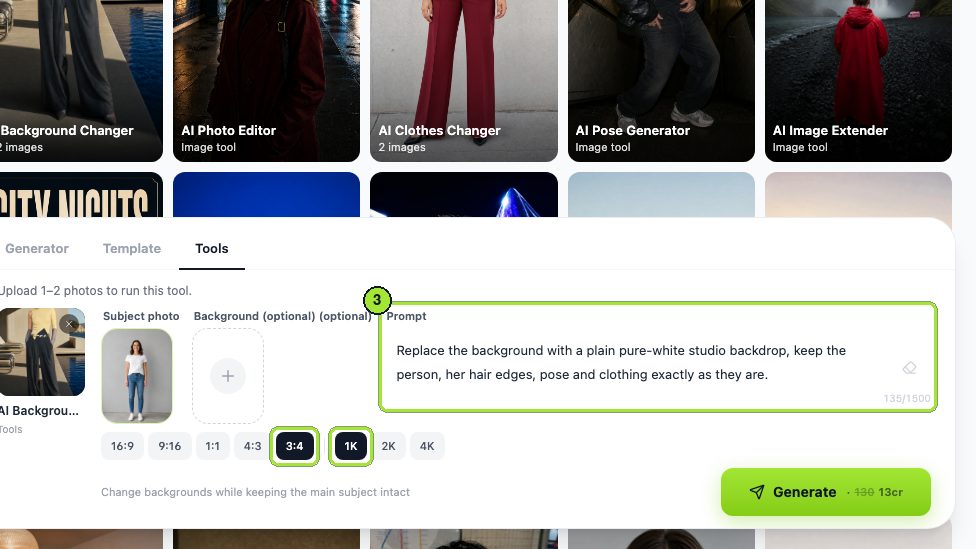
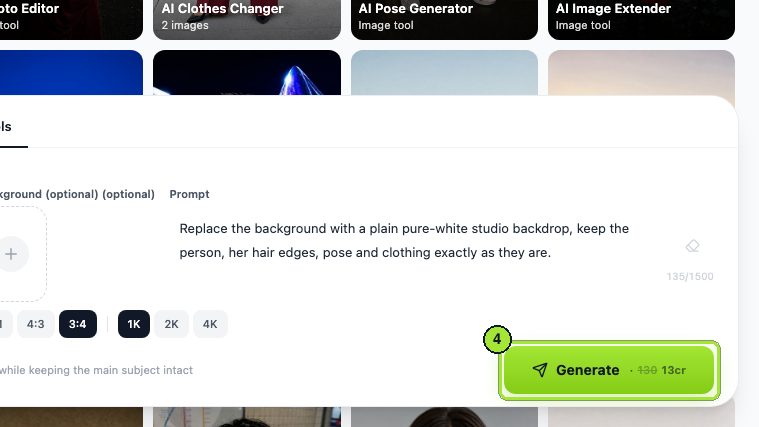
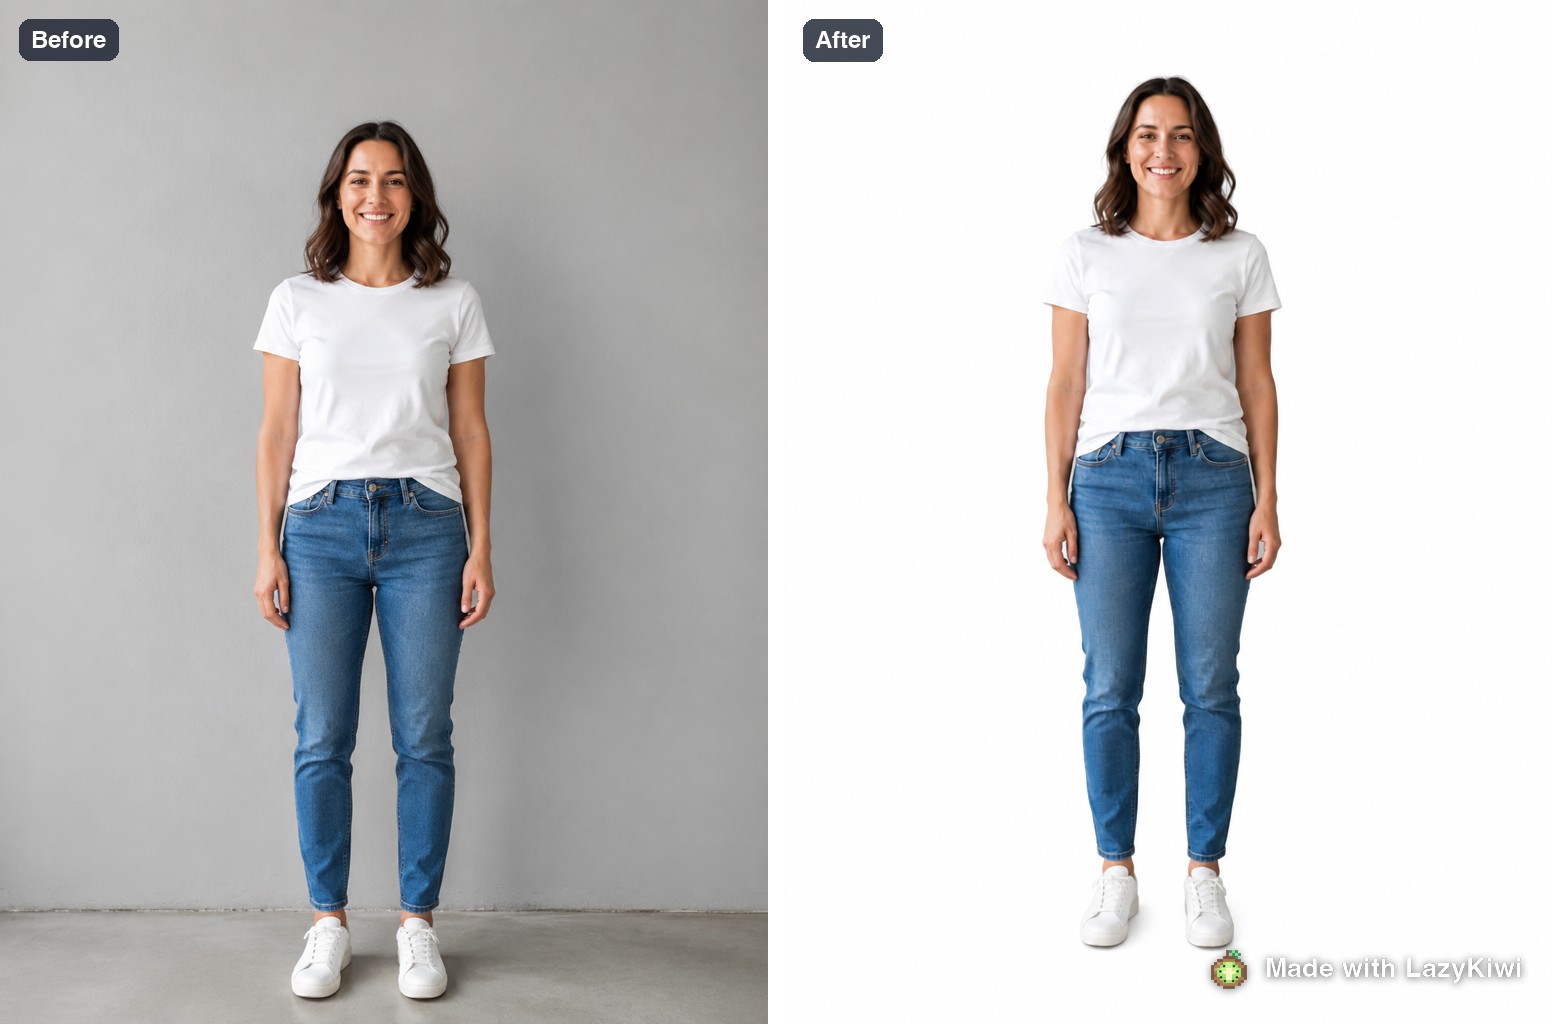
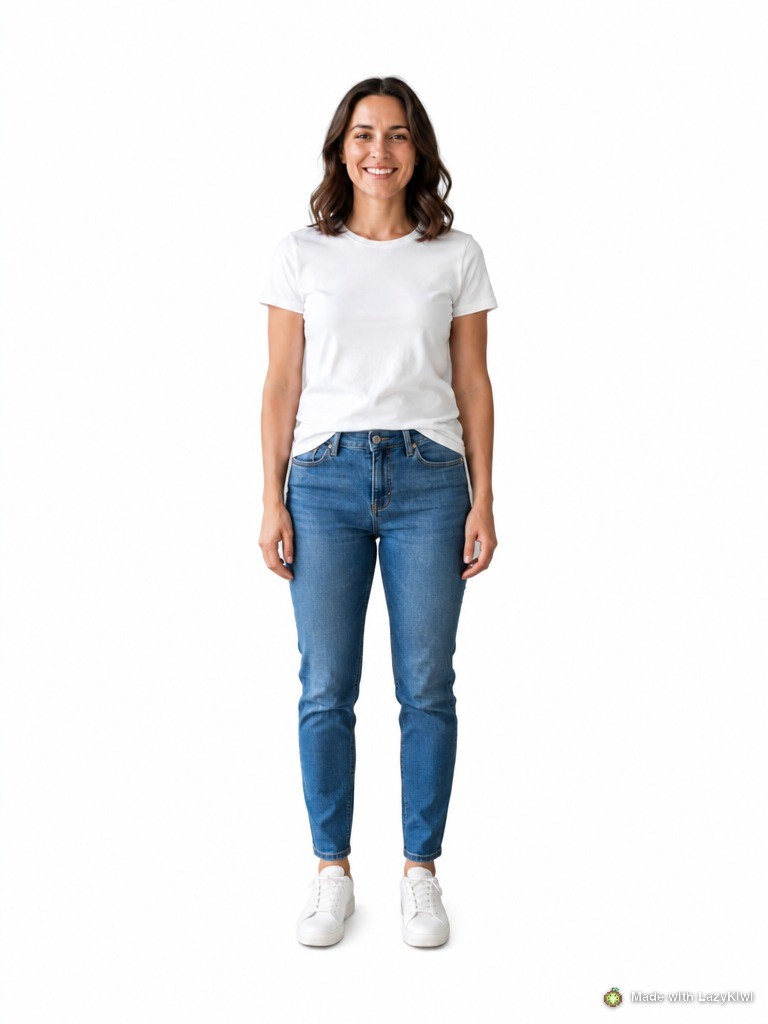
Everything on the image side of the workbench runs through GPT Image 2, so the phrasing you learn here transfers straight to removal and repair work. The practical consequence is that the same protective clause, naming what must not change, is the single most useful habit across all of them.
How do you get a clean white background photo for a listing or ID?
Compliance is the strictest of the three jobs and also the easiest to specify, because the rules are published. The UK's passport photo guidance (2026) asks for a shot that is "clear and in focus", taken "against a plain light-coloured background", and that does "not have any shadows on your face or behind you". It also sets a floor of "at least 600 pixels wide and 750 pixels tall".
Read that last requirement carefully, because it is the one that catches people. A background swap that returns a smaller file than you started with can fail on pixels alone even when the edge is perfect.
White and pure white are different requests
Ask for plain pure white when a marketplace or an ID rule demands it. Ask for a white studio sweep when you want a photograph rather than a cutout, because a sweep keeps a soft falloff at the edges that looks shot rather than filled.
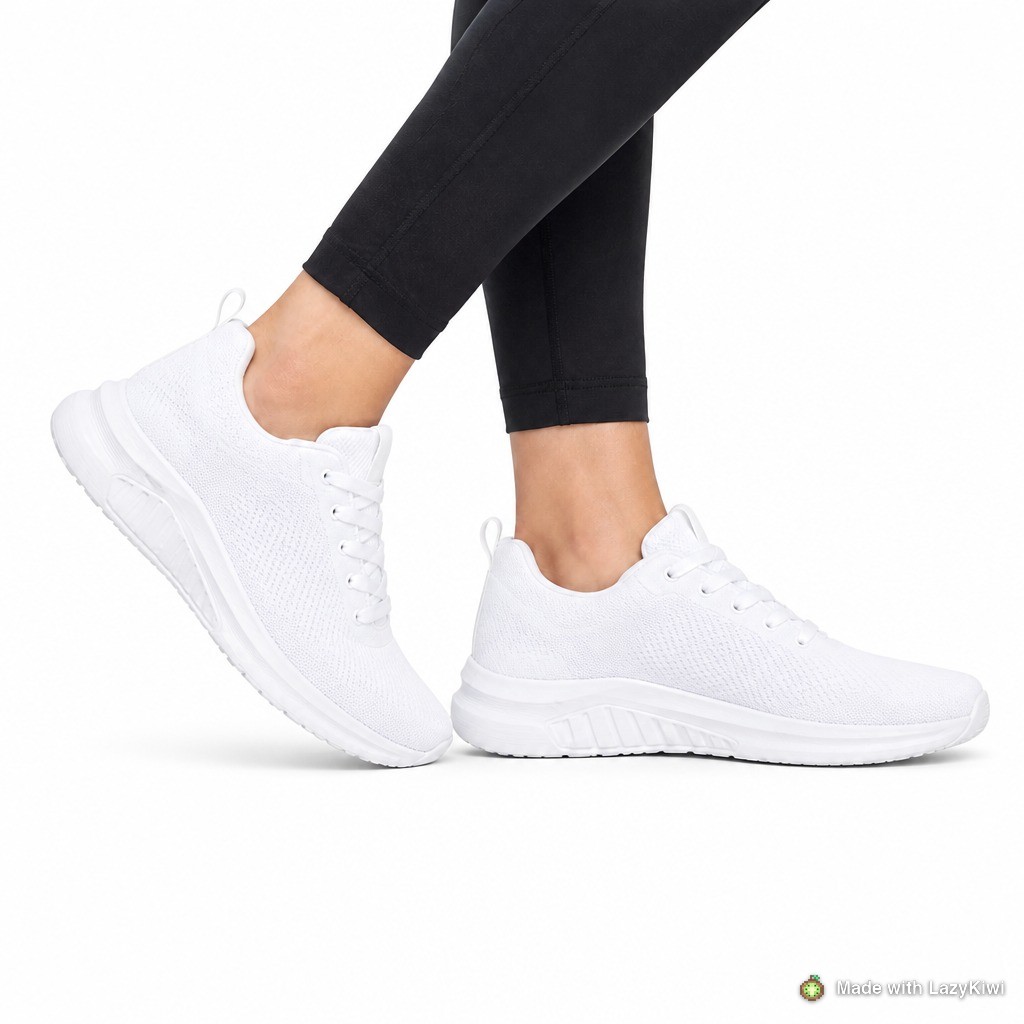
For products specifically, keep the contact shadow unless the rules forbid it. A shoe on pure white with no shadow reads as a clipping-path job from 2009; the same shoe with a soft shadow under the sole reads as a photograph.
How do you keep hair and glasses edges from looking cut out?
This is the hardest technical part of the job and always has been. A strand of hair is not fully subject or fully background; it is a partly transparent pixel, and any process that forces a binary decision produces the crunchy outline everyone recognises.
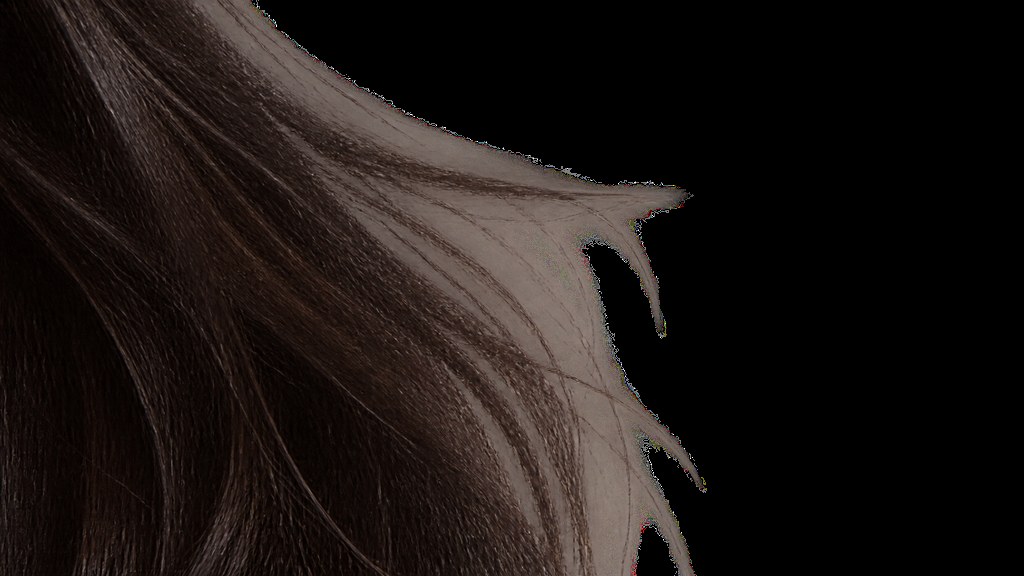
- **Loose flyaway hair against a busy background.** The worst case. Consider reshooting or accepting a slightly tidier hairline rather than fighting it.
- **Glasses.** Lenses refract the old background, so the tint of the room can survive inside the frames after the room has gone. Name the glasses in the instruction.
- **Fur, feathers, lace, mesh.** Same physics as hair. Ask for the texture to be preserved explicitly.
- **Motion blur at the edge of an arm.** Semi-transparent by nature and frequently cut off entirely. Check limbs as carefully as you check hair.
The practical fix in a prompt-driven tool is to name the thing you are worried about. "Keep her hair edges" in the instruction does more than any refinement setting, because it tells the model where to spend its effort. If a pass still fails, run again with only that clause changed rather than rewriting the whole request.
How do you match lighting between subject and new background?
The cutout is rarely what gives a composite away. The light is. Three things have to agree, and the eye checks all three in about a second without telling you it did.
| What must agree | How to spot the mismatch | How to fix it in one clause |
|---|---|---|
| Direction | Shadow on the face falls left, shadow in the scene falls right | Name the direction: light from the left, matching the subject |
| Colour temperature | Warm subject on a cool background, or vice versa | Name the source: overcast daylight, tungsten room light, late afternoon sun |
| Contrast | Hard-edged subject shadows on a soft, flat background | Ask for the scene lighting to match the subject's softness |
| Contact shadow | The subject floats, feet not touching anything | Ask for a soft contact shadow beneath the feet or the base |
| Perspective | Camera height on the subject disagrees with the horizon behind | Name the camera height: eye level, matching the subject |
One free test catches most direction errors: flip the image horizontally and look again. Mismatched light jumps out of a mirrored version because your eye stops recognising the face and starts reading the shapes.
Nobody notices a good cutout. Everybody notices a person standing in a room that is lit from the wrong side.
— Maya Chen
What are good photo background ideas that still look real?
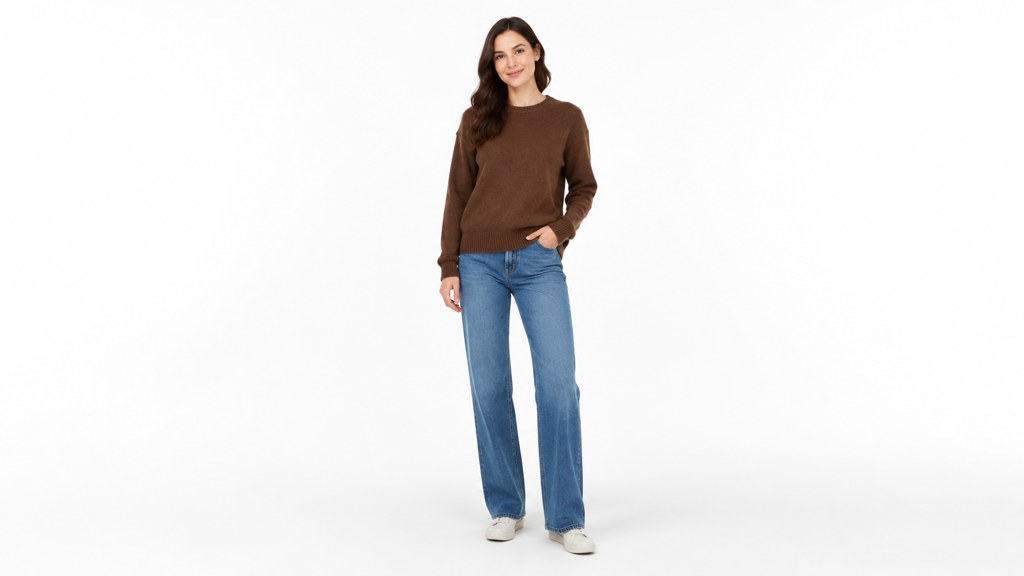
Restraint wins. The photo background ideas that survive being viewed at full size are the ones with little structure to get wrong, and the ones that fail are always the ones with straight lines and readable text.
| Background | Best for | Holds up at full size? |
|---|---|---|
| Plain studio sweep | IDs, listings, headshots | Yes. There is nothing to get wrong |
| Softly blurred office | Professional portraits, video call stills | Usually. Watch for invented text on signage |
| Textured wall, plaster or brick | Editorial and social portraits | Yes, if the light direction matches |
| Outdoor at golden hour | Lifestyle and personal branding | Risky. Warm light on a subject shot indoors is the giveaway |
| Detailed interior with furniture | Almost nothing | No. Perspective and scale errors multiply with every object |
A useful rule from a lot of repeat attempts: the more a background could be described in five words, the better it will hold. "Grey studio wall, soft light from the left" produces a reliable result. A paragraph describing a specific room produces a room full of small mistakes.
Can you change a photo background for free?
Yes, with a catch that is nearly always about size rather than money. Free background tools tend to hand back a preview rather than a file you can use. Everything below was read on the supplier's own page on 7 September 2026.
| Route | The free allowance | The catch |
|---|---|---|
| LazyKiwi | 40 credits with a new account, 13 per 1K pass | A quota rather than a cap. Output is full size and unmarked |
| [remove.bg](https://www.remove.bg/) | Free previews, and its own copy says "You got 1 free credit" | Size. The free preview is described as "Good Quality", "up to 0.25 megapixels", against "up to 50 megapixels" for a paid credit |
| [PhotoRoom](https://www.photoroom.com/pricing) | A trial | There is no free plan any more. Pro is $12.99 a month, or $89.99 for the year |
| [Fotor](https://www.fotor.com/pricing/) | Fotor Basic at US$0 | A mark: Basic lists "Watermarked JPG, PNG & PDF Exports" |
| [Pixlr](https://pixlr.com/pricing/) | The editor with no subscription | Ads, plus a daily save allowance the site never numbers |
| [Picsart](https://picsart.com/pricing/) | A free web editor account | Removing the mark is sold as a paid benefit on its own pricing page |
| [BeFunky](https://www.befunky.com/pricing/) | A free tier with much of the feature table marked "Limited" | Batch background removal sits above the free line |
The 0.25 megapixel figure is the one to internalise. That is a preview, not a listing image, and it is why so many sellers end up paying: the cutout was free, the usable file was not. Credit-based tools in the image generator invert that trade, giving fewer runs at full size instead of many runs at preview size.
What background mistakes get a photo rejected?
Five failures account for nearly every rejected listing photo and returned ID application. All five are visible in ten seconds if you know where to look.
- **A shadow on the backdrop.** Passport rules are explicit that there must be no shadows behind you, and marketplaces treat a grey gradient as a dirty background rather than a stylistic choice.
- **A halo of the old background.** A pale outline of the room you removed, usually visible against the shoulders. Almost always caused by a hard edge on semi-transparent hair.
- **Not white enough.** An off-white or slightly warm backdrop passes visual inspection and fails an automated check. Ask for pure white when a rule says white.
- **Mismatched perspective.** A subject photographed from below standing in a scene shot at eye level. No amount of edge work rescues it.
- **A horizon through the head.** The single most common composition error in generated backgrounds, and it makes an otherwise good composite unusable.
Anyone working out how to change background of photo files for a marketplace should build one habit above all others: check the output against the rule, not against the previous version. A file that looks better than the original can still fail a specification, and the specification is what decides.
Key takeaways
- Before you change background of photo files, sort the job: compliance, realism or invention. Each tolerates a different amount of edge error.
- UK passport rules ask for a plain light-coloured background, no shadows behind you, and at least 600 by 750 pixels.
- Hair, glasses and motion blur are partly transparent. Name them in the instruction or they get cut hard.
- Light direction, colour temperature and a contact shadow give away a composite long before the cutout does.
- Free background tools usually return a preview: remove.bg describes its free output as up to 0.25 megapixels.
Image & Design Editor
Maya Chen
Maya Chen edits the image and design desk at LazyKiwi. She spends most of her week running real files through the workbench and writing down what the settings actually did, including the runs that did not work.
FAQ
Common questions
How to change background of a photo without losing the hair edge?
Name the hair in the same instruction that asks for the new background, and keep the largest source file you have. Edge quality is spent in pixels, so a small upload gives the model less to work with exactly where it matters most.
How to change the background of photo files for a marketplace listing?
Ask for plain pure white rather than a white sweep, keep a soft contact shadow under the product unless the rules forbid it, and export at a square ratio. Then check the result against the marketplace specification, not against your previous attempt.
Why does my subject look like a sticker on the new background?
Usually a missing contact shadow, sometimes a light-direction mismatch. Run a second pass asking for a soft shadow where the subject meets the ground and for the scene light to come from the same side as the light on the face.
Is a free background remover good enough for a passport photo?
Often not, because of size. A free preview at a quarter of a megapixel falls below the 600 by 750 pixel floor that the UK guidance sets, so the file fails on dimensions even when the cutout is clean.
How many credits does it cost to change background of photo files?
Thirteen credits for a 1K image and seventeen at 2K, with the figure printed on the Generate button before the run starts. A new account carries 40 credits, enough for a first pass and a shadow pass on the same photo.
Swap one background and check the edge
Load the subject, describe the backdrop, and protect the hairline in the same sentence. A new account carries 40 credits, about three passes at 1K.
Related reading
How to Combine Photos: 3 Ways That Look Real
Grid, blend or true composite — combining photos means three different jobs. Pick the right one, then match light and scale so the join stops being visible.
8 min read
Uncrop Image: How to Rebuild a Cropped Frame
You cannot undo a crop, but you can rebuild what was outside it. How outpainting works, when it is safe to use, and how to fix a ruined composition.
8 min read
AI Product Photography: White Background to Branded Scene
AI product photography in practice: shoot on a phone, get a white-background image, swap in a branded scene, upscale, and export to Amazon and Google rules.
10 min read