
Take the shadow out of the shot.
Your own shadow across a document, a hard window shadow cutting a product in half, the photographer's shadow on a wall. Upload the photo, say which shadow should go, and the surface underneath is reconstructed with the same wood grain, the same fabric, the same paper.
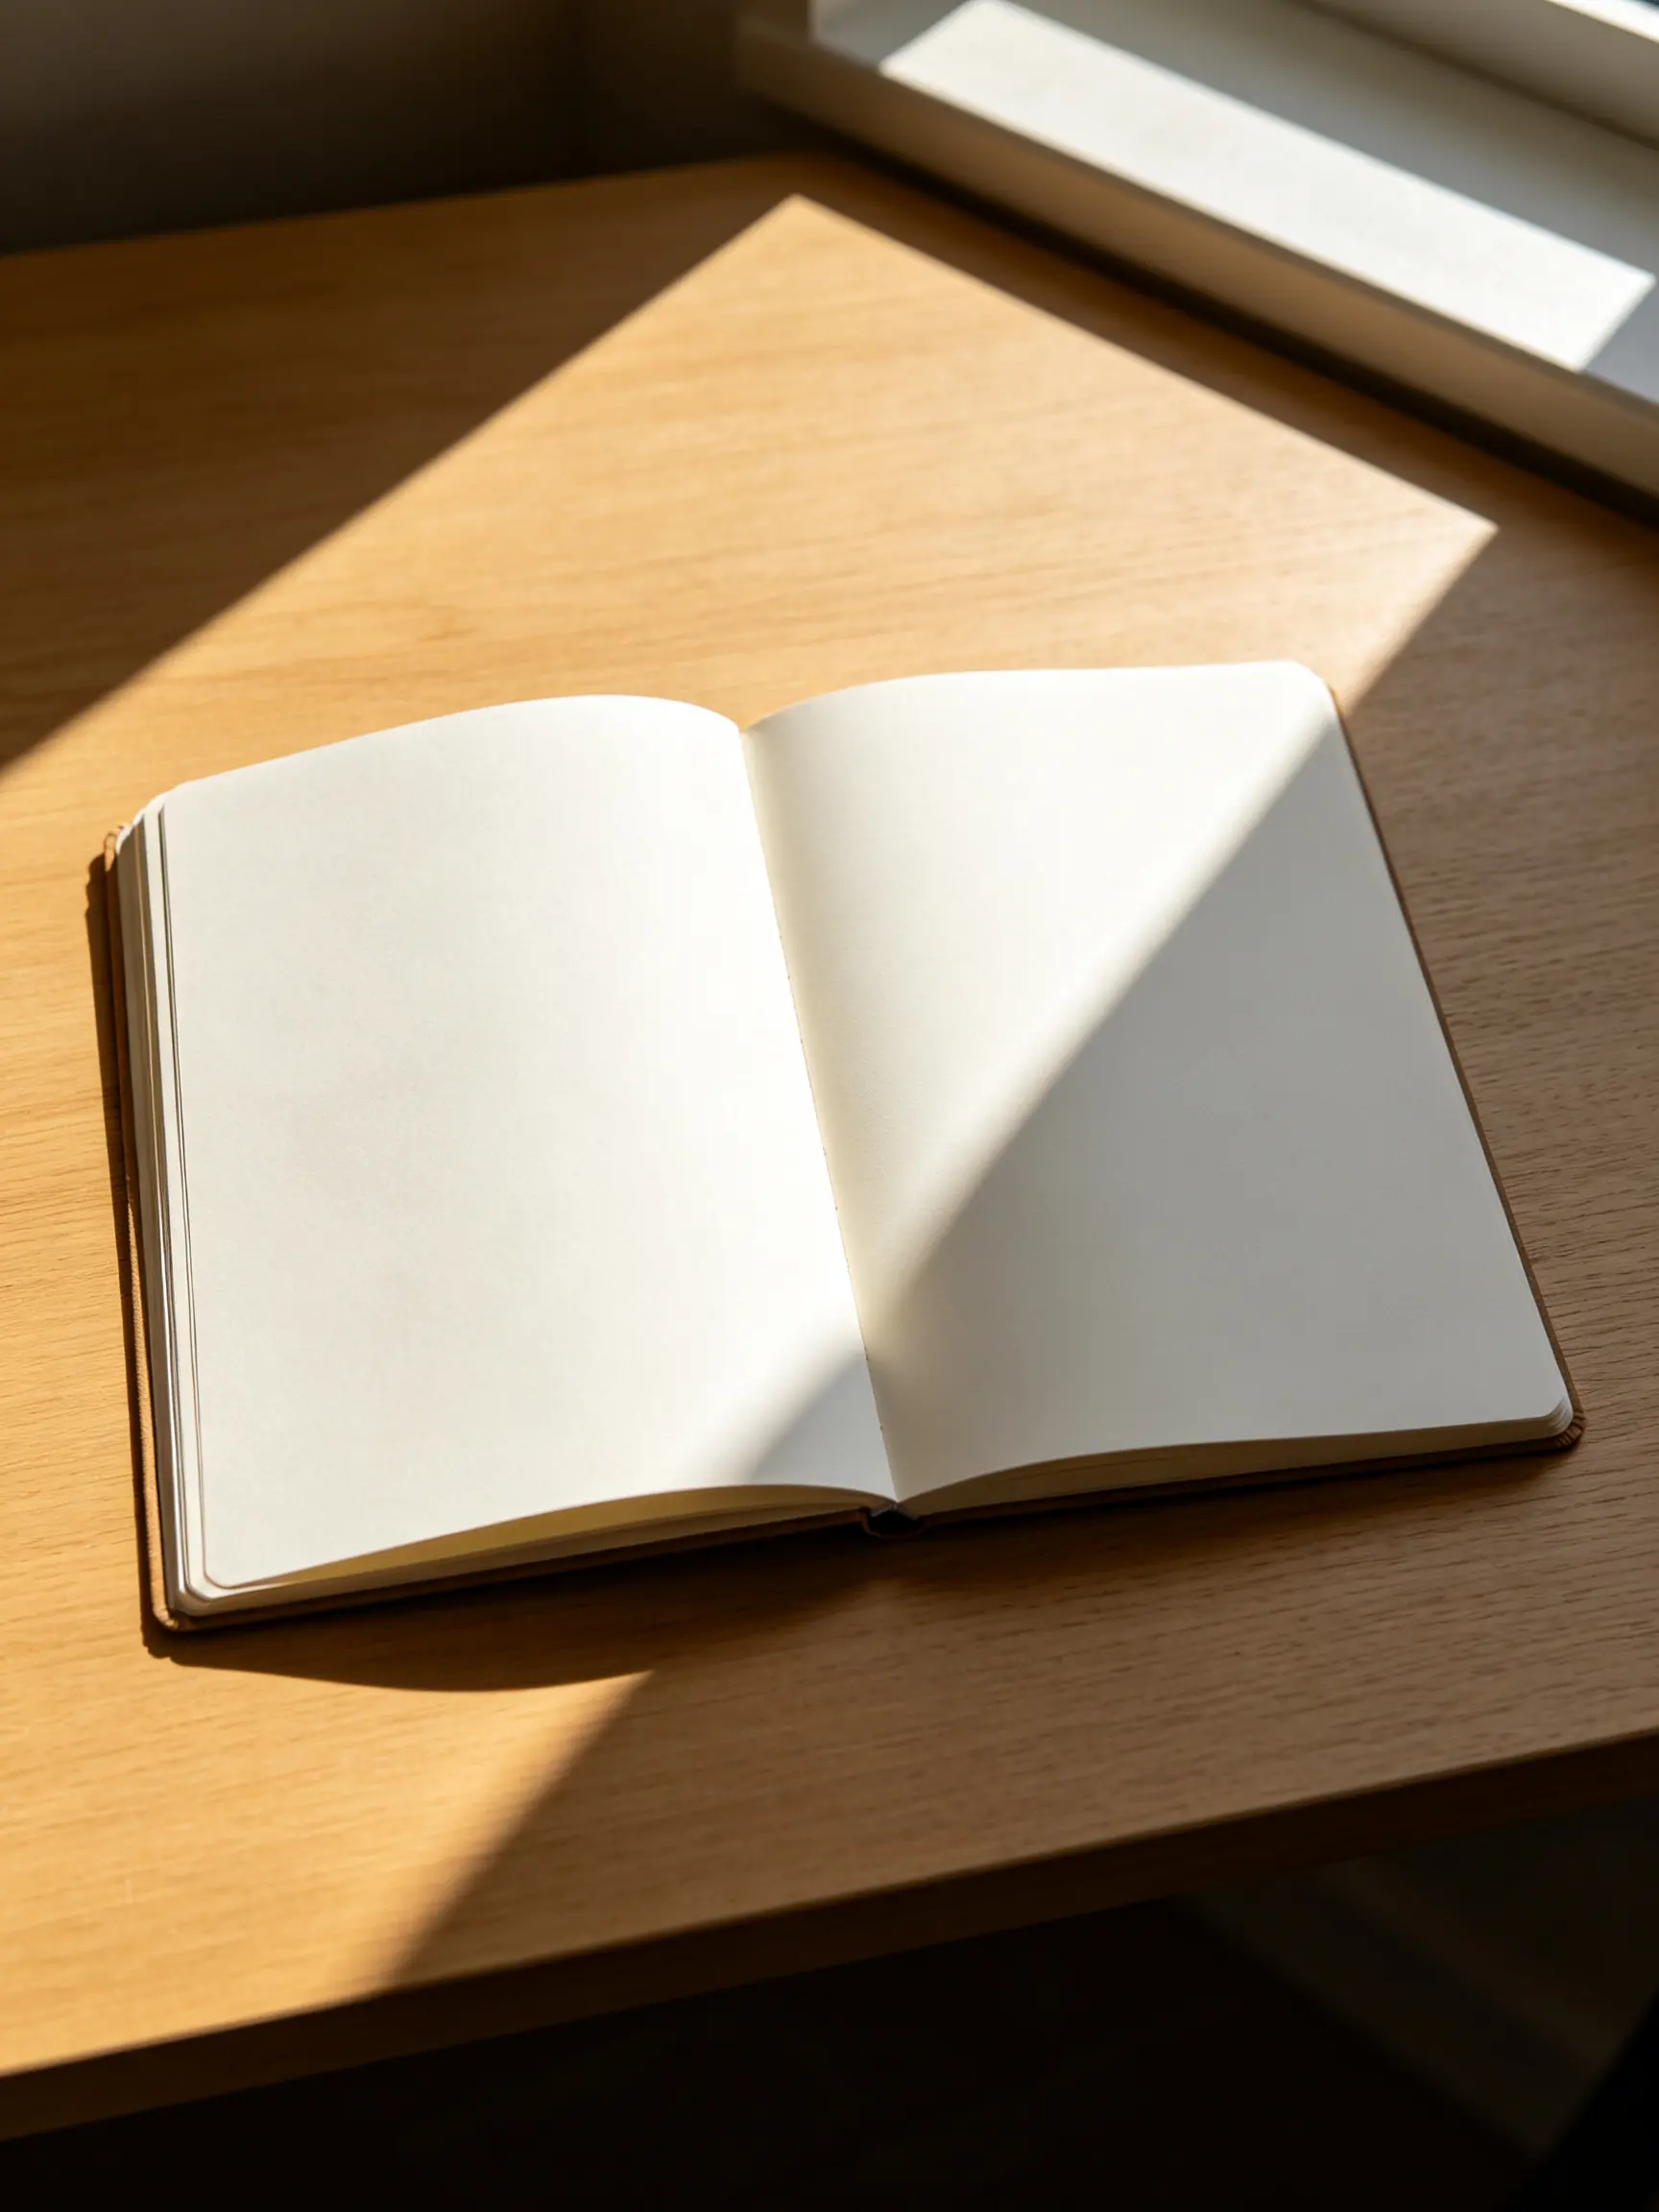 BEFORE
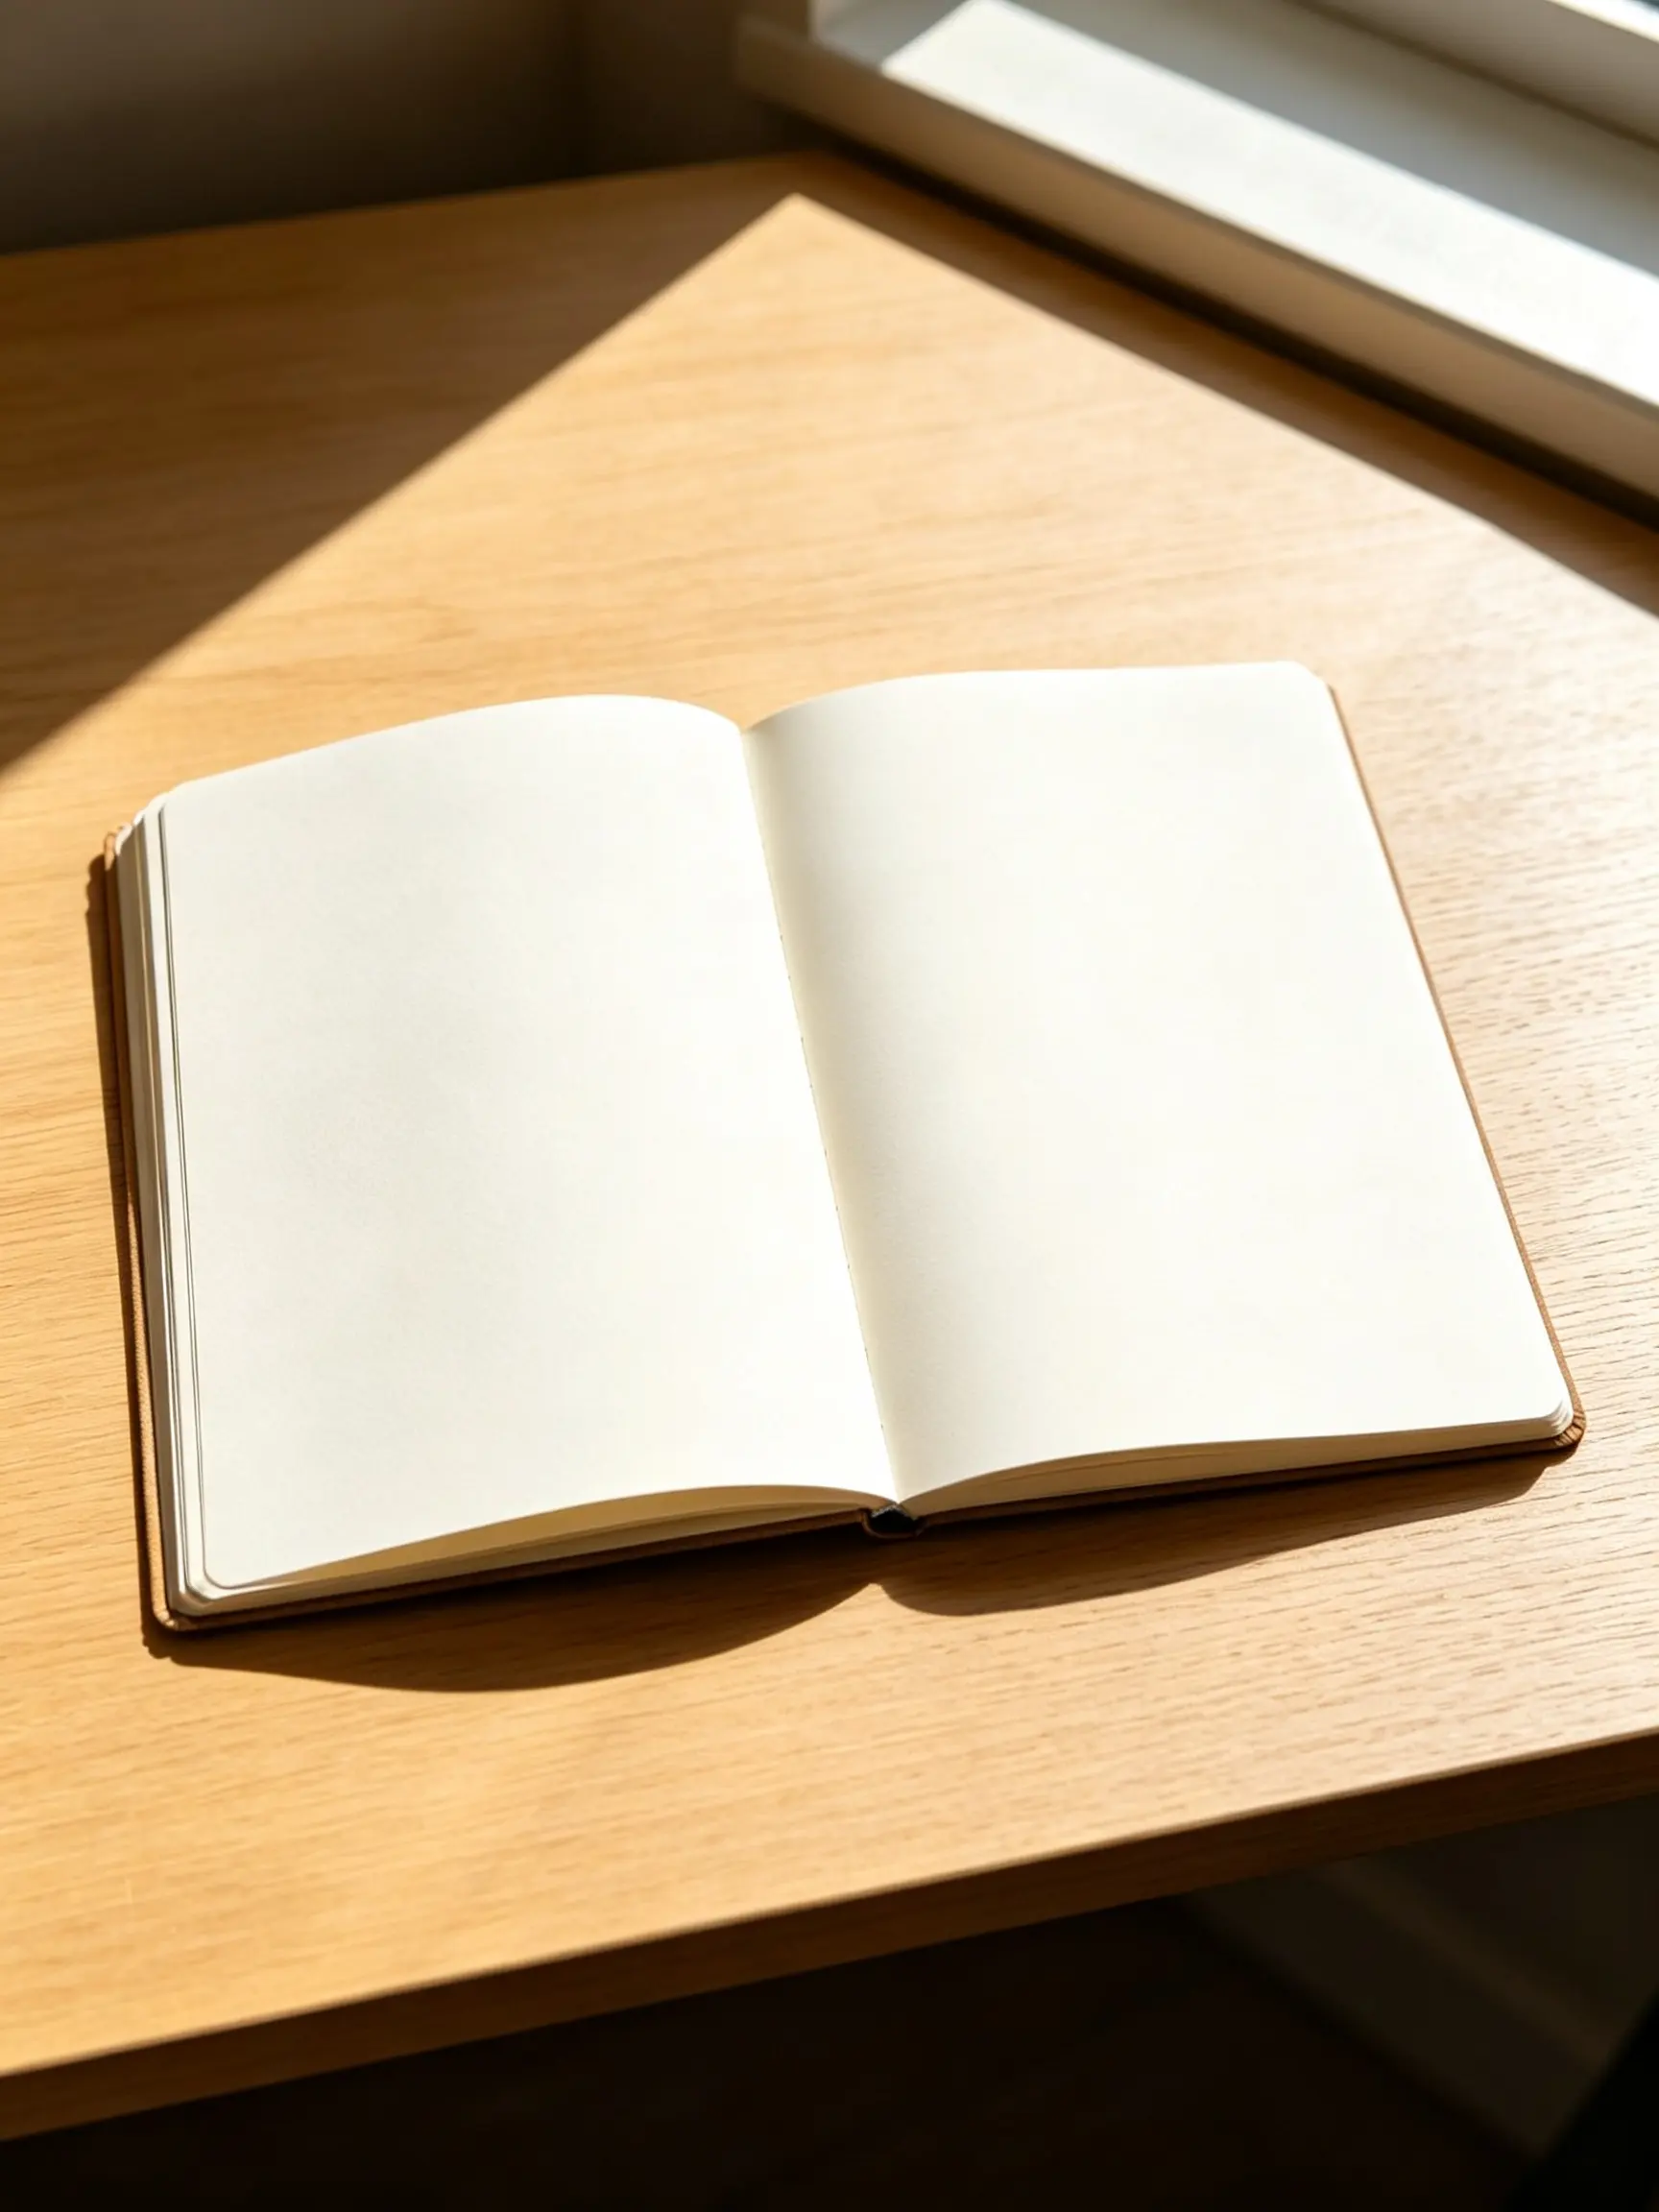 AFTER ✨
What it is
Rebuild the surface, do not just brighten it.
Raising the shadows in an editor lifts the dark area and everything that came with it: the noise, the colour cast, the crushed detail. On a hard-edged shadow you also get a visible boundary where the correction stops, which is often more distracting than the shadow was. The remove shadow tool works the other way round. The shaded region is treated as missing information and painted back in from the surrounding surface, so a shadow across a wooden table is replaced with wood that continues the grain, and a shadow across a document is replaced with paper of the same white. You describe the shadow in a sentence rather than masking it by hand: upload the photo, say which shadow to remove and whether the object casting it should stay, and generate. It is strongest on continuous surfaces such as paper, walls, floors, fabric and tabletops, which is where most unwanted shadows fall.
How it works
Remove a shadow in three steps
Upload the photo
Full resolution rather than a screenshot, because the model reconstructs from whatever surface detail it can see around the shadow.
Describe the shadow
For example: remove the hard shadow falling across the notebook, or remove my shadow from the page but keep the pen. Mention the soft edge if it is wide, and say what must not change.
Generate and check the edges
The cost is shown in the workbench before you generate. Look at where the shadow met an object; that boundary is where reconstruction is hardest and where you should judge the result. Re-run with a clearer description if needed.
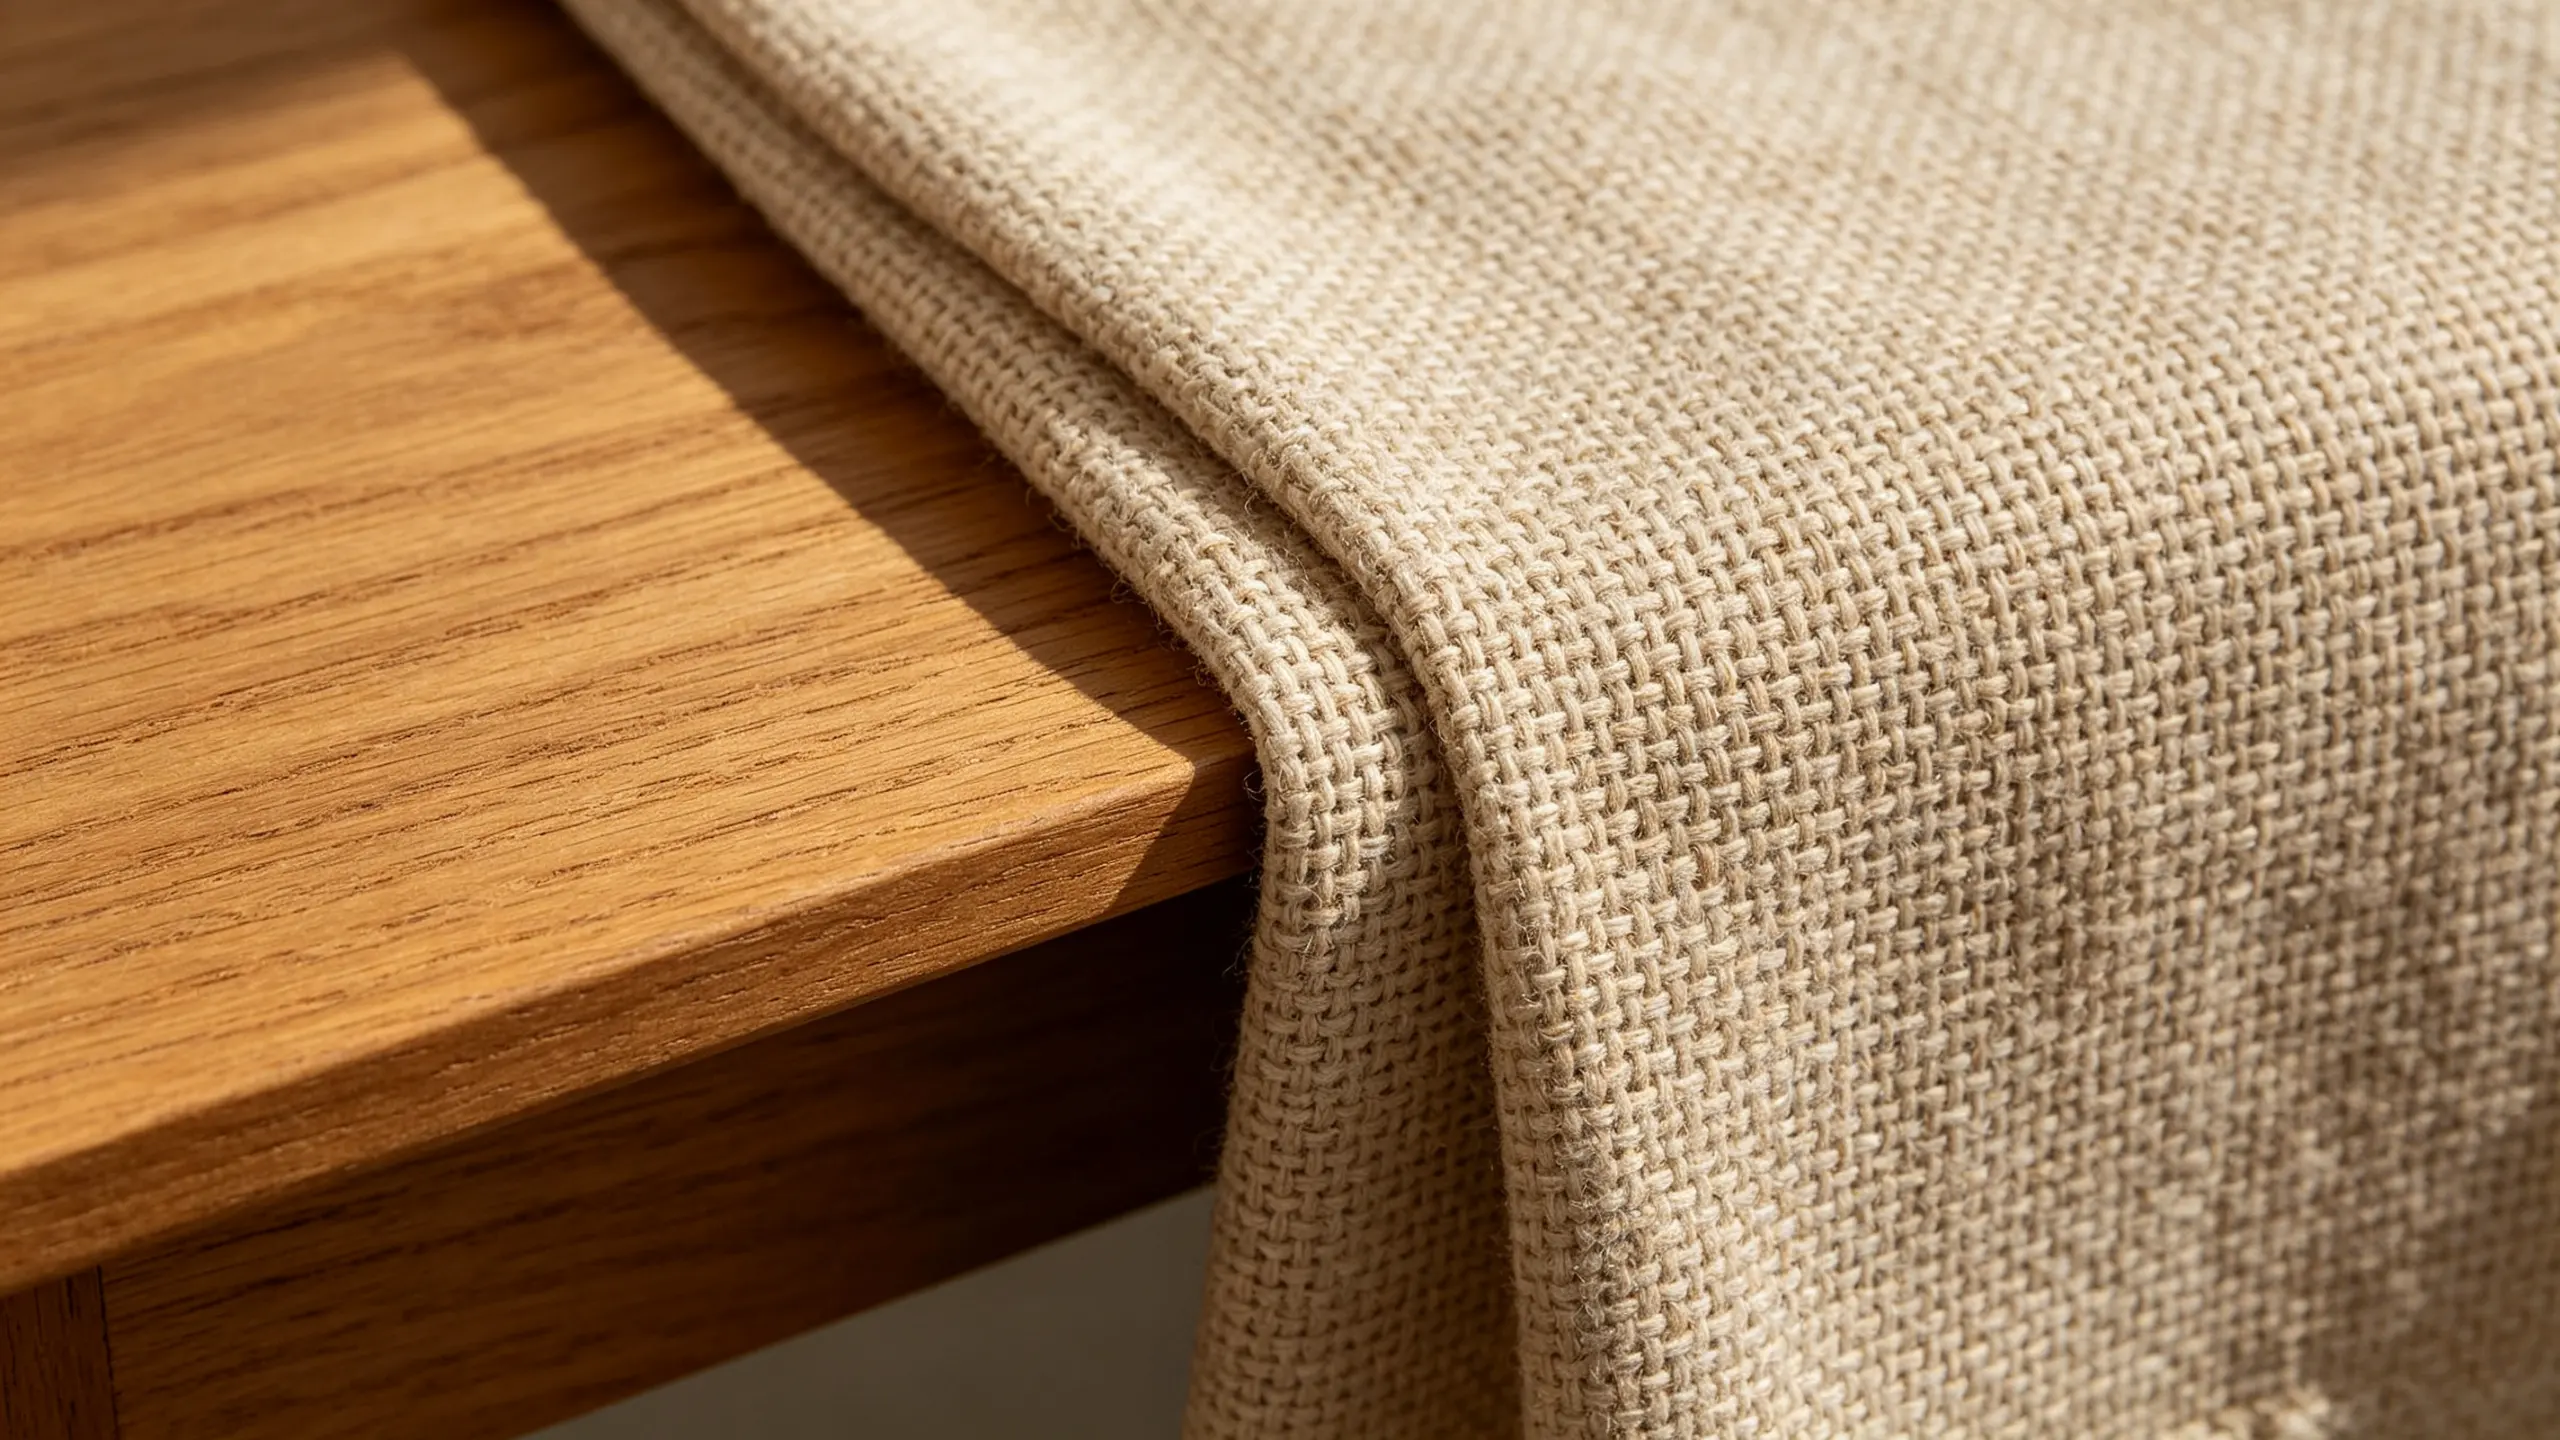
Texture
Grain, weave and print continue through
The reconstruction is conditioned on the surrounding surface, so a shadow lying across wood grain is replaced by grain running the same way, a shadow on knitwear by the same weave, and printed text under a shadow comes back as text rather than a smooth grey patch.
- Continues directional texture
- Matches surface colour and tone
- Keeps the photo's own grain
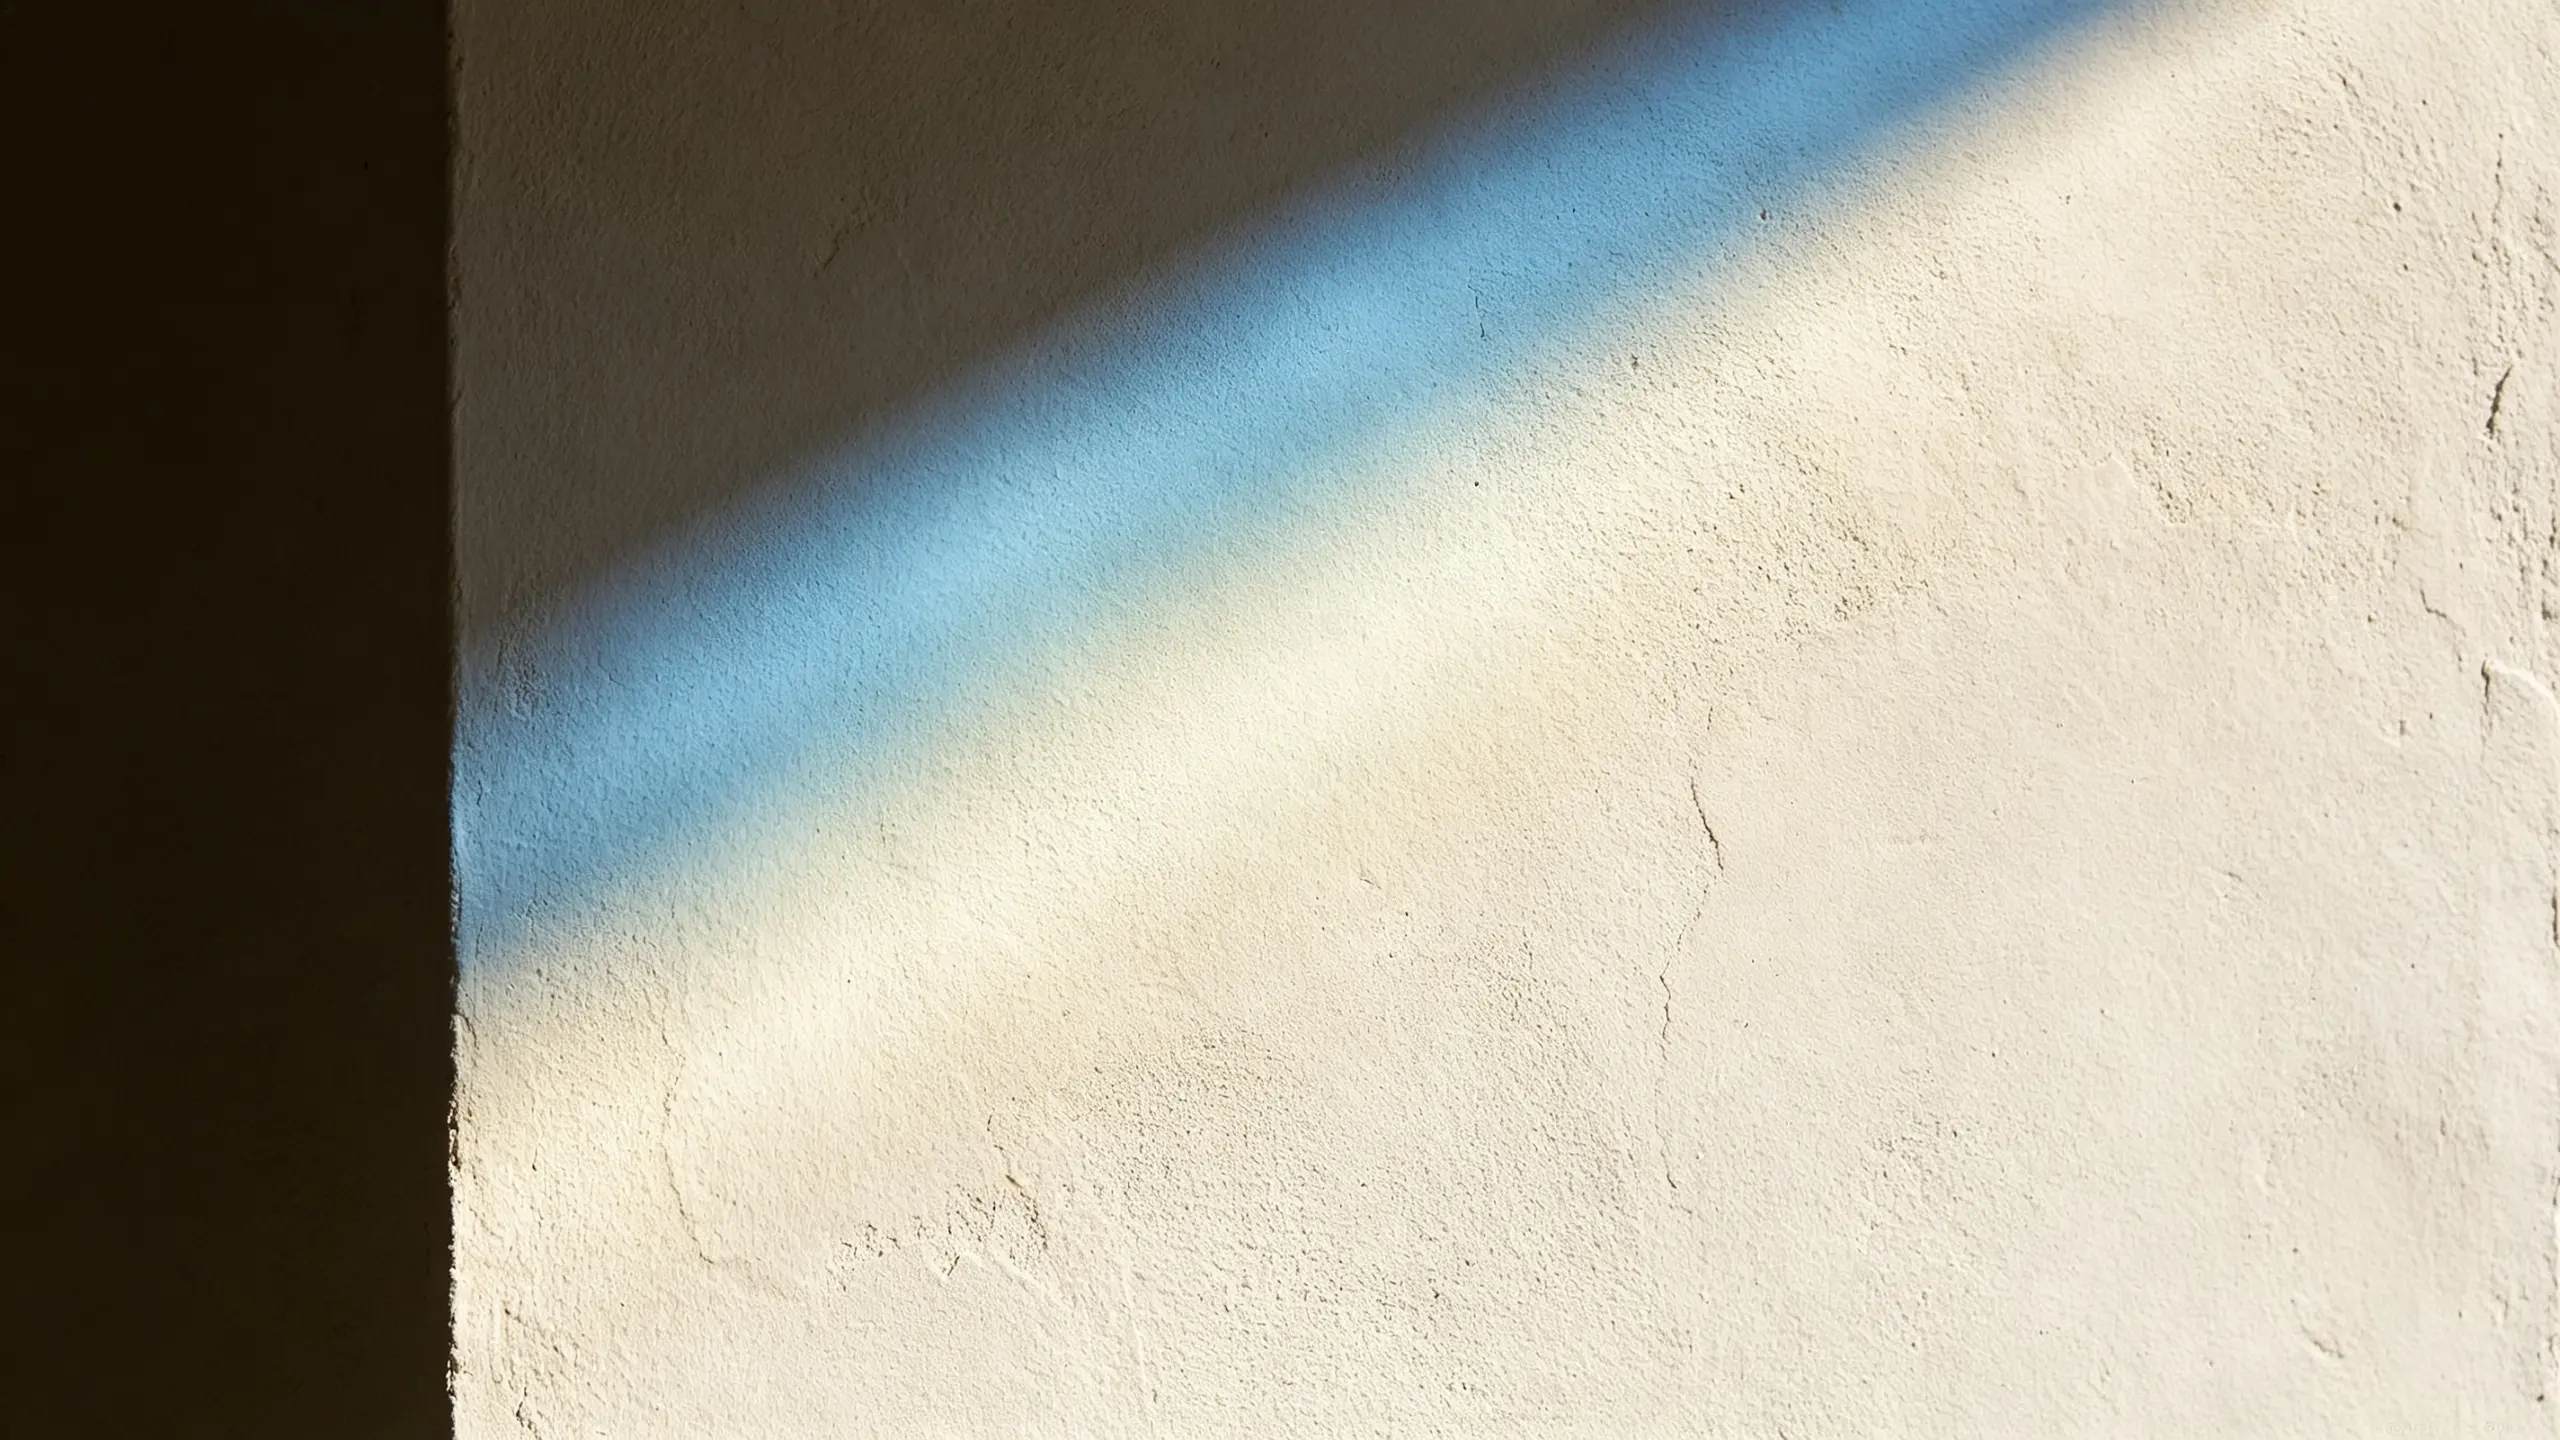
Hard edges
The line that gives it away
A hard shadow has three parts: the dark core, the soft edge around it, and a subtle colour shift because shaded areas outdoors are lit by blue sky rather than direct sun. Removing only the dark part leaves a coloured halo. All three are handled together, which is why the result does not read as a patch.
- Soft edge included, not just the core
- Colour cast in shade corrected
- No halo at the boundary
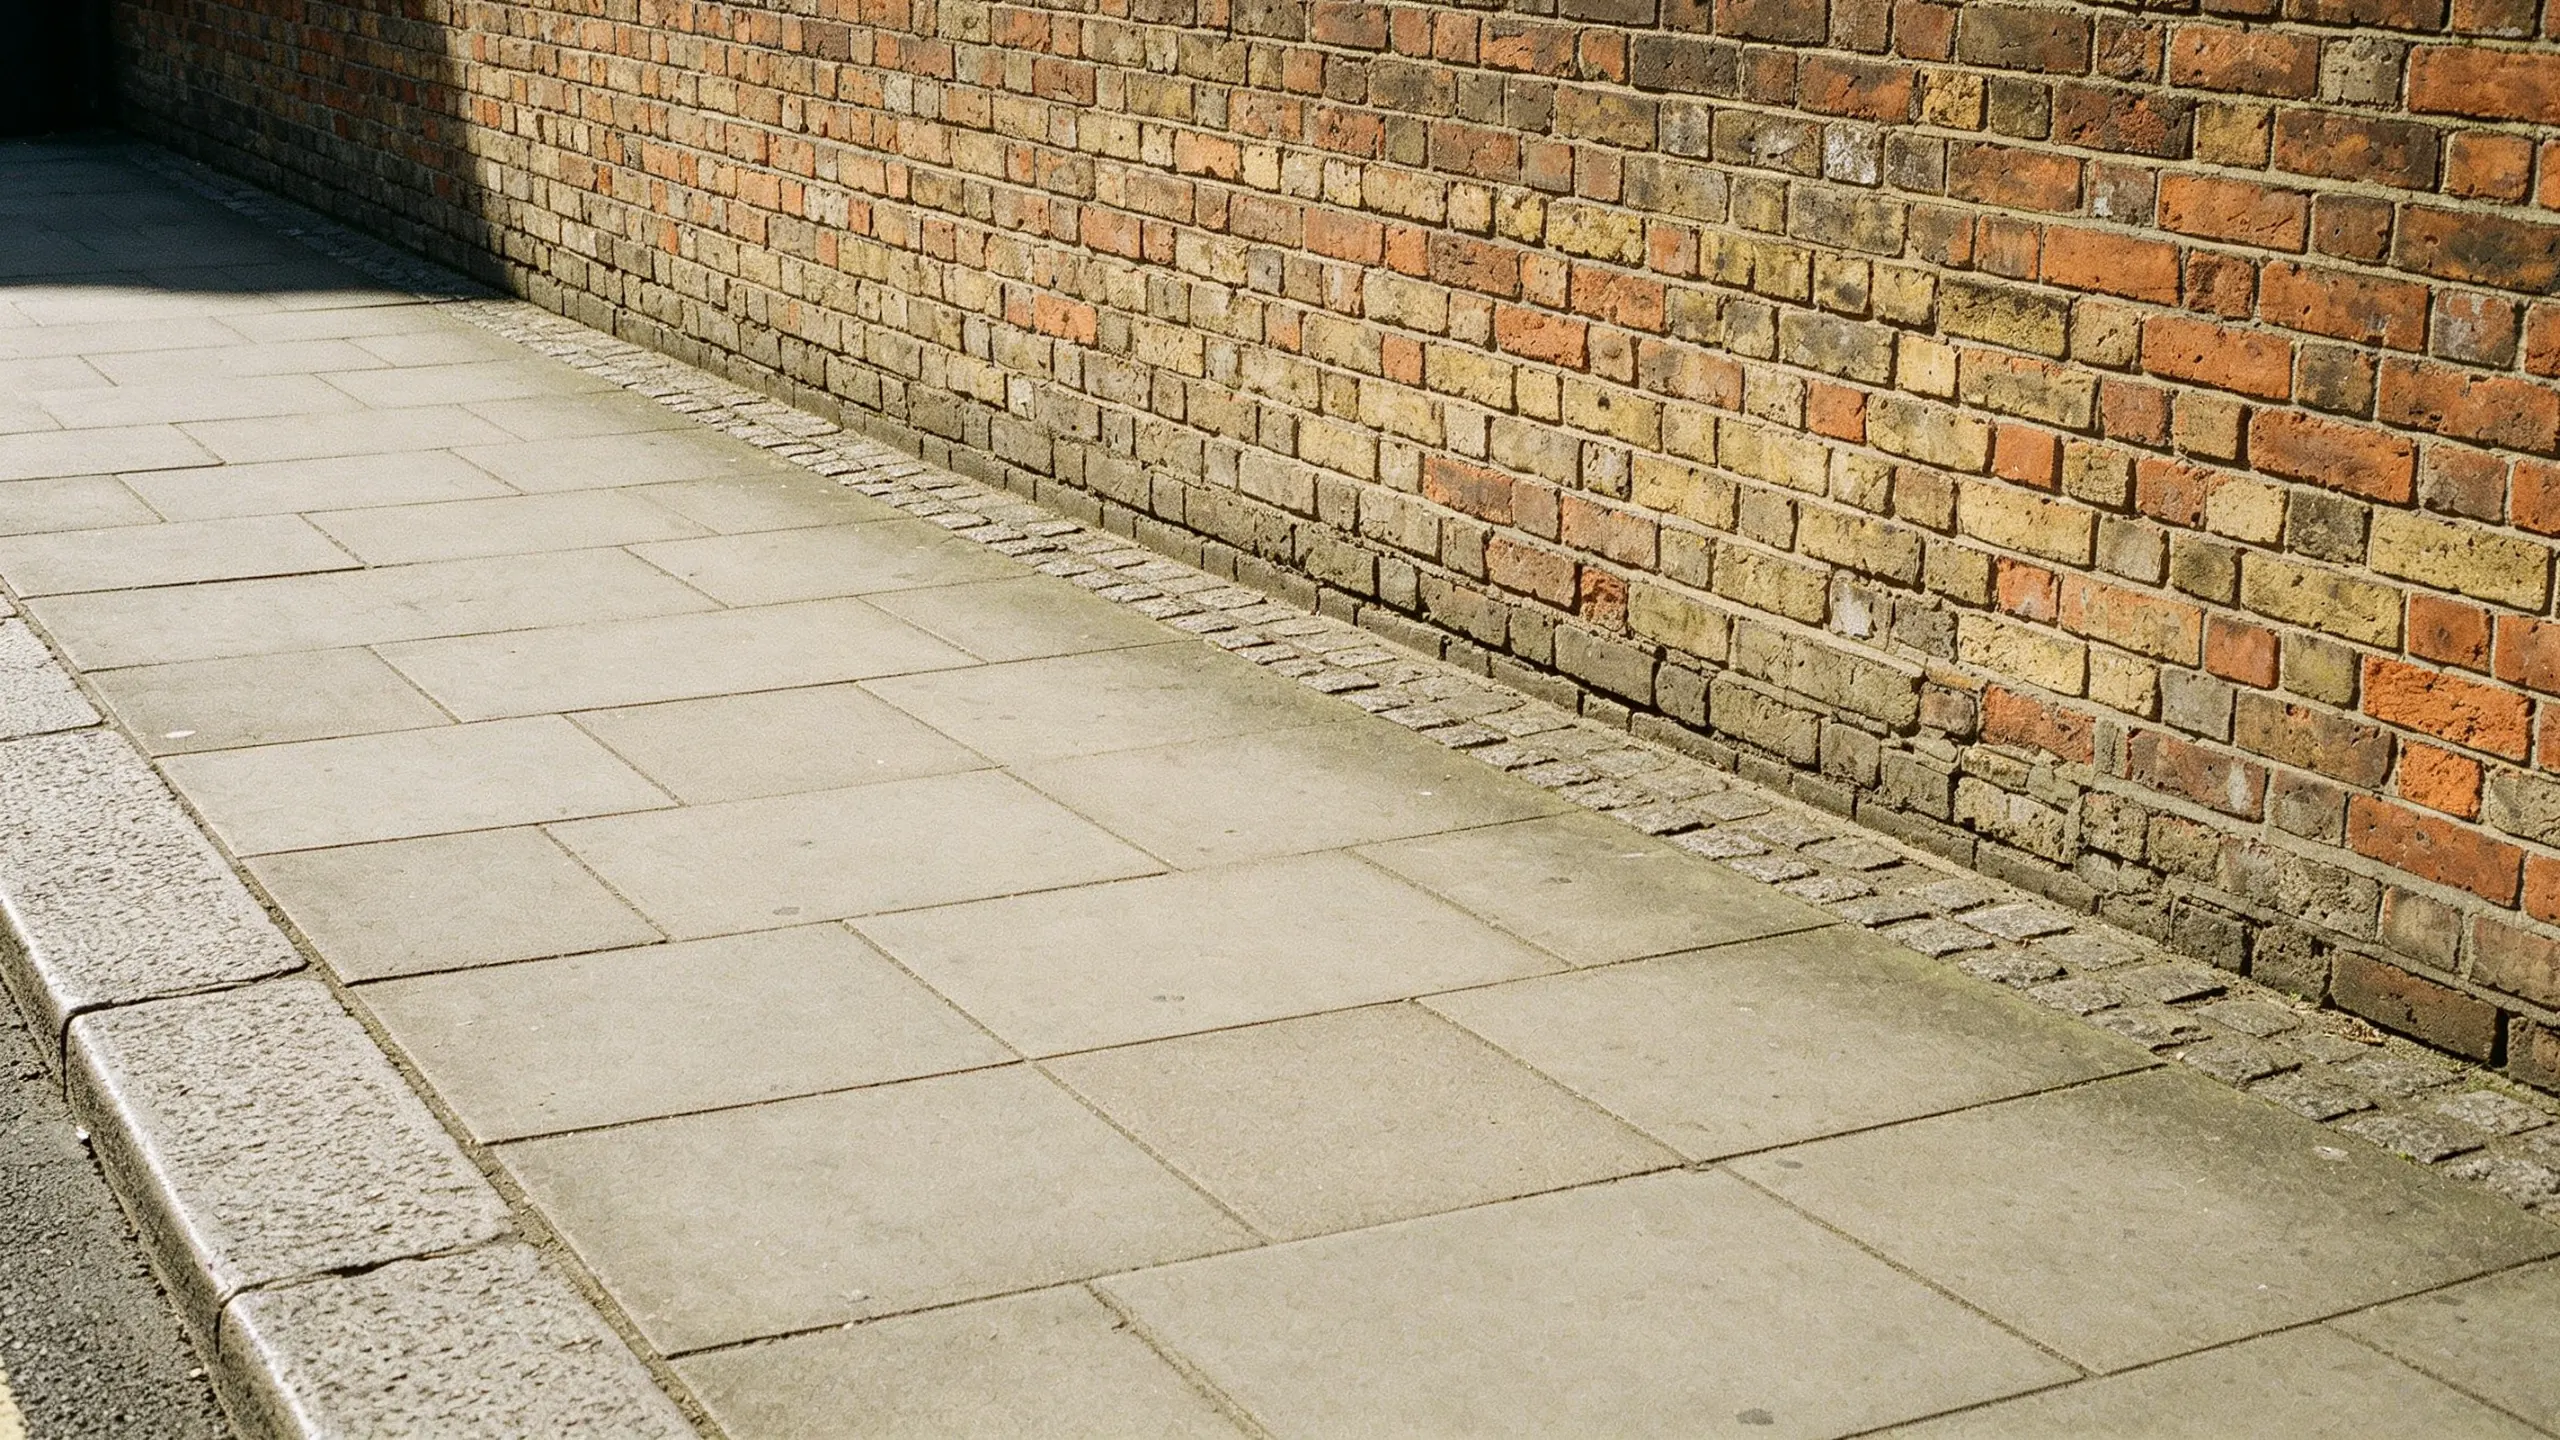
Same family
Shadows are one case of removal
This shares its approach with the Remove Object from Photo tool, tuned for the case where the thing being removed is a change in light rather than a physical object. If what you actually want gone is a bin, a stranger or a cable, that tool is the better starting point.
- Describe rather than mask
- Several shadows in one pass
- Full-size output
Why LazyKiwi
Why this rather than the shadows slider
No correction edge
The surface is rebuilt, so there is no boundary where the fix stops.
Noise stays put
Lifting shadows amplifies grain. Reconstruction does not.
Texture continues
Wood, fabric and print carry on through the removed region.
Works on hard shadows
The case a slider handles worst, because the edge is what betrays it.
Cost shown first
Each pass shows its credit cost before you generate, so a second attempt with a clearer description is cheap.
Same workbench as your other edits
Remove the shadow, then upscale, extend or retouch the same photo without leaving the tools tab.
FAQ
Shadow removal questions
How do I remove a shadow from a photo?+
Upload the photo, describe the shadow you want gone, and generate. The AI reconstructs the surface underneath from the surrounding area. It is a rebuild rather than a brightness adjustment, so there is no visible boundary where the correction ends.
Is this better than raising shadows in an editor?+
For a hard-edged shadow, yes, because a slider brightens the dark area and its noise together and leaves an edge where it stops. For a gentle overall underexposure, an editor is the right tool and this is overkill.
Can it remove my own shadow from a document photo?+
Yes, and that is one of its best cases: paper is a uniform surface, so the reconstruction has plenty to work from. It usually improves what a scanner app or OCR can read from the same image as well.
What kind of shadow is hardest?+
One falling across a person's face, and one covering more than about half the frame. In both cases there is too little unshaded reference to reconstruct from, and the result starts to look invented rather than recovered.
Does the rest of the photo change?+
The aim is to leave everything outside the shadow as it was. Because the result is generated, compare it with the original at full size before you use it, and say explicitly what must stay unchanged if something important sits near the shadow.
Does it cost credits?+
Yes, like the other image tools. The cost is shown in the workbench before you generate. A second pass with a clearer description is the usual way to fix an edge that did not come out clean, so keep the first instruction simple.
Use cases
Shadows worth removing
Documents photographed by hand
Your own shadow or the phone's falling across a page, receipt or form. For a full flatten-and-straighten pass, follow it with the Photo Scanner.
Product and listing photos
A hard shadow across the product from a window or a lamp, on a shot that otherwise works and would be expensive to reshoot.
Portraits with harsh light
A nose shadow from midday sun, or the photographer's shadow on the wall behind the subject.
More answers
More about shadows
Should I mention the soft edge?+
Yes. A shadow's edge is a gradient rather than a line, and a removal that stops at the visually obvious boundary leaves a faint dark rim the eye picks up immediately. Saying remove the shadow including its soft edge is the single biggest improvement you can make to the instruction.
Why did the colour come out slightly wrong?+
Shaded areas outdoors are lit mainly by blue sky, so they are cooler than the sunlit surface around them. If the reconstruction leans on the shaded region it can carry that cast. Ask for the colour to match the sunlit surface and run it again.
Can I remove a shadow but keep the object casting it?+
Yes, say so in the description. It is worth thinking about first, because an object with no shadow at all can read as floating. Often the better edit is to ask for the shadow softened rather than deleted.
Does it work on shadows in video?+
Not this tool. For video, the AI Video Object Remover handles regions across frames, though shadows moving with the light are considerably harder than static objects.
Erase the shadow, keep the surface
Reconstruction instead of a brightness slider. Check the cost before you generate.
No credit card · Free to try · Results in seconds