
Free Video Upscaler: A Practical Step-by-Step Guide
Learn how to upscale video for free, choose useful settings, and check whether the result actually looks better.
 Daniel Okafor 7 min read
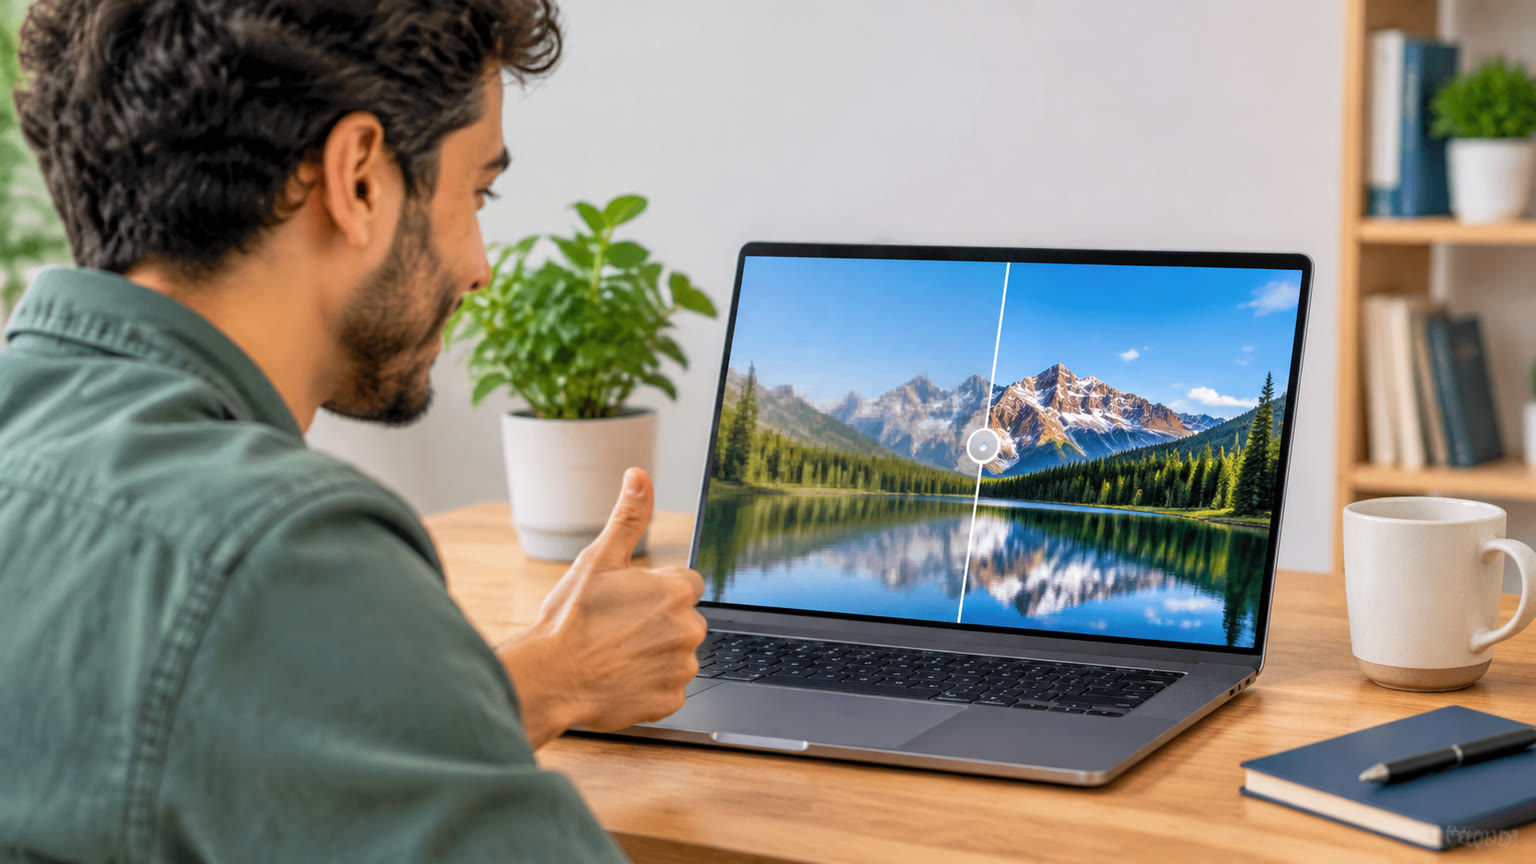
To upscale video for free, choose an editor or upscaling tool with a free export option, test a short clip, and compare the result with the original at the same display size. Start with a modest resolution increase and check motion, faces, text, and fine edges before processing the whole video. A free video upscaler can improve how a clip looks on a larger screen, but it cannot reliably recover details that were never captured.
What a Free Video Upscaler Can Actually Improve
A free video upscaler can make a low-resolution clip easier to display at a higher resolution. Some tools primarily resize frames; others also try to reduce noise, sharpen edges, or reconstruct plausible detail. Those approaches can produce very different results from the same source. Before choosing a tool, decide whether your clip needs a larger export, cleaner-looking footage, or both.
| Approach | What to expect |
|---|---|
| Basic resizing | Creates a larger frame but does not add meaningful visual detail. |
| Sharpening and noise reduction | Can improve perceived clarity, but aggressive settings may erase texture or create harsh edges. |
| AI-assisted upscaling | May create more convincing detail, but can also change small features from frame to frame. |
The source matters more than the export label. A reasonably sharp 720p clip may look good after a careful 1080p upscale. A heavily compressed 360p clip may still show blockiness or smeared faces when exported at 4K. Motion adds another challenge: an enhancement that looks impressive on one paused frame can flicker during playback. Treat the output resolution as a delivery specification, not proof that the image has become sharper.
Check the original at its intended viewing size first. If it already looks acceptable on the screen where people will watch it, exporting a larger file may offer little benefit.
How to Choose a Free Option Before You Upload
Choose a free video upscaler by checking what you can export, not just what you can preview. Free options vary: one may permit a short test clip, another may limit resolution, and another may allow processing but restrict the final download. These details can change, so verify the current export terms in the tool you plan to use before committing a long project.
- Check supported input formats and whether the tool accepts your clip's length, frame rate, and dimensions.
- Look for a downloadable sample at the resolution you need, rather than judging only an enlarged preview.
- Confirm whether the export keeps your original frame rate and audio in sync.
- Review output choices such as file format, compression, and resolution.
- Estimate whether the processing and download time will fit your deadline.
For a one-off clip, a small free export allowance may be enough. For a batch of videos, repeatability matters more: you need a workflow that can apply comparable settings to every file. If an editor already installed on your computer can resize and export without extra charges, test that baseline first. It helps you see whether a dedicated AI enhancement step is worth the additional processing.
Keep the original file. Work from a duplicate so you can restart with different settings if the first export looks overly smooth, noisy, or artificial.
Upscale a Video for Free: A Step-by-Step Workflow
The most reliable free workflow is to run a short, representative test before upscaling the entire video. Use a segment that contains the hardest material in your footage, such as a moving face, small text, foliage, or a quick camera pan. A test built around an easy, static shot will not reveal the problems most likely to matter in the finished export.
- 1
Inspect the source
Note its resolution, frame rate, visible compression, and any existing blur. Watch at normal speed before deciding what needs improvement.
- 2
Pick a realistic target
Try 720p to 1080p or 1080p to 4K when that matches your delivery needs. A bigger jump is not automatically a better result.
- 3
Choose a short test segment
Include motion, edges, and fine details. Export the original segment too, so you have an easy comparison.
- 4
Apply conservative enhancement
Begin with modest noise reduction and sharpening, if available. Change one setting at a time so you can identify what helped.
- 5
Export and compare
Watch both versions at the same size and playback speed. Check audio sync, visual stability, and whether the enhanced version looks natural.
- 6
Process the full clip
Reuse the settings that passed your test, then watch the complete export before publishing it.
If you are creating a new scene rather than repairing existing footage, upscaling is only one possible route. You can explore a fresh concept in the AI video generator instead. Generating a new clip and enhancing an existing one solve different problems, so choose based on whether the original footage must be preserved.
Settings That Matter Most for a Cleaner Export
For most clips, target resolution, noise reduction, sharpening, frame rate, and export compression matter more than the name of an enhancement preset. Start with the output requirements, then adjust only what the source needs. Making every slider more aggressive can turn a soft clip into a brittle one.
- Target resolution: Match the screen or publishing requirement. A 4K export is unnecessary when the final deliverable is 1080p.
- Noise reduction: Use enough to tame distracting grain or compression noise, but keep natural texture where possible.
- Sharpening: Look for clearer edges without bright outlines around faces, buildings, or text.
- Frame rate: Preserve the source rate unless you deliberately want a motion change. Upscaling resolution does not require adding frames.
- Compression: Avoid an export setting that introduces new blocks or smearing after the upscale has finished.
If your source has black bars, embedded captions, or a logo, inspect those areas during testing. Enhancement can make lettering look warped or emphasize compression along high-contrast borders. Cropping may help when the bars are unnecessary, but confirm that it does not remove important content. When the upscaler offers a preview, inspect several moments rather than selecting settings based on one frame.
Name each test by its settings, such as “1080p-low-sharpen,” so you can compare exports without guessing which version used which adjustments.
How to Tell Whether the Upscaled Video Is Better
An upscale is better only if it improves the viewing experience without introducing more noticeable defects. Compare the original and result at the same displayed size, not just at each file's full pixel resolution. Otherwise, the larger export may appear more impressive simply because you are viewing it differently.
| Inspect | Warning sign |
|---|---|
| Faces and hands | Skin looks waxy, or small features shift between frames. |
| Text and straight lines | Letters bend, edges shimmer, or outlines become unnaturally bright. |
| Background texture | Grass, hair, or fabric turns into blotches or invented-looking patterns. |
| Motion and audio | Details flicker, movement feels uneven, or sound drifts out of sync. |
Watch the test clip at normal speed, then pause on a few difficult frames. Normal-speed playback reveals flicker and unstable detail; paused frames help you inspect edges and texture. Also compare the file sizes and playback behavior on the device where the video will be used. A visually improved export is less useful if it is cumbersome to deliver or does not play smoothly in your intended setting.
If one setting improves a face but damages the background, prioritize the subject viewers will notice most. When no version is clearly better, keep the original or use a smaller resolution increase. The aim is a convincing final video, not the highest number in an export menu.
When Upscaling Is the Wrong Fix
Upscaling is the wrong fix when the real problem is missing footage, a poor composition, unreadable content, or severe motion blur. It can enlarge and reinterpret visible information, but it cannot guarantee an accurate reconstruction of a subject that the camera never recorded clearly. In those cases, changing the creative asset may produce a better result than pushing the same clip through stronger enhancement.
- If the footage is framed poorly, try a tighter edit or a replacement shot before increasing resolution.
- If text is baked into the video and remains unreadable, consider rebuilding the text in your edit rather than sharpening it.
- If a static image is the weak link, improve that image separately before using it in a video.
- If you need a different visual concept, start from a new image or video instead of trying to rescue an unrelated clip.
For a blurry still image, the AI photo upscaler is relevant to that image, not a substitute for a video upscaler. If you need a new visual starting point, the AI image generator offers a separate creation workflow. Keeping still-image enhancement, video enhancement, and new content creation distinct makes it easier to choose the right next step.
Before processing a long clip, ask whether the shot itself is worth preserving. A short replacement can sometimes solve more than an aggressive upscale.
A Quick Checklist for Your Final Video
Before you publish an upscaled video, confirm that the export looks better in motion, meets your delivery requirements, and retains the elements you intended to keep. A quick final pass catches issues that a short test cannot, particularly at scene changes or in sections with different lighting.
- The target resolution matches where the video will be shown.
- Faces, text, and fine patterns remain stable during playback.
- Sharpening has not created halos, and noise reduction has not erased important texture.
- Audio starts correctly and stays synchronized through the end.
- No new compression artifacts are obvious in dark areas or fast movement.
- You have kept the original file and the settings used for the final export.
If your finished clip is part of a broader creative project, the video and photo templates can help you explore presentation ideas around it. You can also browse LazyKiwi's model pages when planning a separate AI creation workflow. Neither step replaces checking the quality of your actual upscaled export.
The practical rule is simple: test first, compare fairly, and use the least aggressive settings that meet your goal. Free tools can be useful for evaluating an approach or finishing a small project, but their current export options determine whether they fit your specific clip. Let the result on your intended screen make the final decision.
Key takeaways
- Test a short, difficult segment before upscaling a full video.
- Choose your target resolution based on delivery needs, not the largest available export.
- Compare original and enhanced clips at the same display size and normal playback speed.
- Watch for flicker, warped text, waxy faces, and audio sync issues.
- Use still-image tools for images and video upscalers for existing footage.
Video Workflows Editor
Daniel Okafor
I run the same clip through every video and motion tool we ship and write down what actually changes: timing, length, export, and where each one falls apart.
FAQ
Common questions
Can I upscale a video to 4K for free?
It depends on the tool's current free export options. Check whether it permits a downloadable 4K file at your clip's length, then test a short segment before processing the entire video.
Does upscaling make a blurry video clear?
It can improve perceived sharpness, but it cannot reliably restore detail that was never captured. Strong enhancement may also create artificial-looking textures or unstable features.
Should I upscale 720p video to 1080p or 4K?
Start with 1080p if that meets your delivery needs. Try 4K only when you need that output size, and compare both exports to see whether the larger version offers a visible benefit.
Is an AI video generator the same as a video upscaler?
No. A video upscaler works on footage you already have, while a generator creates new video from a creative starting point. Use the video generator workbench when your goal is a new clip rather than an enhanced copy of an existing one.
Can a photo upscaler improve my whole video?
A photo upscaler is designed for still images, not an entire moving clip. It may help with an image you plan to include in a video, but it does not by itself address motion consistency across video frames.
Why does my upscaled video look worse during playback?
Settings that look sharp on one frame can cause flicker, halos, or shifting details between frames. Reduce enhancement strength, test a different section, and review the export at normal speed.
Create a New Video Concept
When improving the original clip is not the right approach, explore a new creative direction in LazyKiwi's video workbench.
Keep reading

Free AI Animation Tools for Short Scenes: A Guide
Choose an AI animation workflow for a short scene, write a focused prompt, and check free-use limits before you create.
6 min read
AI Dance Video Generator Free: A Practical Guide
Learn how to make an AI dance video, choose a template, write a useful prompt, and check free access before you generate.
8 min read
Free AI Lip Sync Tools by Input: A Practical Guide
Choose a lip sync workflow based on whether you have text, audio, a photo, or video, then check what the free tier actually includes.
8 min read