
ChatGPT Photo Editing Prompts: A Practical Guide
Use these copy-ready ChatGPT photo editing prompts to change backgrounds, improve portraits, and refine product photos without losing what matters.
 Maya Chen 9 min read
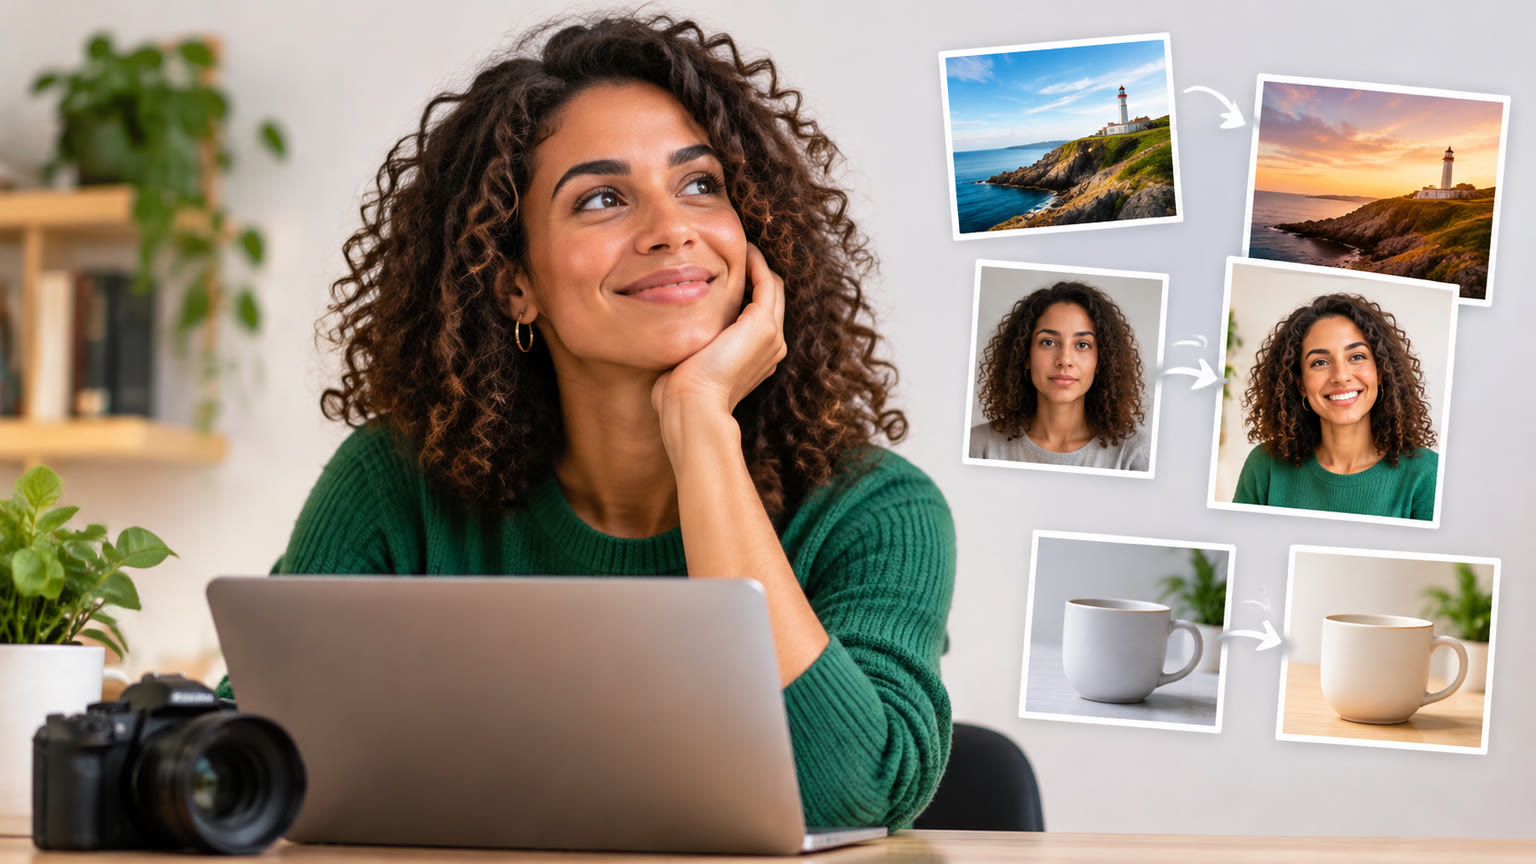
The best ChatGPT photo editing prompts say what to change, what to preserve, and how the finished image should look. Start with one clear edit, name the details that must stay intact, and add constraints such as realistic lighting or unchanged text. Use the examples below as a checklist, then adapt them to your own photo and goal.
Use a Four-Part Prompt for More Controlled Edits
A reliable photo editing prompt has four parts: the subject, the requested change, the details to preserve, and the desired finish. This gives the editor a clear target while reducing unintended changes. If you are using an image-editing interface that accepts a reference photo, attach the photo and refer to visible details instead of assuming the editor knows what you mean by “this area.”
- 1
Identify the subject
Describe the person, object, or scene you want edited: “the person in the center” or “the ceramic mug on the table.”
- 2
State one primary change
Use a specific action such as “replace the background,” “remove the reflection,” or “brighten the face.”
- 3
Protect important details
Name the features, colors, text, composition, or objects that should remain unchanged.
- 4
Define the finish
Specify whether you want a natural photograph, a polished studio look, or another clear visual result.
Copy-ready framework: “Edit the attached photo of [subject]. Change [specific element] to [desired result]. Keep [important details] unchanged. Match the existing perspective and lighting, and make the result look [finish].”
For example: “Edit the attached photo of a person standing by a window. Remove the clutter behind them and replace it with a simple, softly lit room. Keep their face, hairstyle, clothing, pose, and the window light unchanged. Make the result look like a natural indoor photograph.” The preservation instructions matter as much as the requested edit. For a dedicated place to explore this workflow, visit the ChatGPT photo editor tool.
Write Portrait Prompts That Preserve Identity
For portraits, ask for a narrow improvement and explicitly preserve the person’s recognizable features. A broad request like “make this a perfect professional headshot” leaves room for changes to facial structure, hair, clothing, and expression. A more useful prompt describes the cleanup you want while keeping the original person and pose.
- Natural retouch: “Gently reduce temporary blemishes and harsh shine. Keep natural skin texture, facial features, expression, and hair unchanged. Avoid a smoothed or painted appearance.”
- Headshot background: “Replace the busy background with a plain light-gray studio backdrop. Keep the person’s face, outfit, pose, and hair edges intact. Match the original lighting direction.”
- Lighting correction: “Brighten the face slightly and soften the strong shadow under the eyes. Preserve skin tone, facial detail, clothing color, and the overall mood of the photo.”
- Group photo cleanup: “Remove the distracting object behind the group. Keep every person’s position, face, hands, and clothing unchanged, and reconstruct the background naturally.”
Choose only the instructions relevant to your photo. If the image is already well lit, asking for both dramatic lighting and a natural look can pull the result in different directions. For a headshot, decide whether the priority is a clean background, more even light, or subtle retouching. Make that the first edit, inspect the result, and request smaller corrections afterward.
When a face looks different after an edit, do not repeat the original prompt unchanged. Follow up with: “Restore the original facial proportions, expression, and skin texture from the reference photo. Keep only the background change.”
Change a Background Without Changing the Subject
A good background-replacement prompt treats the subject as fixed and makes the new setting match the photo’s perspective and light. Describe the destination precisely enough to guide the edit, but avoid filling the prompt with unrelated scene details. The main checks are edges, contact shadows, scale, and whether the subject still belongs in the scene.
| Vague request | More useful prompt |
|---|---|
| “Put me somewhere nicer.” | “Replace the parking lot behind me with a quiet city park in late afternoon. Keep my face, clothes, pose, and camera angle unchanged. Match the warm side lighting.” |
| “Make this a studio photo.” | “Replace the room behind the chair with a seamless off-white studio background. Preserve the chair’s shape, upholstery color, and position, and add a subtle floor shadow.” |
For a simple cleanup, try: “Remove the people in the distant background. Rebuild the wall and sidewalk behind them, keeping the main subject and framing exactly as they are.” For a full scene change, state whether the ground should also change. A subject standing on pavement can look out of place if the prompt requests a grassy landscape but says nothing about the area around their feet.
Background edits are also a useful way to test a visual direction before committing to it. Browse photo and video templates for ideas about framing and mood, then translate the look you prefer into concrete prompt language: background material, light direction, color temperature, and amount of detail.
Improve Product Photos With Specific, Measurable Changes
For product photos, protect the product first and edit the presentation around it. A useful prompt names the item’s real color, shape, finish, and visible markings, then requests a cleaner background, better light, or a more consistent shadow. This is especially important when the item has packaging or printed text that should remain readable.
- Clean catalog image: “Place the bottle on a plain white background with a soft shadow beneath it. Keep the bottle shape, cap, label layout, printed text, and liquid color unchanged.”
- Surface cleanup: “Remove dust and small scratches from the tabletop around the watch. Keep the watch face, hands, markings, metal finish, and reflections on the watch unchanged.”
- Lifestyle setting: “Keep the mug exactly as photographed, but place it on a light wooden kitchen table near a window. Use soft morning light and a realistic contact shadow.”
- Consistent set: “Adjust this product photo to use the same neutral background tone and soft left-side lighting as the reference image. Preserve the item’s proportions, color, logo, and label text.”
Check the edited image against the original before using it. Zoom in on small lettering, seams, handles, edges, and reflected details. If a mark changes, ask for a local correction: “Restore the original label from the reference image; leave the new background and shadow as they are.” Splitting the work into a background pass and a cleanup pass often makes the instructions easier to evaluate.
If the main goal is to develop a new image concept rather than edit an existing photo, try the AI image generator. Describe the product scene you want, then compare the generated concept with the real product photo before choosing a direction.
Fix Lighting, Color, and Old-Photo Damage One Step at a Time
Lighting, color, and restoration prompts work best when each request identifies a visible problem. “Improve this photo” could mean brighter exposure, warmer color, stronger contrast, or extensive reconstruction. Name the defect and set a limit on the correction so the image retains its original character.
- 1
Correct exposure
“Lift the shadows on the subject slightly while keeping the highlights in the sky from becoming brighter. Preserve a natural range of light and dark.”
- 2
Balance color
“Reduce the yellow cast from the indoor lighting. Keep skin tones natural and preserve the original colors of the clothing and walls.”
- 3
Repair visible damage
“Remove the crease crossing the lower-left corner and repair the torn edge. Preserve the people’s faces, clothing details, and the original photographic texture.”
- 4
Review the result
Compare the edit with the original for shifted colors, missing details, or areas that look newly invented.
For an old photograph, distinguish repair from reinterpretation. You might want to remove scratches while keeping the faded look; alternatively, you might want a brighter image that still reads as an older photograph. Say which outcome you prefer. If part of the photo is too damaged to show a detail clearly, use a restrained instruction such as “repair the damaged area to blend with the surrounding image” instead of specifying an exact feature you cannot verify.
Keep a copy of the original image and compare it after each major edit. This makes it easier to identify whether a later change improved the photo or merely made it more dramatic.
Refine a Prompt When the First Edit Misses the Mark
When an edit is close but not right, describe the specific difference between the result and your goal. A follow-up prompt should point to one problem, say what to restore or adjust, and preserve the parts that already work. Starting from scratch with an entirely new description can make it harder to keep a successful background, composition, or lighting change.
| Problem in the result | Targeted follow-up |
|---|---|
| Face looks different | “Match the face and expression more closely to the original photo. Keep the new background unchanged.” |
| Background looks pasted in | “Adjust the ground shadow and light direction to match the subject. Keep the subject unchanged.” |
| Colors are too intense | “Reduce saturation to a natural level while preserving the corrected exposure and composition.” |
| Product text has changed | “Restore the original printed text and label layout. Keep the background and lighting edits.” |
Use the original photo as the reference when details matter. Refer to a location such as “the label on the front of the bottle” rather than “the text,” especially if the image contains more than one text area. If several parts are wrong, rank them: correct the subject first, then lighting, then finishing details. This gives each revision a clear purpose.
If you are exploring different visual treatments rather than correcting a specific error, save the directions as separate prompts. The templates collection can help you identify distinct looks to test without combining conflicting instructions in a single edit.
Keep a Short Checklist Before You Use Any Prompt
Before submitting a photo editing prompt, check that it names one main change and the details that must remain intact. This quick review is more useful than adding a long string of style adjectives. The editor needs to know which parts of the image it may reinterpret and which parts are essential to the result.
- Is the subject identified clearly, especially in a photo with multiple people or objects?
- Does the prompt request a specific edit rather than a general improvement?
- Have you named the face, product details, text, colors, or composition that must stay the same?
- Do the requested background, lighting, perspective, and shadows make sense together?
- Can you judge the result by comparing it with the original?
A final copy-ready example brings the checklist together: “Edit the attached photo of a blue backpack on a table. Replace the cluttered room with a simple light-gray background. Keep the backpack’s shape, blue color, straps, zipper placement, and logo unchanged. Preserve the camera angle and add a soft, realistic shadow on the table.” Swap in your subject and desired edit, but keep the structure.
Once the still image looks right, it can also serve as a visual starting point for a motion concept. Explore the AI video generator if your next step is video; for additional still-image concepts, return to the AI image generator. In either case, a clear subject and a consistent visual goal remain the most useful parts of the brief.
Key takeaways
- Use this prompt structure: subject, specific change, details to preserve, and desired finish.
- For portraits and products, explicitly protect recognizable features, colors, logos, and text.
- Match new backgrounds to the original camera angle, lighting direction, and contact shadows.
- Make one main edit at a time, then use targeted follow-ups to correct what missed the mark.
- Compare every result with the original photo before using it.
Image & Design Editor
Maya Chen
I test the image tools we ship on real photos — faces, text, backgrounds — and note which edits hold up at full size and which quietly fall apart.
FAQ
Common questions
What is the best prompt format for editing a photo with ChatGPT?
Identify the subject, request one specific change, list what must stay unchanged, and describe the desired finish. For example: “Replace the background with a plain gray wall; keep the person’s face, clothes, pose, and lighting unchanged.”
How do I stop an edit from changing a person’s face?
Tell the editor to preserve the face, expression, skin texture, and facial proportions from the original photo. If the first result differs, request that those details be restored while keeping only the successful edits.
Can I use one prompt to change the background and lighting?
Yes, when the lighting change is needed to make the new background believable. Describe the new setting and ask for lighting and shadows that match it, while stating which subject details should remain unchanged.
What should I include in a product photo editing prompt?
Name the product details that need to remain accurate, including shape, color, logo, and printed text. Then specify the presentation change, such as a simpler backdrop, cleaner surface, or softer shadow.
Why does a photo edit look artificial?
The subject and edited area may disagree on perspective, light direction, edge detail, or shadows. Ask for a targeted correction to the mismatched area rather than applying a broad style change to the whole image.
Where can I try a photo editing prompt?
You can explore the ChatGPT photo editor tool for a photo editing workflow. Keep your original image available so you can compare important details after each edit.
Turn Your Photo Idea Into an Image
Use a clear subject, visual goal, and preservation checklist to develop your next image concept.
Keep reading

AI Christmas Photo Prompts: 15 Ideas to Try
Try 15 customizable AI Christmas photo prompts for cards, family portraits, pets, and holiday posts, plus tips for improving each result.
8 min read
AI Thanksgiving Photo Prompts for Every Holiday Scene
Use ready-to-copy Thanksgiving photo prompts for portraits, dinner tables, food shots, and profile pictures, plus a simple way to refine each result.
7 min read
Consistent Character Tools for Image Series
Learn which character consistency tools to use and how to keep faces, outfits, and visual style coherent across an AI image series.
6 min read